


Whether you need something for the kids to present to grandparents or want to have a craft option available while Easter dinner prep concludes, this easy Paper Easter Egg Wreath is perfect. With just the printable paper template, scissors, glue, and a coloring option (markers, crayons, or colored pencils) required, it’s a simple project that kids can do alone or with an adult.
RELATED: Easter Suncatchers
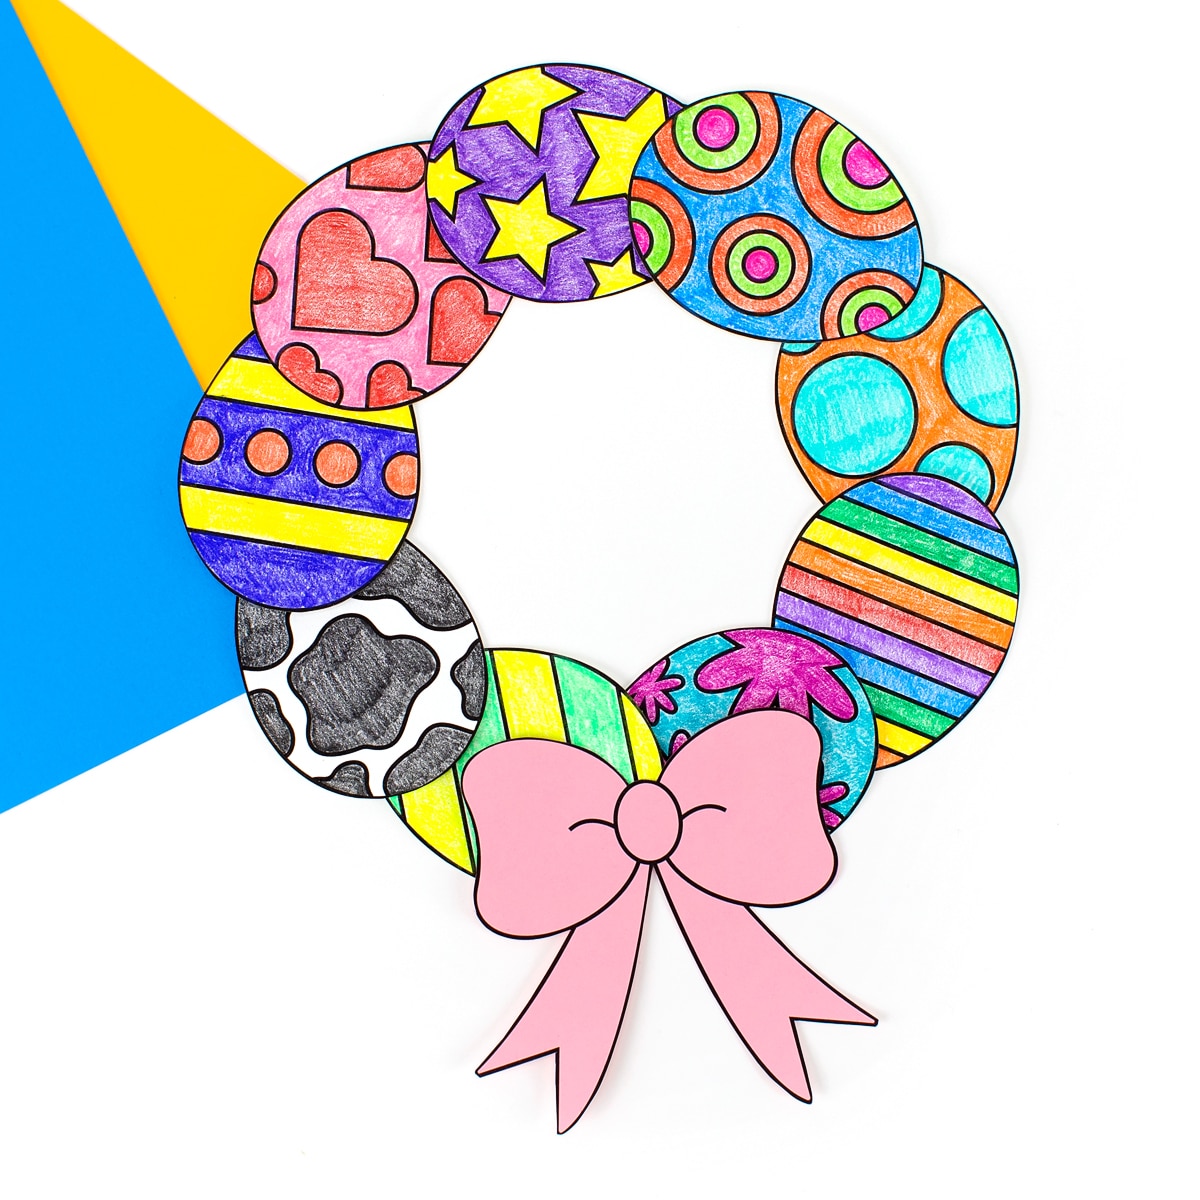
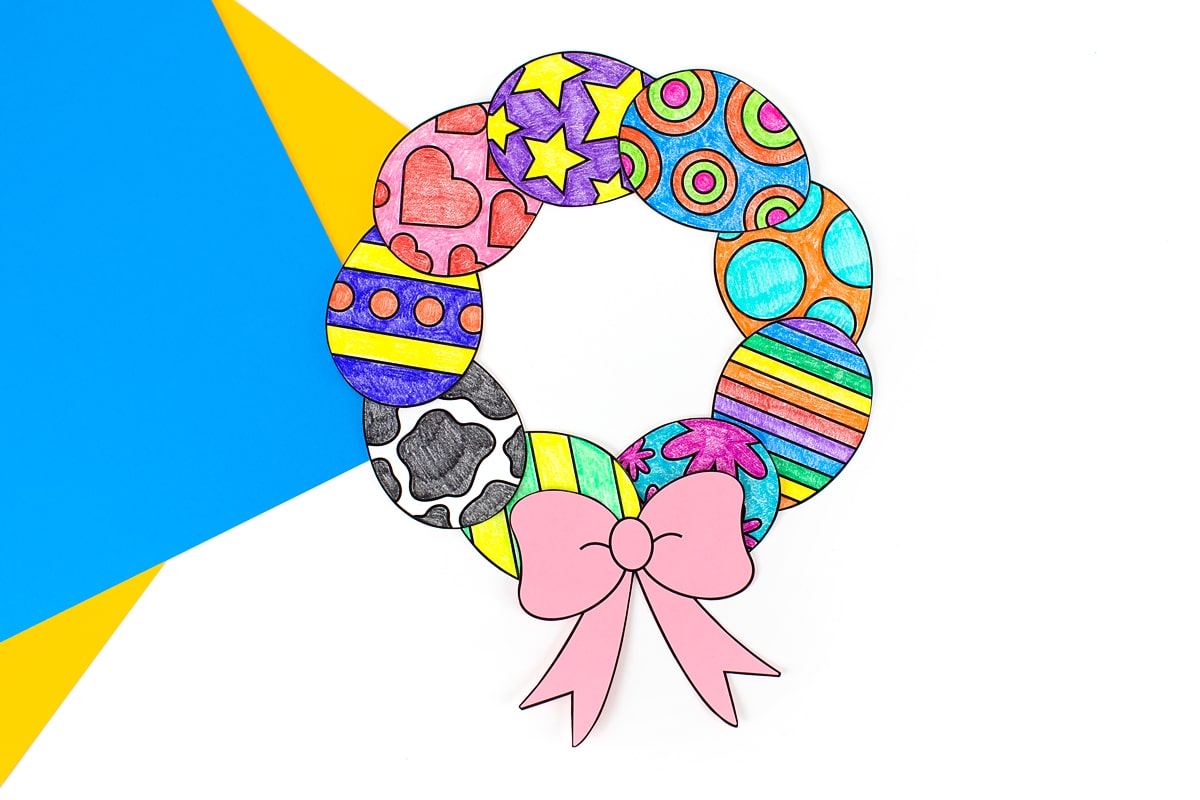
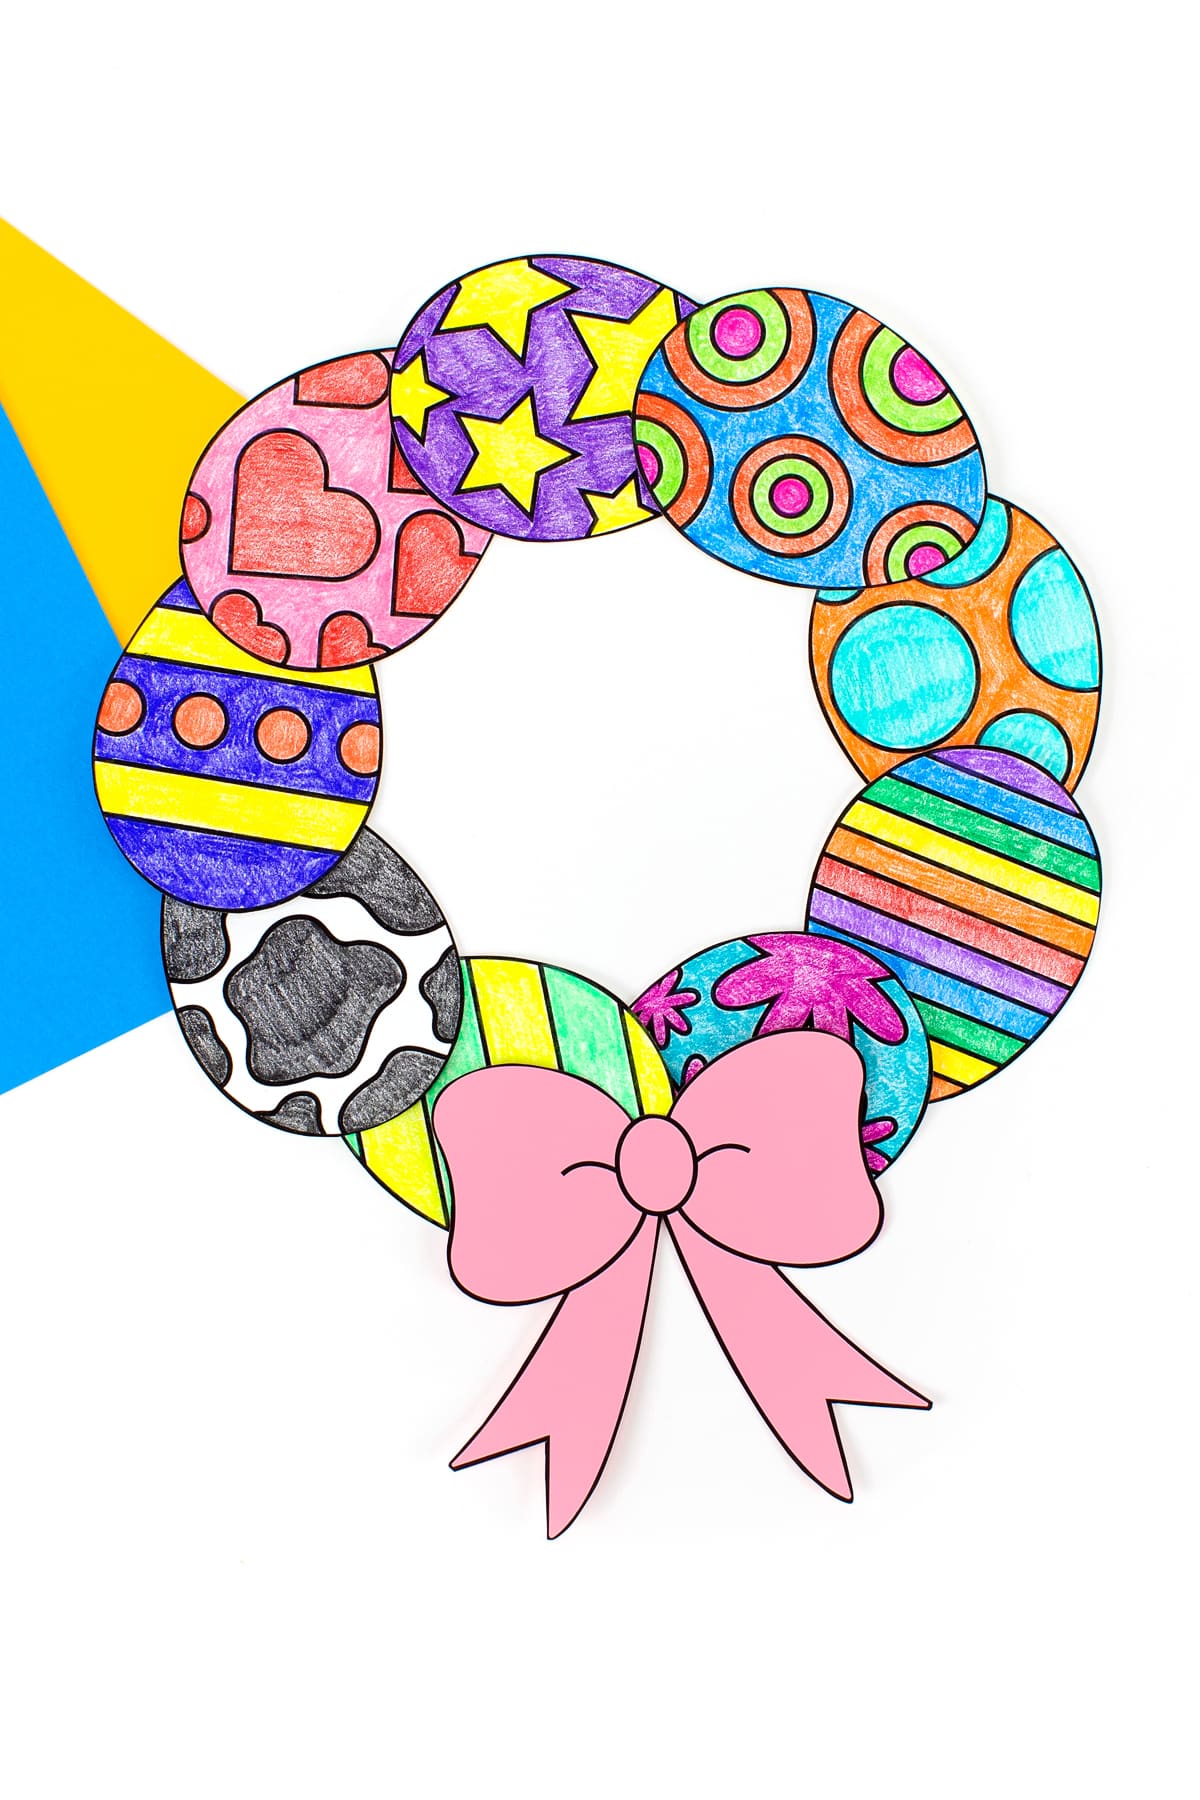
Paper Easter Egg Wreath Craft
This simple Easter craft lets your littles’ creative lights shine, and each outcome will be a unique décor piece to keep at home or share with friends, family, or neighbors.
Toddlers can handle the coloring portion independently and then partner with an older child or adult for the scissor work. For kids preschool age and up, the cutting portion of the task is a great way to keep those fine motor skills sharp while school is out for spring break this April.
It’s a simple and fun activity that will add a touch of festive charm to your home this spring. So, grab your paper eggs and colored pencils and let’s get crafting!
RELATED: Paper Easter Egg Art Project
Craft Supplies Needed for the Easter Egg Wreath
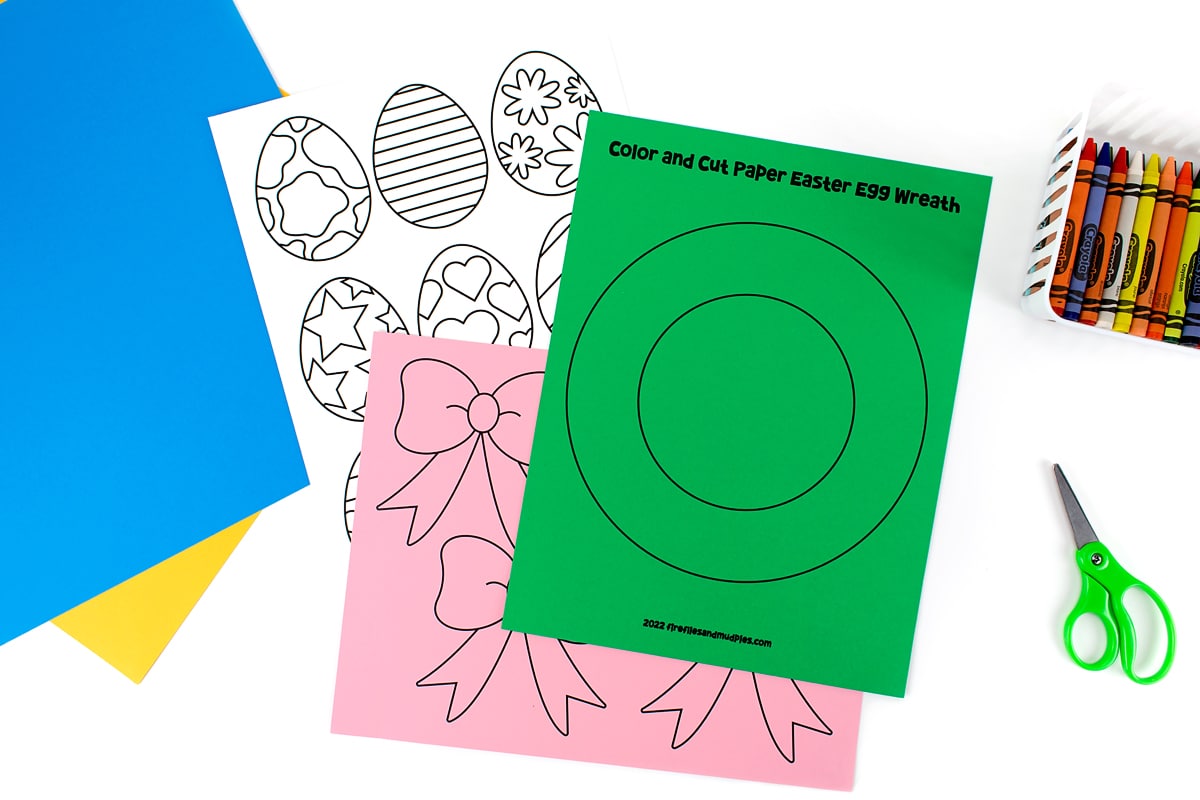
Before you start this craft, make sure you’ve got all the right supplies:
- Paper Easter Egg Wreath Template
- White and colored cardstock
- Markers, crayons, or colored pencils
- Scissors
- Gluestick
Watch the Video Tutorial
Watch the video below to be walked through every step of this craft.
Directions for the Easter Egg Wreath for Kids
This beautiful Easter egg wreath will look lovely hanging on your front door! Follow the how-to instructions and helpful tutorial photos below to learn how to make it.
STEP 1: Download and print the Paper Easter Egg Wreath Template. Our template is available free for personal use in the supplies list. Download it to your device and then print it on cardstock. If desired, print the wreath frame and bow on colored cardstock.
The PDF file includes a wreath form, Easter egg templates, and a bow template.
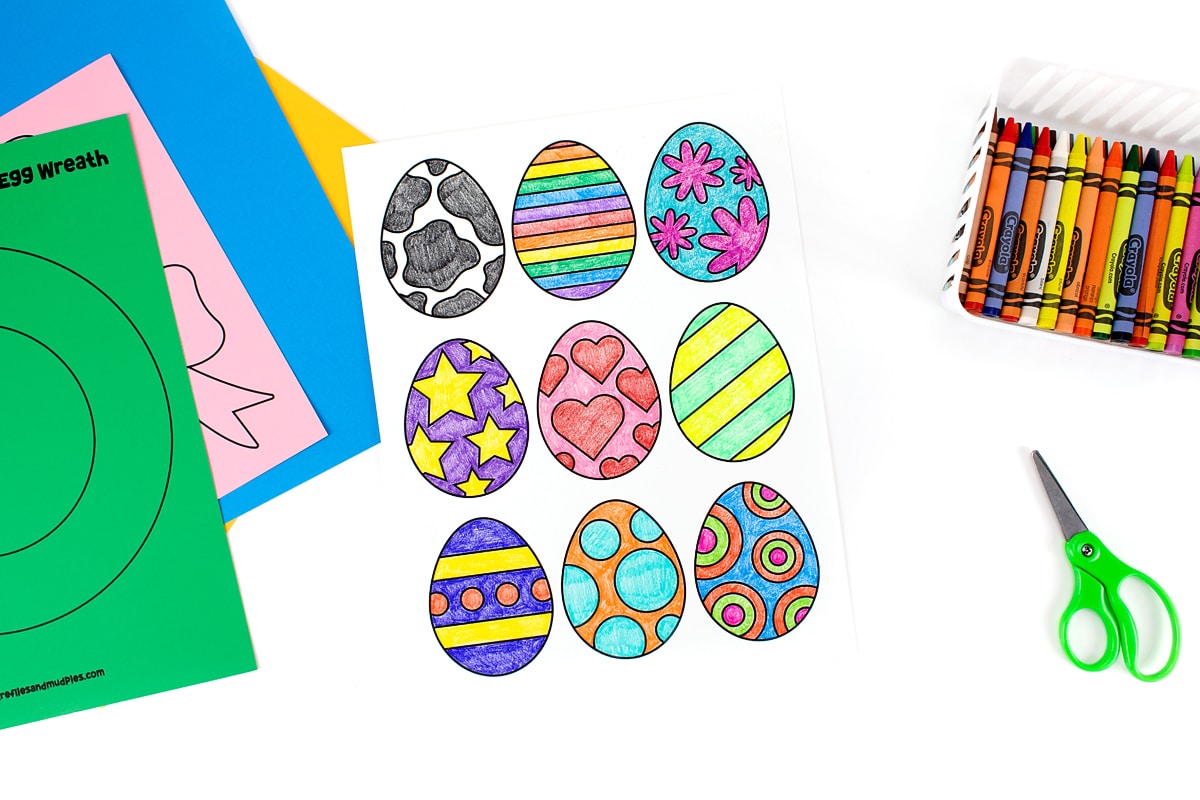
STEP 2: Color the egg shapes. Use markers, crayons, or colored pencils to color in the Easter eggs. We used our favorite Prismacolor Premier Colored Pencils. The Easter egg patterns are large and easy for small hands to color, but we’ve also included a blank egg template (no patterns).
STEP 3: Cut the templates. Use scissors to cut apart the Easter eggs, wreath frame, and bow.
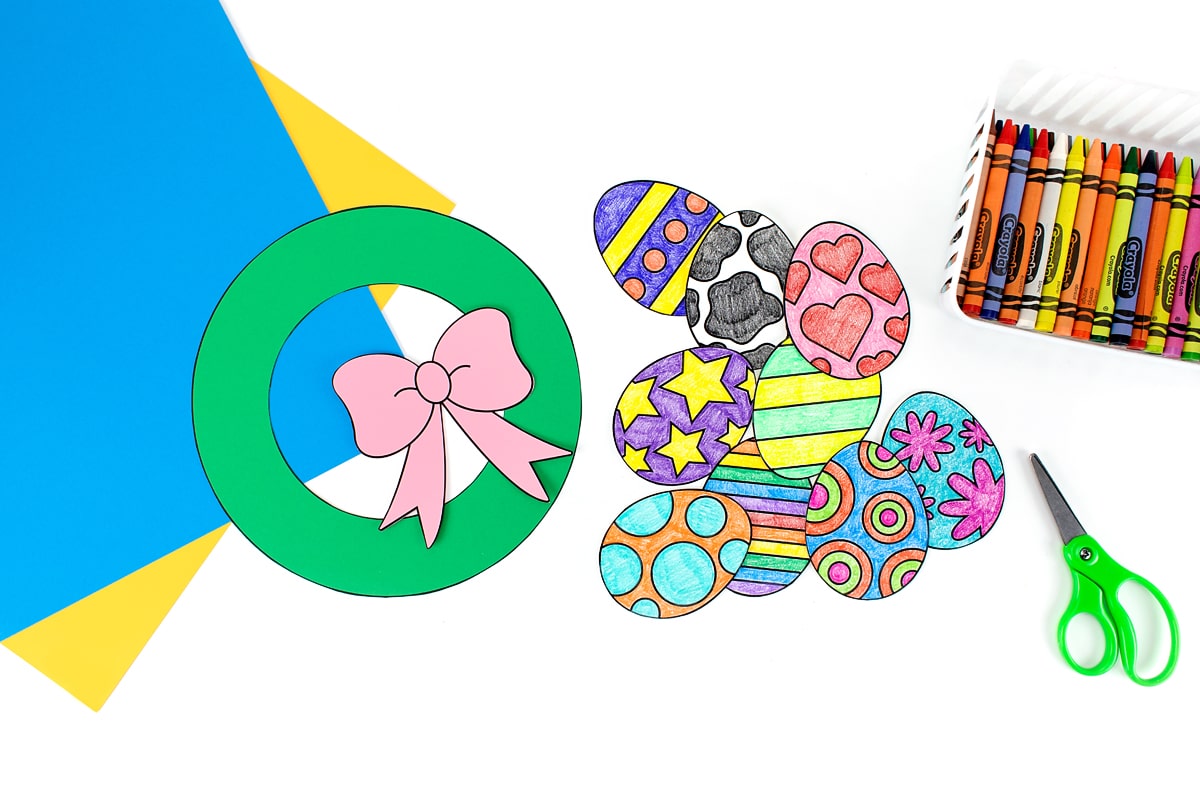
STEP 4: Put the craft together. Now that you have all the pieces cut, it’s time to put the rest of the wreath together! Use a glue stick to secure the paper Easter eggs to the front of the wreath. When you are finished, glue the paper bow to the bottom of the wreath. If desired, secure a loop of ribbon to the top of the wreath so you can easily hang it up! Don’t forget to have kids write their name on the back of the wreath!
STEP 5: Your wreath is finished. Your Paper Easter Egg Wreath craft is complete. Use tape to hang the wreath to the refrigerator, a door, or your classroom!
Large Group Crafting Tips
Are you planning to make this craft with your class, after-school program, or day camp program?
- Know your numbers. How many people have you invited? How many of each item—paper templates, glue sticks, markers—will you need? Assess your art supplies and determine if you have enough or need to buy anything before your event.
- Print templates ahead. Don’t wait until guests have arrived to start printing the required pieces. Print ahead of time to ensure you have enough ink or toner, the desired paper weights and colors, and enough copies.
- Consider participant ages. Are all the crafters in a similar age and ability range? If not, you may need to tailor aspects of the craft to eliminate potential frustrations for very young children, or offer a way to enhance the craft enough to challenge older, more experienced crafters. For the paper Easter egg wreath, consider extending egg decorating options with glitter, small plastic gems, or a real ribbon instead of a paper one.
- Where will you work? Are you having the event outside or inside? Do you have enough table space and chairs? If the event is outside and it’s windy or rainy, what’s your backup plan?
- Longevity. Is there a way to give this unique craft staying power for more than a season? Consider laminating each participant’s project so it lasts for many Easters to come.
Take it Further
Looking for extension ideas? Keep reading for some fun enrichment ideas!
- Challenge kids to identify patterns on the eggs—are the pre-printed lines repetitive and predictable, or random?
- Use this craft as a fun way to learn about colors.
- Pair this craft with a book about Easter!
- Spread cheer this Easter season by sharing this craft with a friend, family member, or neighbor.
- Add some new vocabulary words for older elementary students—what does concentric mean? Do they know other words for egg-shaped? (i.e., ovoid, oval, elliptical, ovate, oviform)
- Math/counting opportunity: How many eggs were on the template? How many did the child use? If some were left over, can the child create a number bond showing the total number and its component parts?
- Did the child assemble the wreath like the sample? If not, have the child tell about the artistic choices made, and why.
- Offer this craft as a make-and-take at your community library or nature center program.
- Make this craft on the first day of spring!
- Turn this craft into a DIY kit to include in an Easter Basket.
- Share this craft with a senior friend!
- Instead of using the included paper bow, invite your child to tie a piece of ribbon into a bow, then hot glue it to the bottom of the wreath.
- Use a paper plate instead of the included wreath base so you can make a paper plate wreath!
More Easter Crafts for Kids
Looking for more Easter craft ideas? You may also enjoy:
- Easter Hedgehog Craft
- Paper Bunny Craft
- Paper Plate Chick Craft
- Popsicle Stick Easter Bonnet Craft
- Shape Bunny Craft from Non-Toy Gifts
- Easter Bunny Wreath from Kids Craft Room
Save This Craft
Save this easy craft on Pinterest using the image below and make sure you are following along for the best ideas, crafts, and activities for Easter!


Want even more?
Make sure to follow on Facebook, Pinterest, and Instagram for more easy crafts, activities, recipes, and parenting tips. And don’t forget to subscribe to our emails.