

Bees play a vital role in our ecosystem, helping plants grow, breed, and produce food. But just like us, they need water to survive—especially during the hot summer months. A Bee Bath is an easy, kid-friendly project that provides a safe place for bees to stop, sip, and recharge.
In this post, you’ll learn how to make a bee bath using materials you likely already have at home or in the classroom. It’s a wonderful way to support local pollinators while sparking kids’ curiosity about nature!
Learning about bees? You may enjoy pairing this activity with our Paper Bee Craft!
What is a Bee Bath?
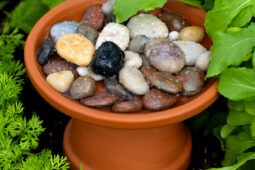
A bee bath is a shallow water source designed specifically for bees and other small pollinators. Unlike birdbaths, which are too deep for tiny creatures, bee baths offer water with safe landing spots like pebbles or marbles so bees don’t risk drowning while they drink.
I love to garden, especially when I know it’s making a difference for pollinators. Over the years, I’ve become more intentional about planting native flowers, herbs, and shrubs that provide food and shelter for bees, butterflies, and other beneficial insects. Bee baths are one of my favorite garden additions! They are a small detail, but support the busy pollinators that keep my gardens thriving.
Bee Bath Supplies
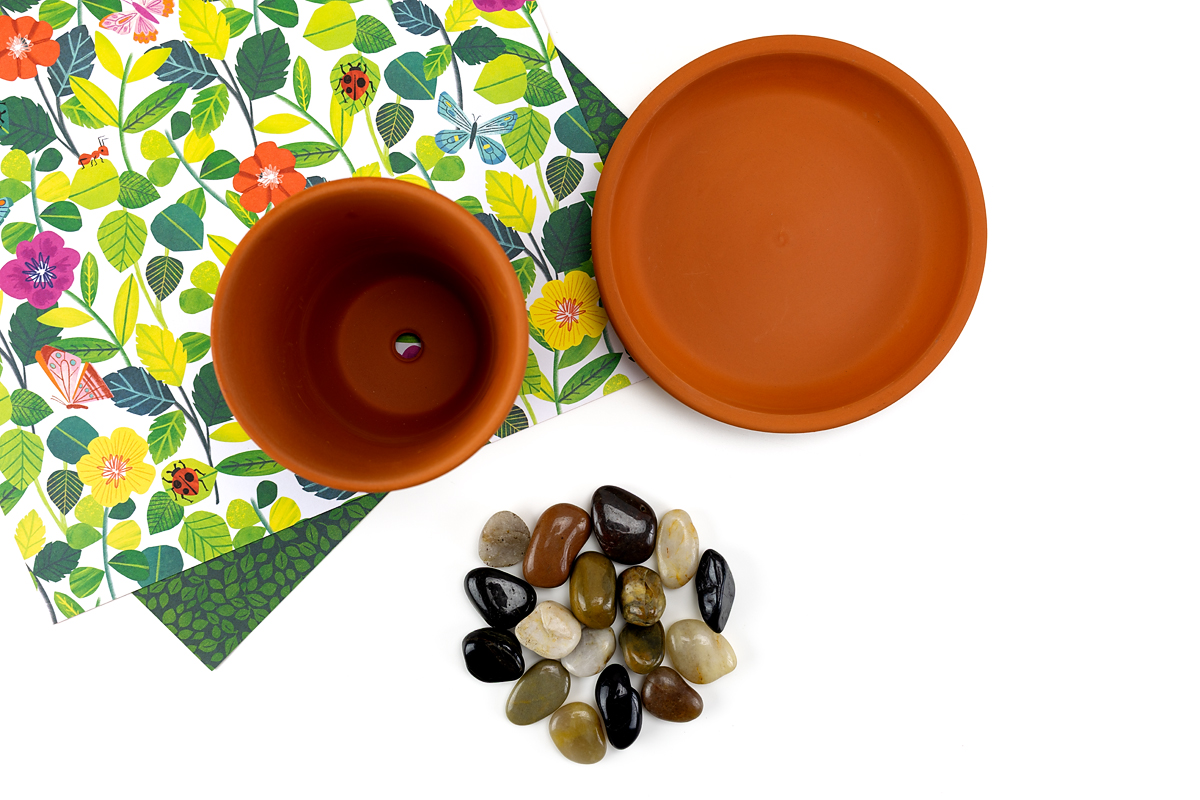
Before you get started, make sure you have everything you need.
- Small saucer and pot
- Small rocks, marbles, or glass gems
How to Make a Bee Bath
If you’d like to make your own bee bath and support the pollinators in your area, follow the simple directions below to get started.
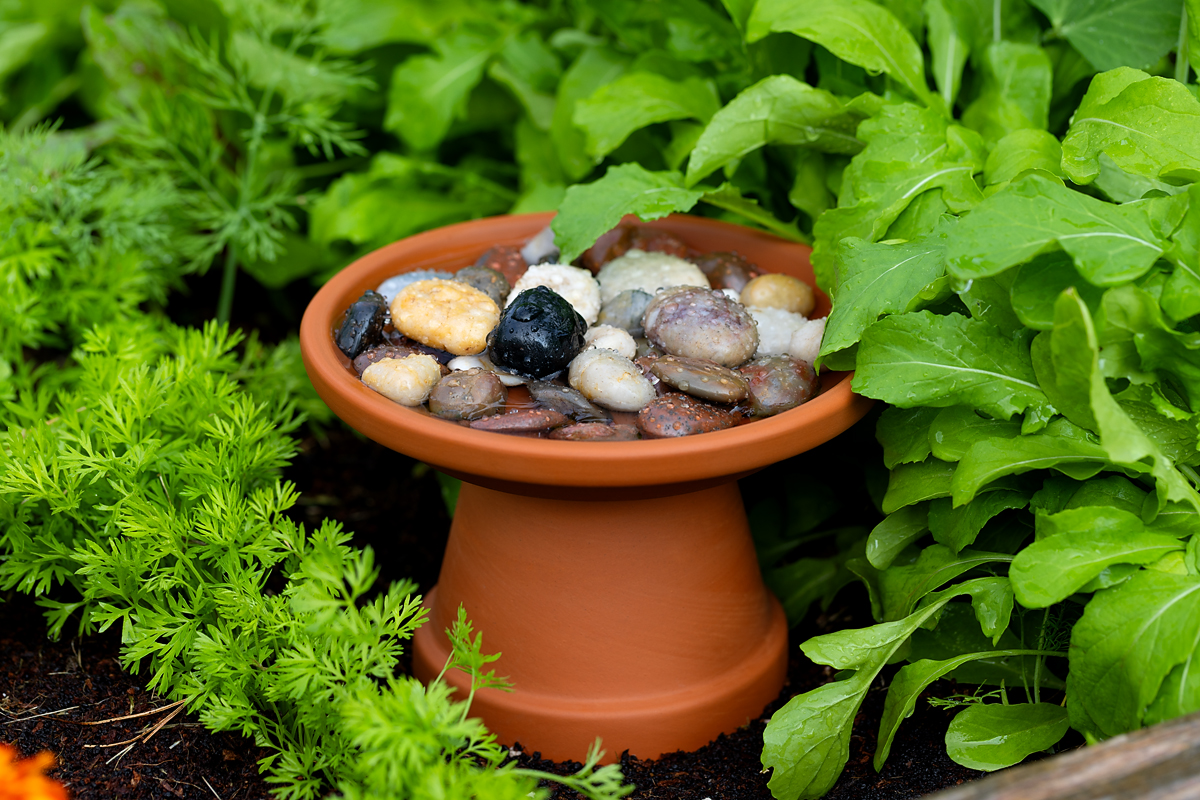
STEP 1: Choose a shallow dish or saucer. Look for something that’s only 1–2 inches deep. I used a terracotta plant saucer, but an old pie tin works well.
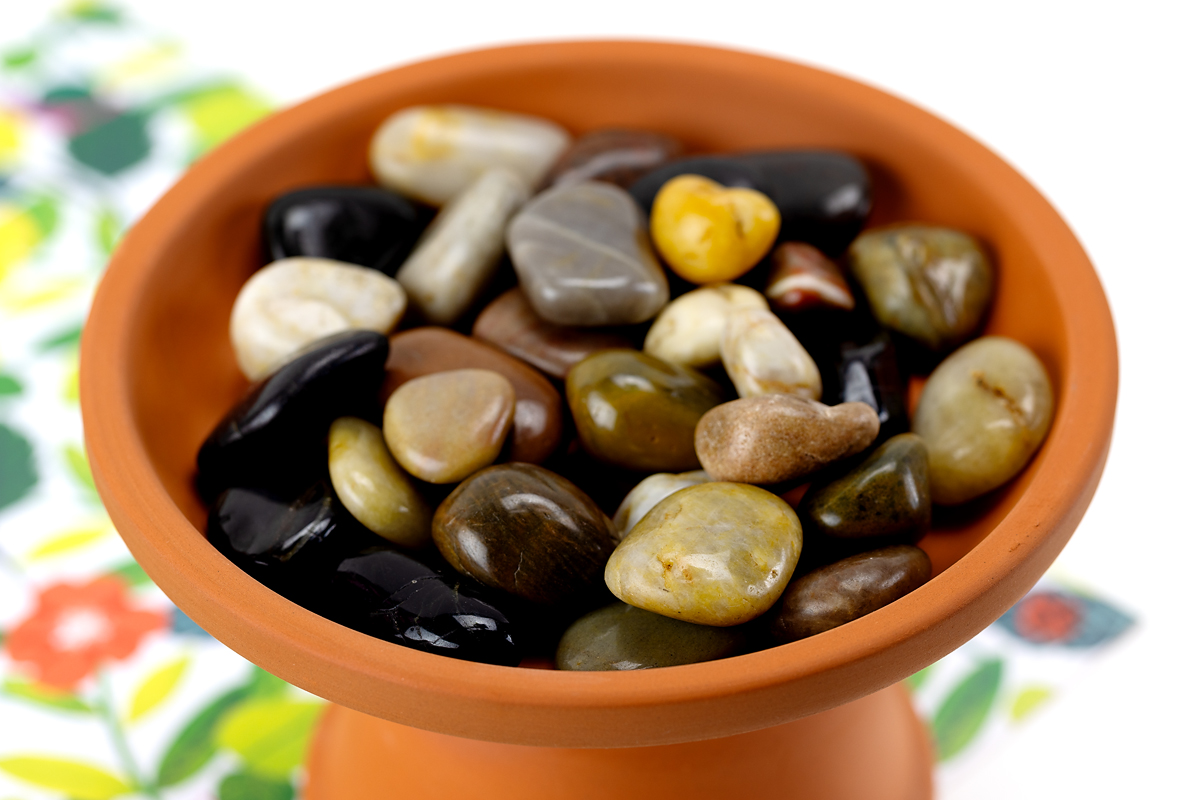
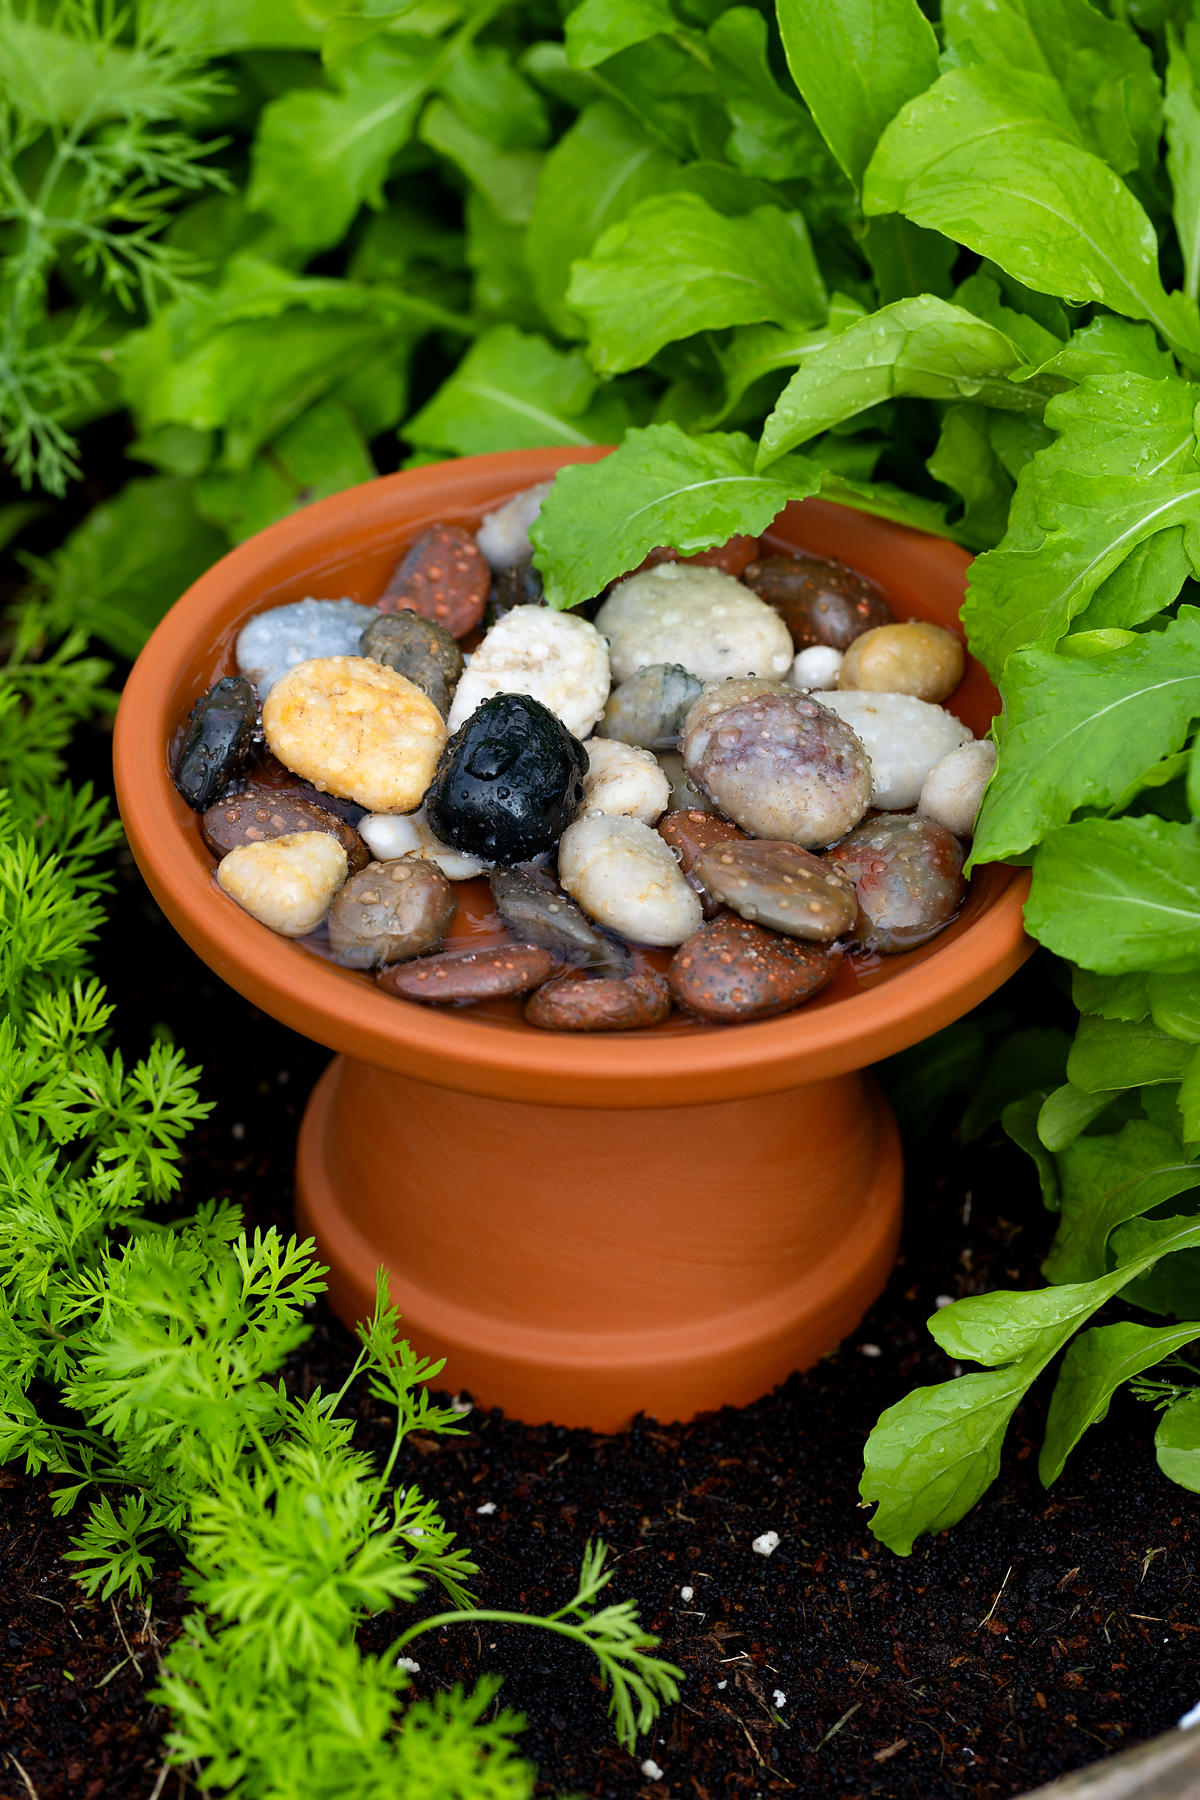
STEP 2: Add pebbles or marbles. Fill the bottom of the dish with pebbles, marbles, or small stones. These will give bees a safe place to land while they drink. Flip the pot upside down, then stack the saucer on top of it.
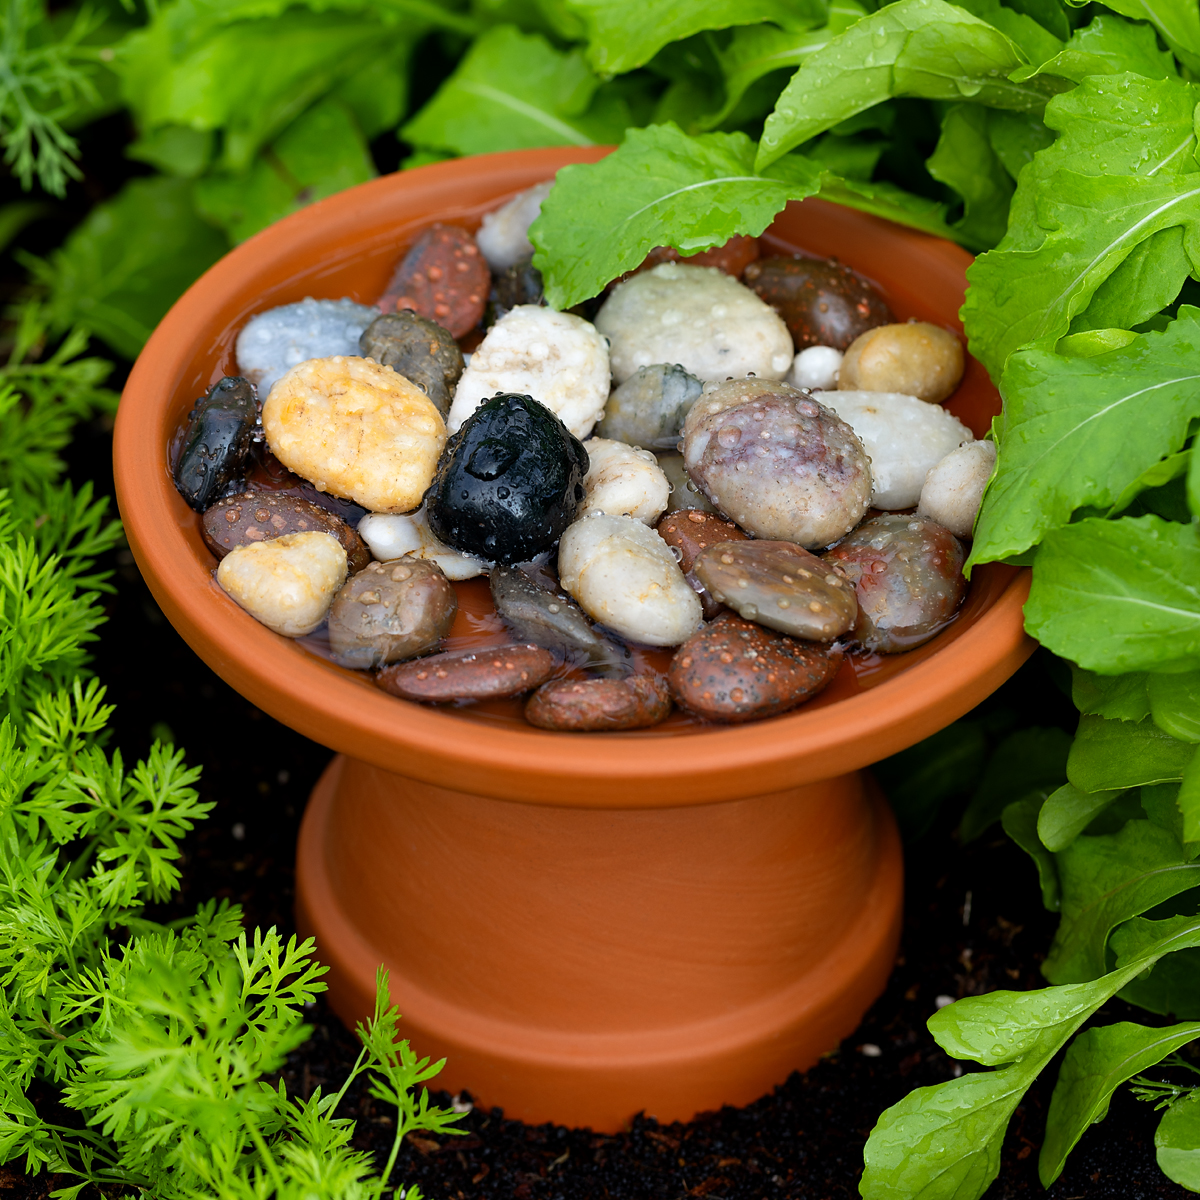
STEP 3: Pour in fresh water. Bring your bee bath out to the garden. Add just enough water so that the tops of the stones remain above the surface. This prevents bees from slipping in and drowning. Choose a shady, quiet spot near flowers or plants where bees are likely to visit. Make sure the bee bath is stable and won’t tip over.
STEP 5: Keep it clean. Refresh the water daily, especially during warm weather. Rinse out the dish and stones once a week to prevent algae or bacteria buildup.
Terracotta naturally absorbs water, so you might notice your bee bath needs refilling more often in hot weather. I don’t mind the extra upkeep—since I work from home, I’m in the garden several times a day anyway. But if you find yourself topping it off too frequently, you might try using a glazed saucer instead.
Tips for Attracting Bees
To attract bees to your garden, try planting purple, blue, and violet flowers like catmint, bee balm, or coneflowers. These blooms provide a steady food source and help draw bees to the area. It’s also important to avoid using pesticides or herbicides in your garden, as these chemicals can harm pollinators. For best results, place your bee bath near blooming plants where bees are already foraging, so it becomes a natural stop on their daily route.
I placed my bee baths in my vegetable garden between rows of arugula and carrots, and near flowering chives, peas, and tomatoes. A variety of insects and small birds regularly visit for a drink!
Take it Further
Try some of these simple, engaging ideas to help kids learn more about supporting pollinators.
- Observe your bee bath daily and record which insects visit. You can even make a simple nature journal to track your findings.
- Read books about bees, pollination, and garden ecosystems to spark curiosity and conversation.
- Research native pollinators in your region and learn how to support them through habitat and food sources.
- Create a pollinator-friendly space by planting a variety of flowers in your yard that bloom throughout the seasons.
- Talk about conservation and how small actions—like adding a bee bath or planting native flowers—can make a big difference for wildlife.
- Personalize your bee bath by painting the outside of it with outdoor paints! Check out this cute painted Fairy House Bee Bath!
- Explore local parks or community gardens to see pollinators in action, and encourage kids to share what they learn with friends and family.
- Try building additional pollinator habitats such as bee hotels or butterfly houses to provide shelter for different pollinator species.
- Experiment with different fillers. Do your local bees prefer rocks or gems? What happens if you add moss, sticks, or flowers?
- Dig a hole under the flower pot and use it for in-ground worm composting.
- Experiment with different height flower pots. Do your local bees prefer low baths or high baths?
- Try placing a few bee baths in both sunny and shady spots to see which one the bees prefer.
More Nature-Inspired Projects for Kids
As a former outdoor educator, I’m passionate about connecting kids with nature through hands-on learning and play. If your children enjoyed making a bee bath, they’ll love these creative and engaging nature activities:
- Use an old wooden CD case to make a Bug Hotel.
- Learn how to raise butterflies at home.
- Study the life cycle of the monarch butterfly.
- Make a Pine Cone Bird Feeder!
- Plant a Fairy Garden in a basket or in your garden.
- Making jam was a very popular activity in the nature barn at the summer camp I worked at decades ago. Try our recipes for Strawberry Preserves and Blackcurrant Jam!
- Bees and other pollinators are drawn to sunflowers! Create a Paper Plate Sunflower craft and discover more about these helpful insects.
Save This Craft
Save this craft on Pinterest using the image below.


Want even more?
Make sure to follow on Facebook, Pinterest, and Instagram for more easy crafts, activities, recipes, and parenting tips. And don’t forget to subscribe to our emails.