

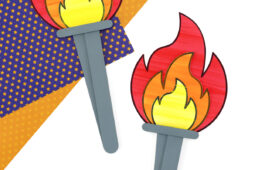
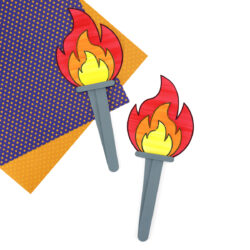
If you’re looking for an easy Olympics-inspired craft for kids, this simple Torch Craft is a great place to start. Made with just 5 basic supplies and our free printable flame template, these popsicle stick torches come together in about 30 minutes. They’re perfect for classroom games, backyard relay races, homeschool lessons, or anytime you want to celebrate teamwork, sportsmanship, and the excitement of the Games.

Why You’ll Love This Olympics-Inspired Torch Craft
This easy Olympics-inspired craft for kids is simple to prepare, meaningful to make, and fun to use long after the glue dries. Print the flames on colored cardstock for a quick, low-prep option, or use white cardstock so kids can paint and personalize their own designs. Either way, you’ll have sturdy torches that can handle active play and spark plenty of imaginative fun. Here are more reasons why to love it:
- Quick and low-prep – With just a few basic supplies and a printable flame template, this craft comes together in about 20 minutes.
- Budget-friendly – Craft sticks and cardstock are inexpensive and easy to find, making it ideal for classrooms, homeschool groups, or large events.
- Easy to adapt for different ages – Younger kids can use pre-cut flames, while older children can paint, cut, and personalize their torches.
- Encourages creativity – Kids can layer colors, paint designs, or add glitter to make their Olympic torch unique.
- Supports learning – Use this craft to introduce the history and symbolism of the Olympic flame and talk about teamwork, perseverance, and global unity.
- Perfect for active play – The finished torches are sturdy enough for pretend opening ceremonies, backyard relay races, and classroom celebrations.
Craft Supplies Needed
You only need a handful of simple craft supplies to make this easy Olympic torch craft for kids—most of which you may already have on hand.
- Free Printable Flame Template (free with email subscription)
- White cardstock
- Red, orange, and yellow cardstock
- Washable paint, colored pencils, or crayons
- Scissors
- Tacky craft glue
- Wide craft sticks
- Mini craft sticks
- Hot glue and hot glue gun
- Grey acrylic paint
- Paintbrushes
How to Make an Olympic Torch Craft
Follow these step-by-step directions to create a simple Olympics-inspired torch craft that’s sturdy enough for active play and easy enough for kids of all ages to enjoy.
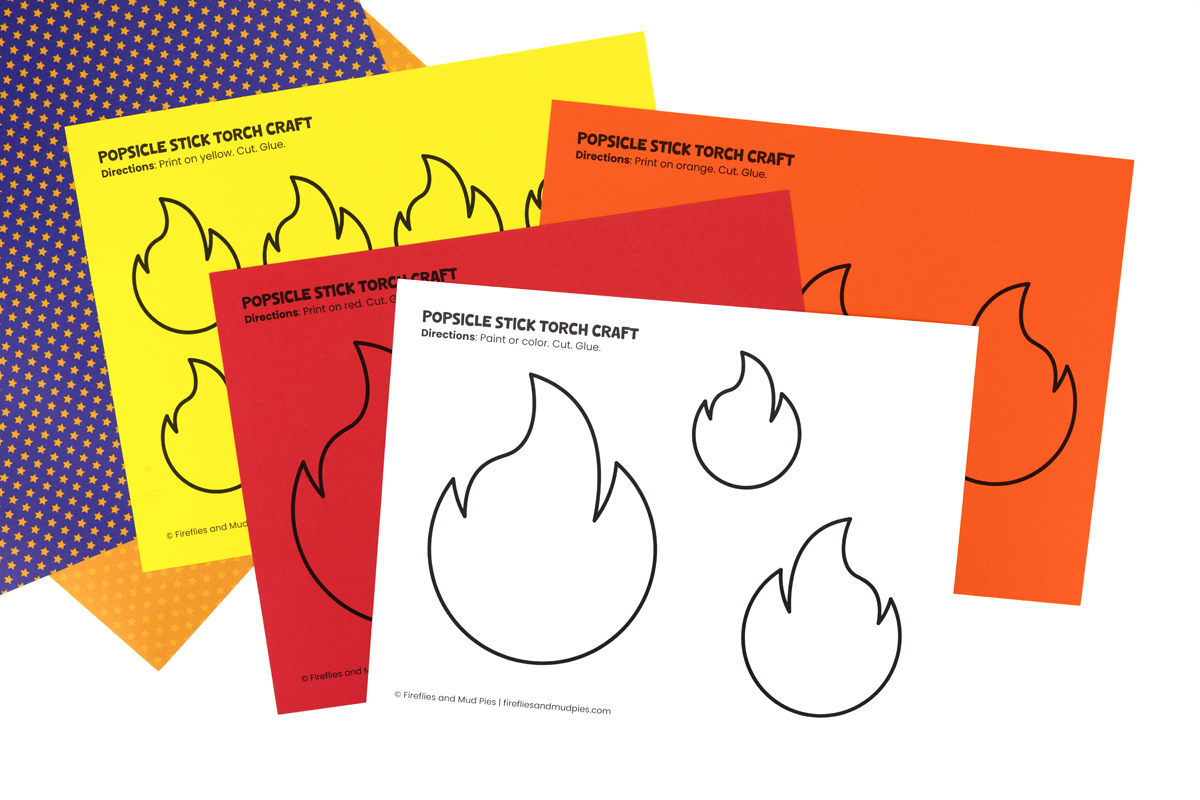
STEP 1: Download and print the template. Begin by downloading the free printable flame template. Print the flames on colored cardstock for a quick-prep option, or use white cardstock if you’d like kids to paint or decorate their own designs.
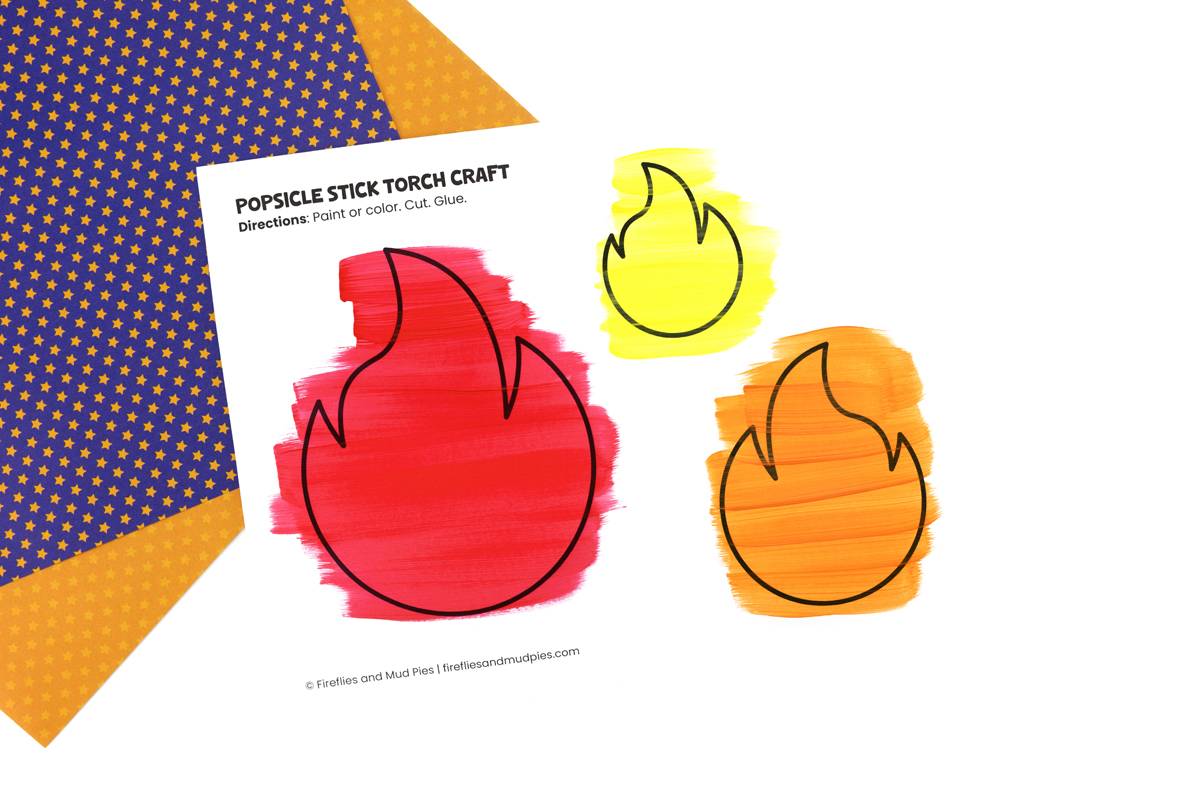
STEP 2: Paint the flames. After printing the flame template, have kids paint the flames red, orange, and yellow. Let the paint dry completely before moving on. Using cardstock makes them sturdier, but regular paper works too if kids want to decorate their own designs.
STEP 3: Cut out the flames. After printing the flame template, cut out the flame shapes. You can use colored cardstock for a quick, low-prep option, or use white cardstock so kids can color, paint, or decorate their flames themselves. This makes the craft easy to adapt for different ages and skill levels.

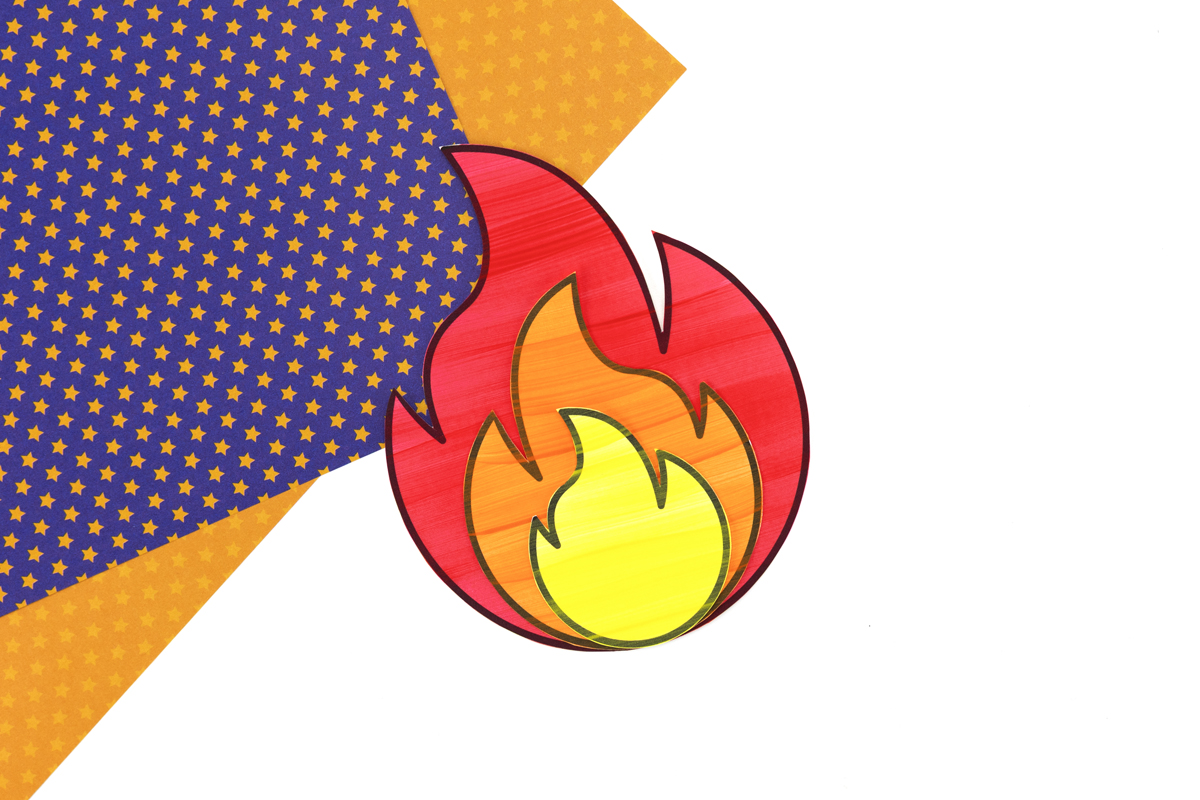
STEP 4: Glue the flames together. Layer the red, orange, and yellow flame pieces and glue them together. Kids can adjust the order or overlap as they like. If you’re using tacky glue, allow it to dry completely before attaching the flames to the torch.
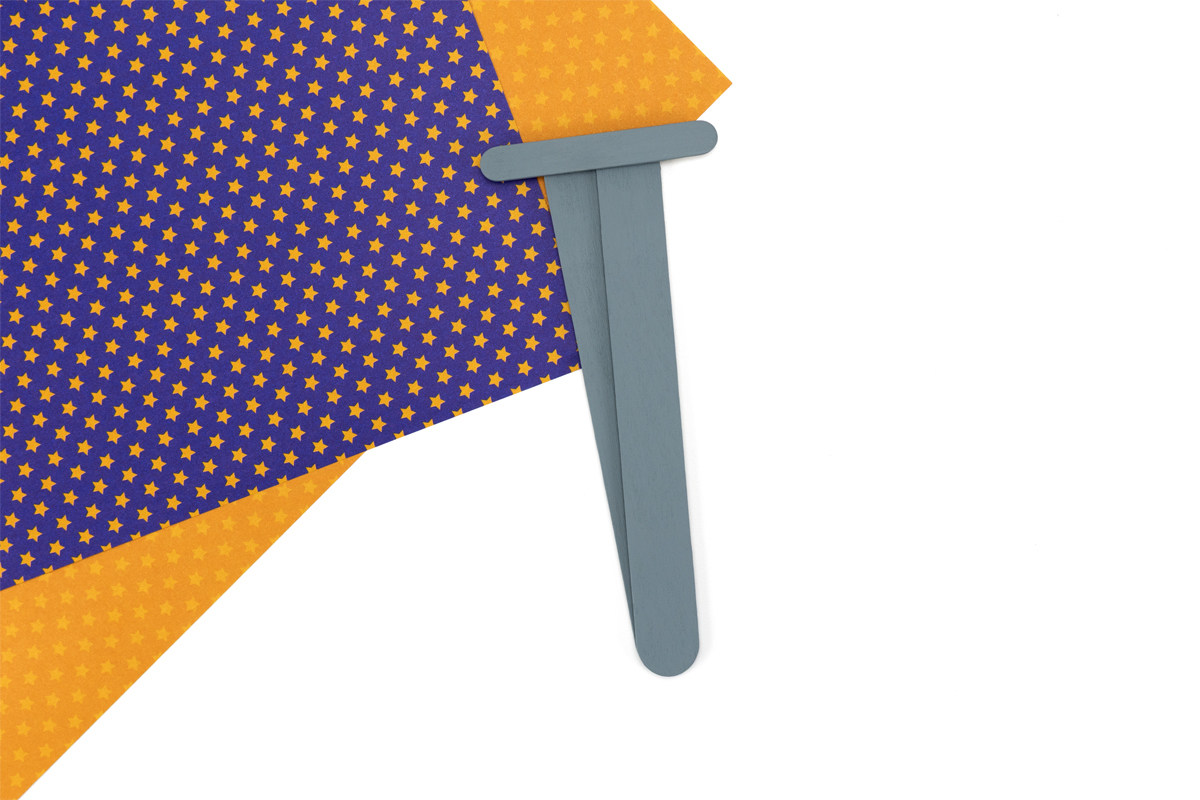
STEP 5: Paint the craft sticks. Have your child paint the wide and miniature craft sticks grey. Set them aside and allow the paint to dry completely before moving on.

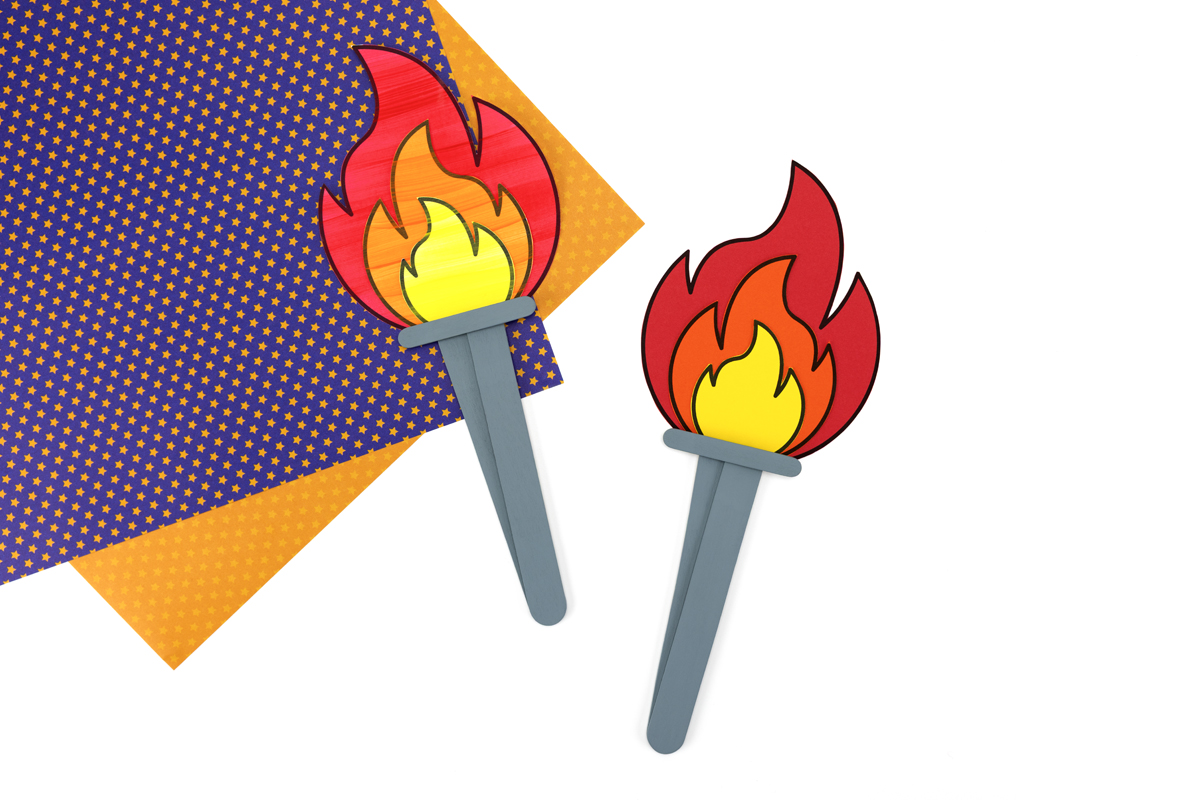
STEP 6: Assemble the torch. Squeeze a small dot of glue at the bottom of one wide craft stick. Place the second wide craft stick on top, then gently fan out the top halves to form the body of the torch.
Next, glue one miniature craft stick horizontally across the top of the wide sticks for support. If using tacky craft glue, allow it to dry completely before moving on.
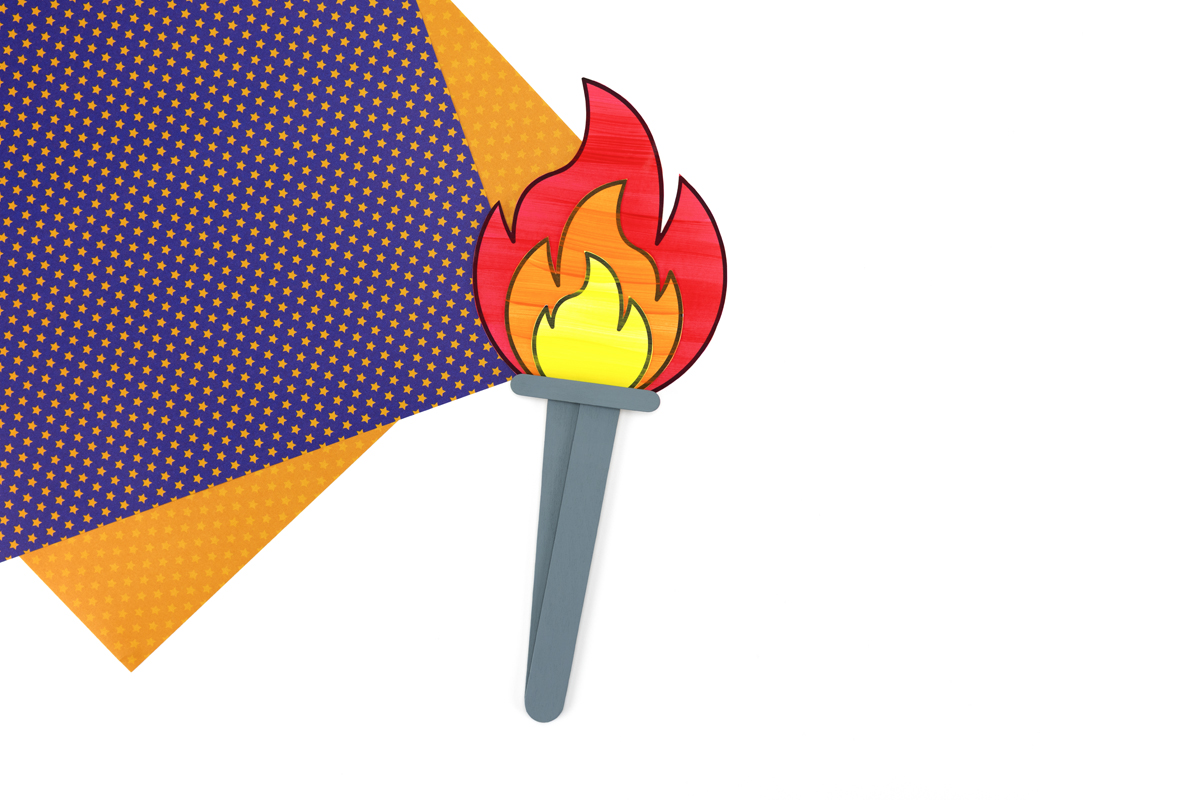
STEP 7: Attach the flames. Glue the layered flame piece to the back of the wide craft sticks (the torch barrel). Press firmly and allow the glue to dry completely before handling.
Take It Further
Once the torches are finished, there are lots of ways to extend the fun, build learning, and keep kids engaged. Here are some ideas:
- Create an opening ceremony – Have kids carry their torches in a backyard or classroom relay, just like a mini torch parade.
- Learn about the history – Talk about the origins of the Olympic flame and what it symbolizes, or explore other international games and traditions.
- Incorporate movement and teamwork – Set up simple relay races or teamwork challenges using the torches.
- Book connections – Pair the craft with kid-friendly books about sports, teamwork, or the Olympic Games, such as What Are the Winter Olympics? by Gail Herman or Hour of the Olympics by Mary Pope Osborne.
- Decorate and personalize – Encourage kids to add glitter, stickers, or draw symbols on their torches to make each one unique.
- Cross-curricular connections – Use the craft as a springboard for lessons on geography, countries participating in the Games, or even simple math with relay times and distances.
FAQs About This Torch Craft
Here are answers to some common questions parents and teachers have when making this simple torch craft with kids.
his craft works well for kids ages 5 and up. Younger children will need help with cutting the flames and using glue, while older kids can usually do most steps independently. It’s easy to adapt for different skill levels by pre-cutting flames or letting kids paint and decorate at their own pace.
No, the template is optional! You can freehand cut flame shapes from construction paper if you prefer. However, the template ensures consistent sizing and makes prep much faster, especially for large groups. It’s particularly helpful for younger children who are still developing scissor skills.
Yes! Regular paper works fine, especially if kids want to color or paint their flames. Cardstock is sturdier and holds up better for active play.
From start to finish, including drying time, the craft usually takes about 30 minutes.
Absolutely! This craft is perfect for large groups. Print enough flame templates ahead of time, and use tacky glue instead of hot glue for safety. For younger children, you can prep the torch handles and cut the flames in advance to make the activity easier and more manageable.
More Sports-Themed Crafts for Kids
If your kids love making their own torch, they’ll enjoy these other simple, active-play-friendly sports crafts:
- Paper Plate Soccer Ball – Turn a paper plate into a fun soccer ball kids can color and play with. Perfect for learning about teamwork and kicking off indoor or backyard games.
- Dot Art Basketball Craft – This easy craft uses dot markers or paint to create a colorful basketball, helping younger children practice fine motor skills while celebrating their favorite sport.
- Sports-Themed Hedgehog Craft – Combine creativity with athletics by making hedgehogs in jerseys or team colors. Great for storytelling, imaginative play, and themed classroom activities.
Save This Craft
Save this torch craft on Pinterest to easily find it for classroom lessons, backyard games, or anytime kids want a fun, sports-themed activity.
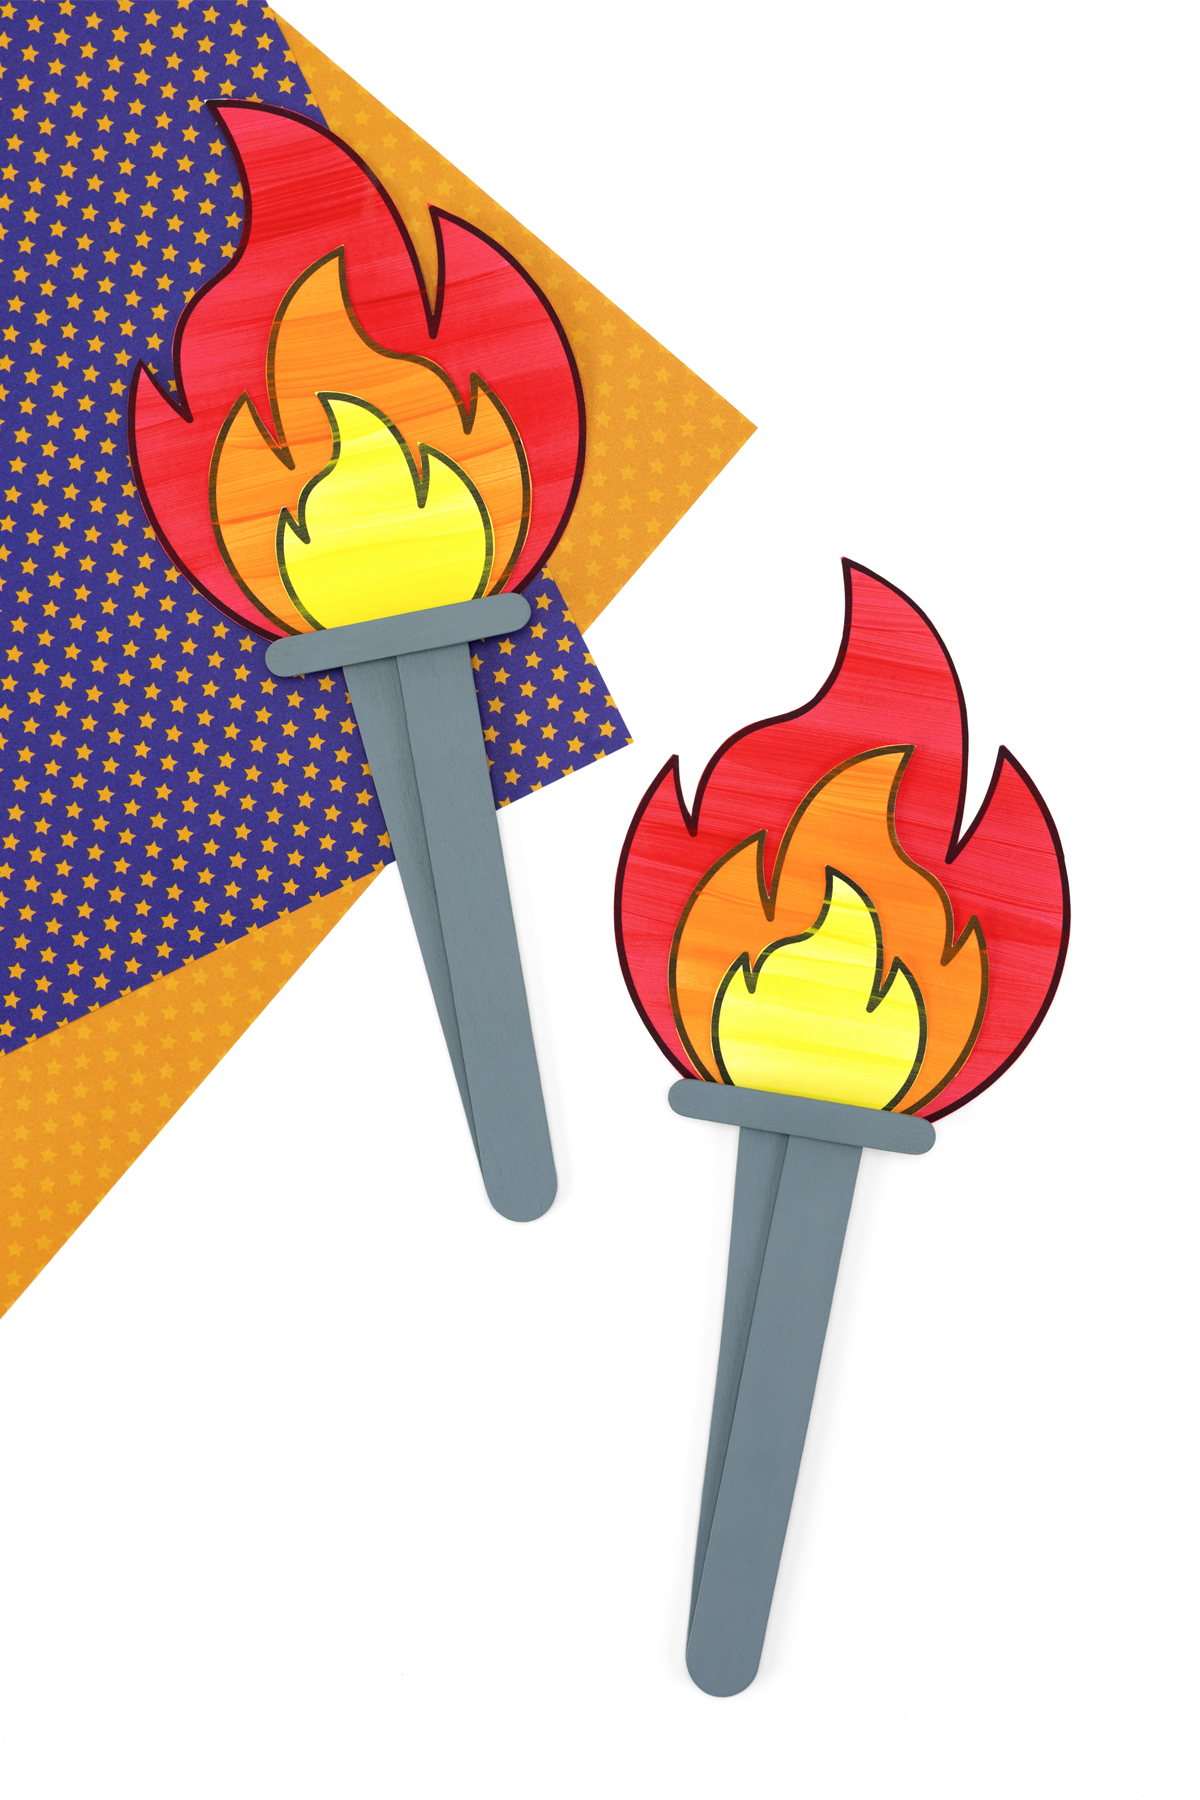
Olympics-Inspired Torch Craft
Ingredients
- Free Printable Flame Template
- White, red, orange, and yellow cardstock
- Washable paint, colored pencils, or crayons
- Scissors
- Tacky craft glue
- 2 Wide craft sticks
- 1 Mini popsicle stick
- Hot glue and hot glue gun (adult use recommended)
- Grey acrylic paint
- Paint brushes
Instructions
- Download the template. Download and print the FREE flame template.
- Paint the flames. Paint the printed flames red, orange, and yellow. Let them dry completely.
- Cut out the flames. Cut out the painted flames carefully with scissors.
- Glue the flames together. Layer the red, orange, and yellow flames and glue them together. Let dry.
- Paint the craft sticks. Paint the wide and miniature craft sticks grey. Let them dry completely.
- Assemble the torch. Glue the two wide sticks together, fanning the top halves. Glue one miniature stick horizontally across the top for support.
- Attach the flames. Glue the layered flames to the back of the torch. Let the glue dry completely before handling.
Originally published February 11, 2018.


Want even more?
Make sure to follow on Facebook, Pinterest, and Instagram for more easy crafts, activities, recipes, and parenting tips. And don’t forget to subscribe to our emails.