

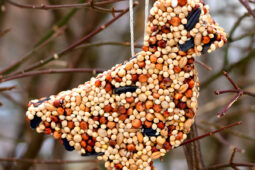
Make these easy DIY Birdseed Ornaments with just 3 simple ingredients! This kid-friendly winter nature craft uses gelatin (no corn syrup) and attracts cardinals, finches, chickadees, and other beautiful backyard birds. It’s perfect for classrooms, homeschool nature study, or family crafting time.
Love feeding birds? You may also enjoy making our Toilet Paper Roll Bird Feeder!
Homemade Birdseed Ornaments
When my boys were 5 and 3 years old, I decided to host their first out-of-home birthday party. I was excited to skip the mad dash of cleaning the house and planning activities. But when I started calling venues, everything was far outside my budget.
Later that week, my husband and I took the kids to our local nature center to snowshoe the trails. Before leaving, we stopped inside and I noticed a sign on the bulletin board that read, “Have your next birthday party at the nature center!”
When I called the next day, the naturalist explained the cost was only $25 for two hours. For the final hour, she would bring out educational animals and lead the kids on a short nature walk.
The party was fantastic! We made a nature craft, played a quick game, and enjoyed cake and presents. Then the naturalist brought in animals, including a hefty ball python the kids could hold and pose with for photos. She finished by taking the children on a short winter nature walk.
As families headed out the door, I handed out paper favor bags filled with birdseed, a plastic cookie cutter, unflavored gelatin, and instructions for making homemade birdseed ornaments. The families loved it, and this simple craft quickly became one of our favorite winter traditions.
Watch the Video
See exactly how to make birdseed ornaments step by step in our short video tutorial. It’s perfect if you’re crafting with kids or making these in a classroom.
What You’ll Need
Gather these simple supplies before you start. Most are pantry staples or craft supplies you likely already have at home.
- 2 packets unflavored gelatin
- 1/2 cup boiling water
- 2 cups quality birdseed (wild bird feed with sunflower seeds and millet works well)
- Cookie cutters (animal shapes work great)
- Hemp twine
- Parchment paper
- Cookie sheet
- Mixing bowl
- Spoon
- Scissors
How to Make Birdseed Ornaments
Follow these simple steps to create beautiful cookie cutter bird feeders with your kids. The process takes about 30 minutes, plus 24 hours of drying time.
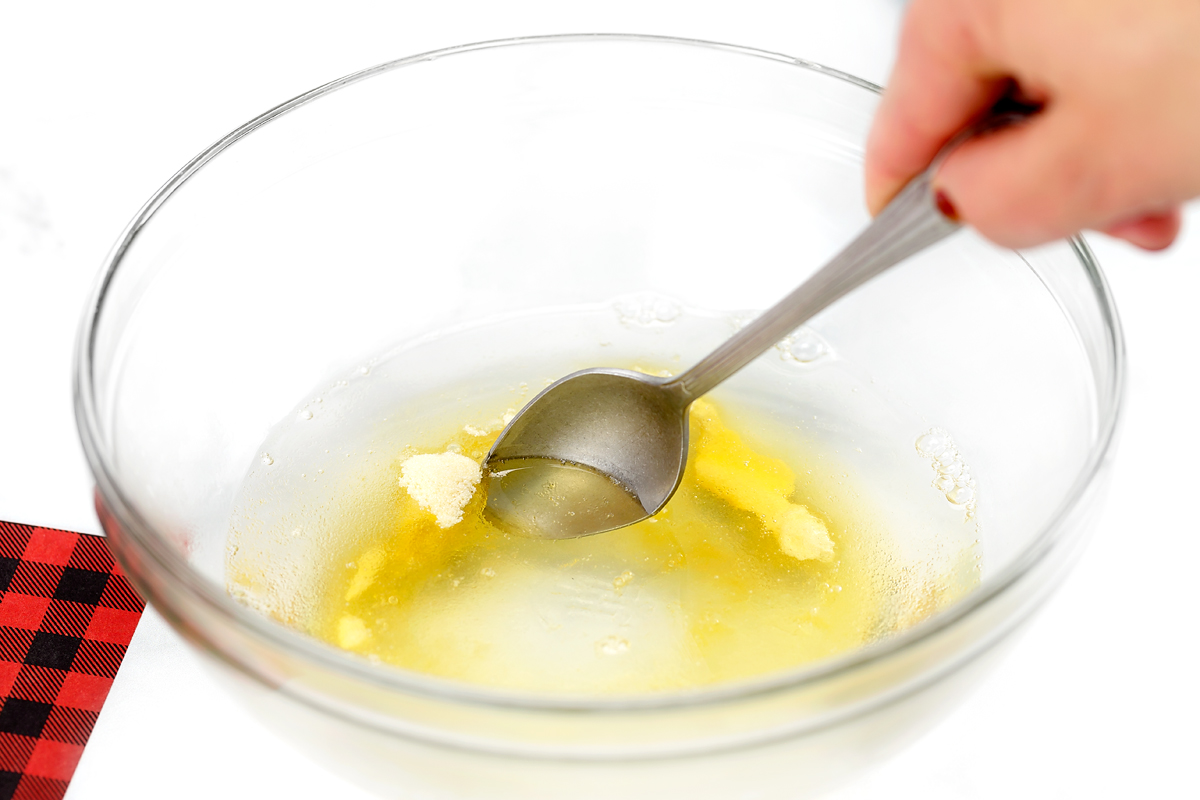
STEP 1: Mix the gelatin. Empty 2 packets of unflavored gelatin into a mixing bowl. Pour in 1/2 cup of boiling water and stir until completely dissolved. Adult supervision is required for this step.
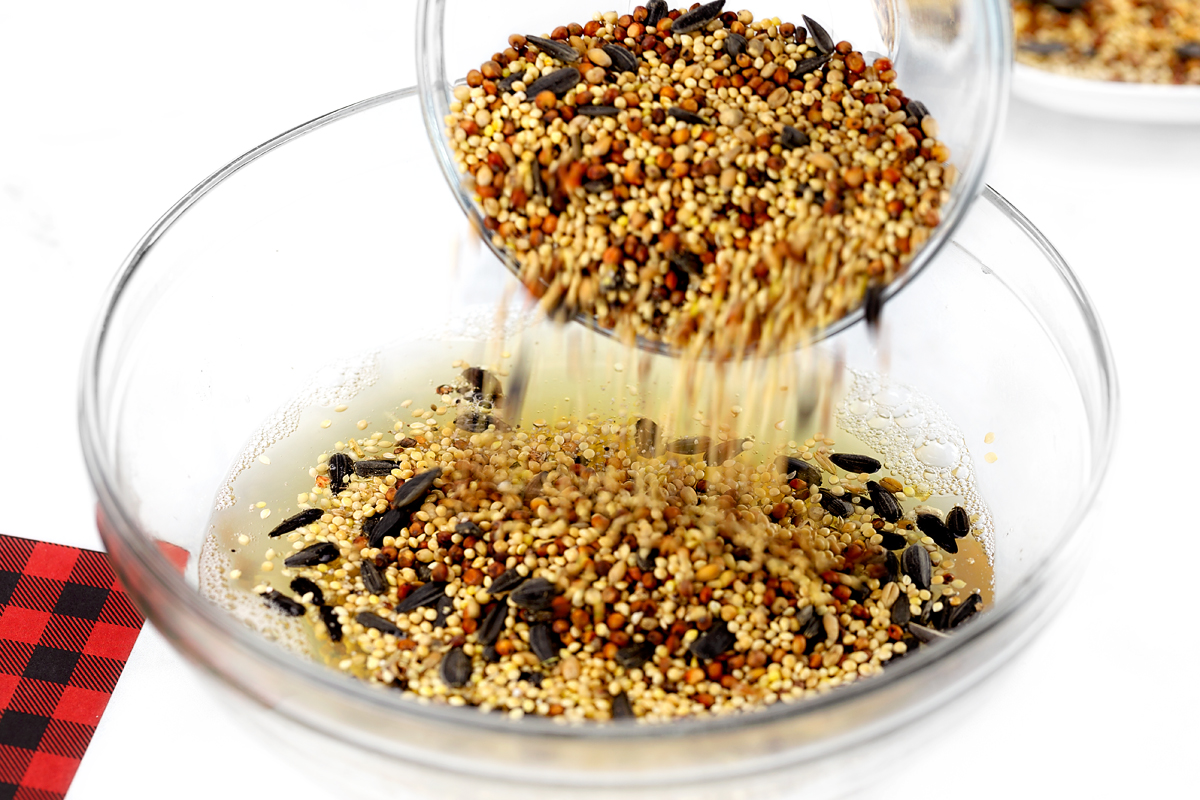
STEP 2: Add the birdseed. Pour 2 cups of birdseed into the bowl and stir until every seed is well coated with the gelatin mixture.
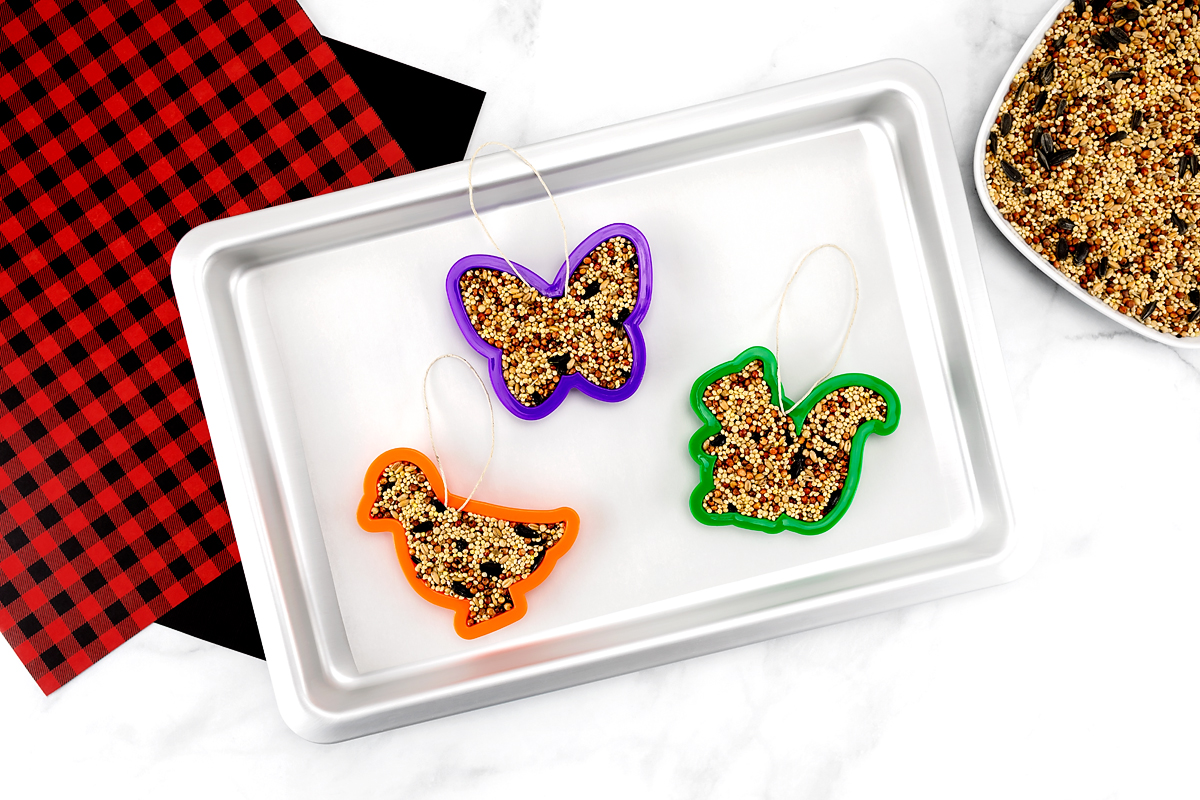
STEP 3: Prepare your work surface. Line a baking sheet with parchment paper and place 3–4 cookie cutters on top. This prevents sticking and makes cleanup easier.
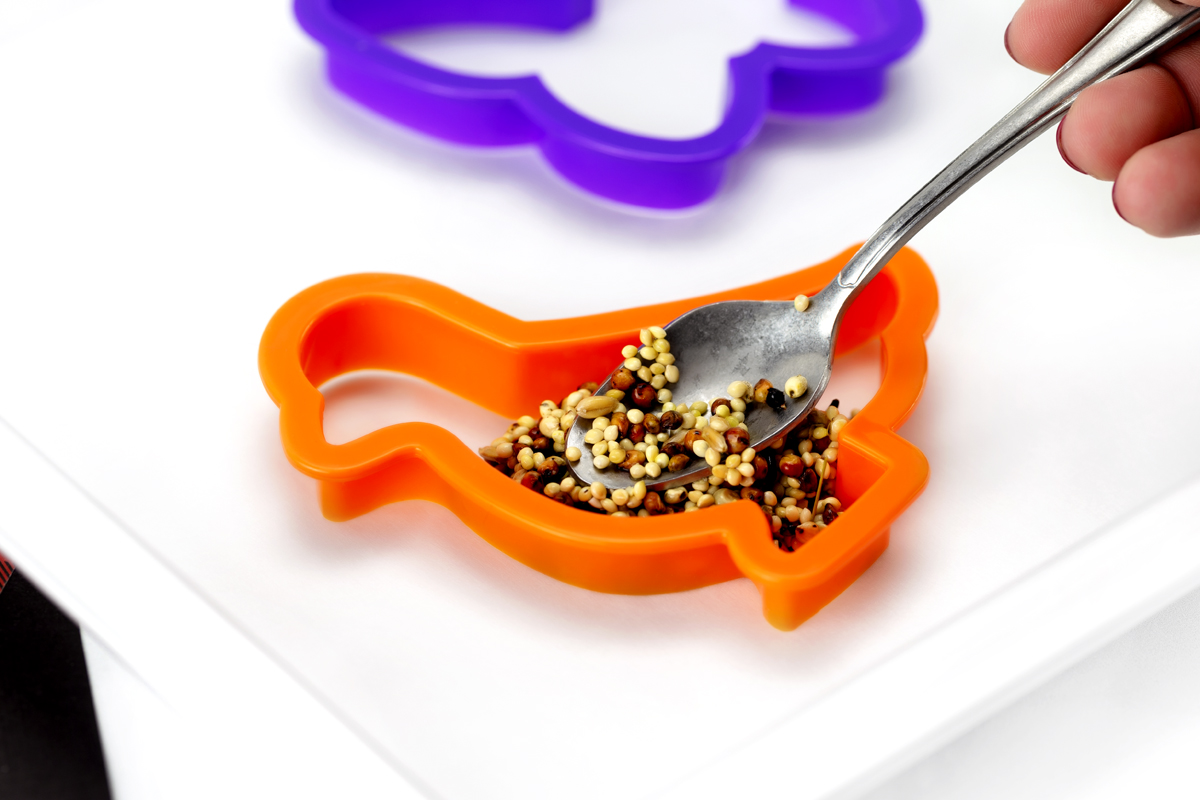
STEP 4: Fill the cookie cutters. Using a small spoon, fill each cookie cutter halfway with the birdseed mixture.
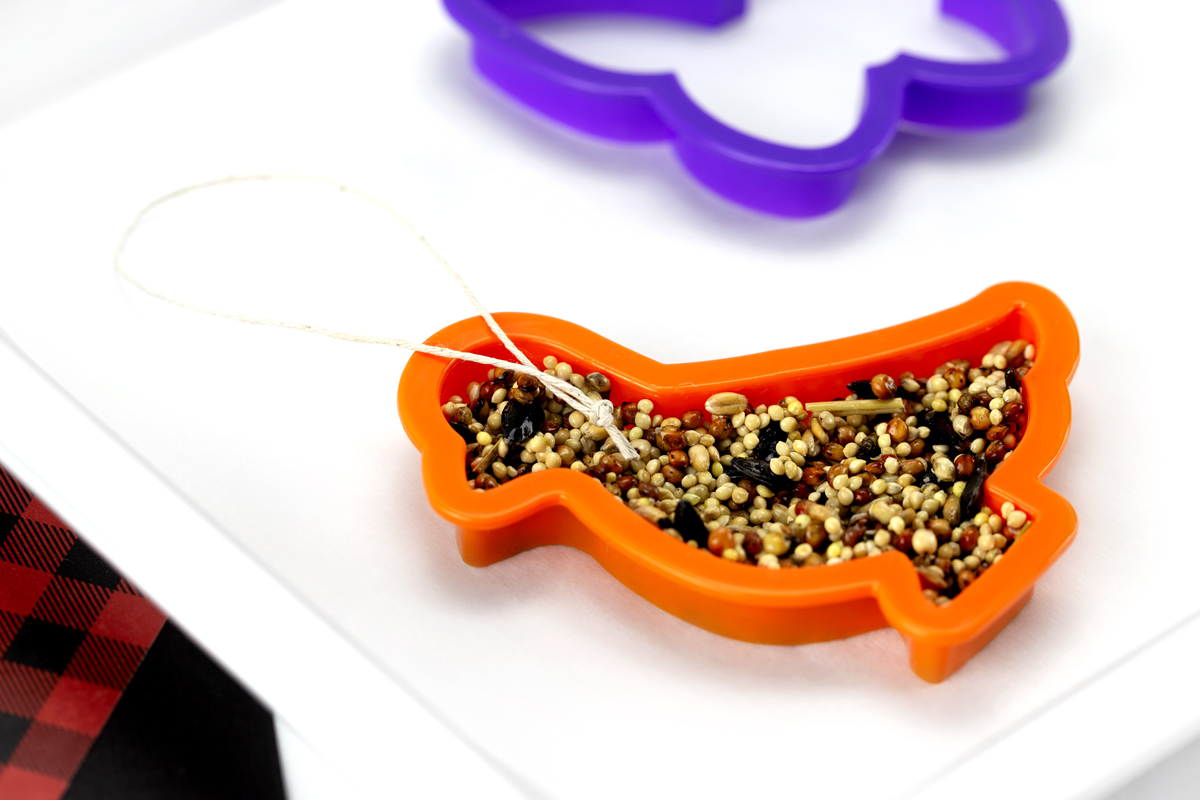
STEP 5: Add the hanging loop. Cut a 6–8 inch piece of twine and tie the ends together to form a loop. Press the knotted end into the center of each ornament.
STEP 6: Complete filling. Add more birdseed mixture until the cookie cutters are full. Use a small piece of parchment paper to firmly press down the seeds. This helps create sturdy ornaments and keeps the mixture from sticking to your hands.
STEP 7: Let them dry. Allow the ornaments to dry at room temperature for 24 hours. They must be completely hard before hanging.
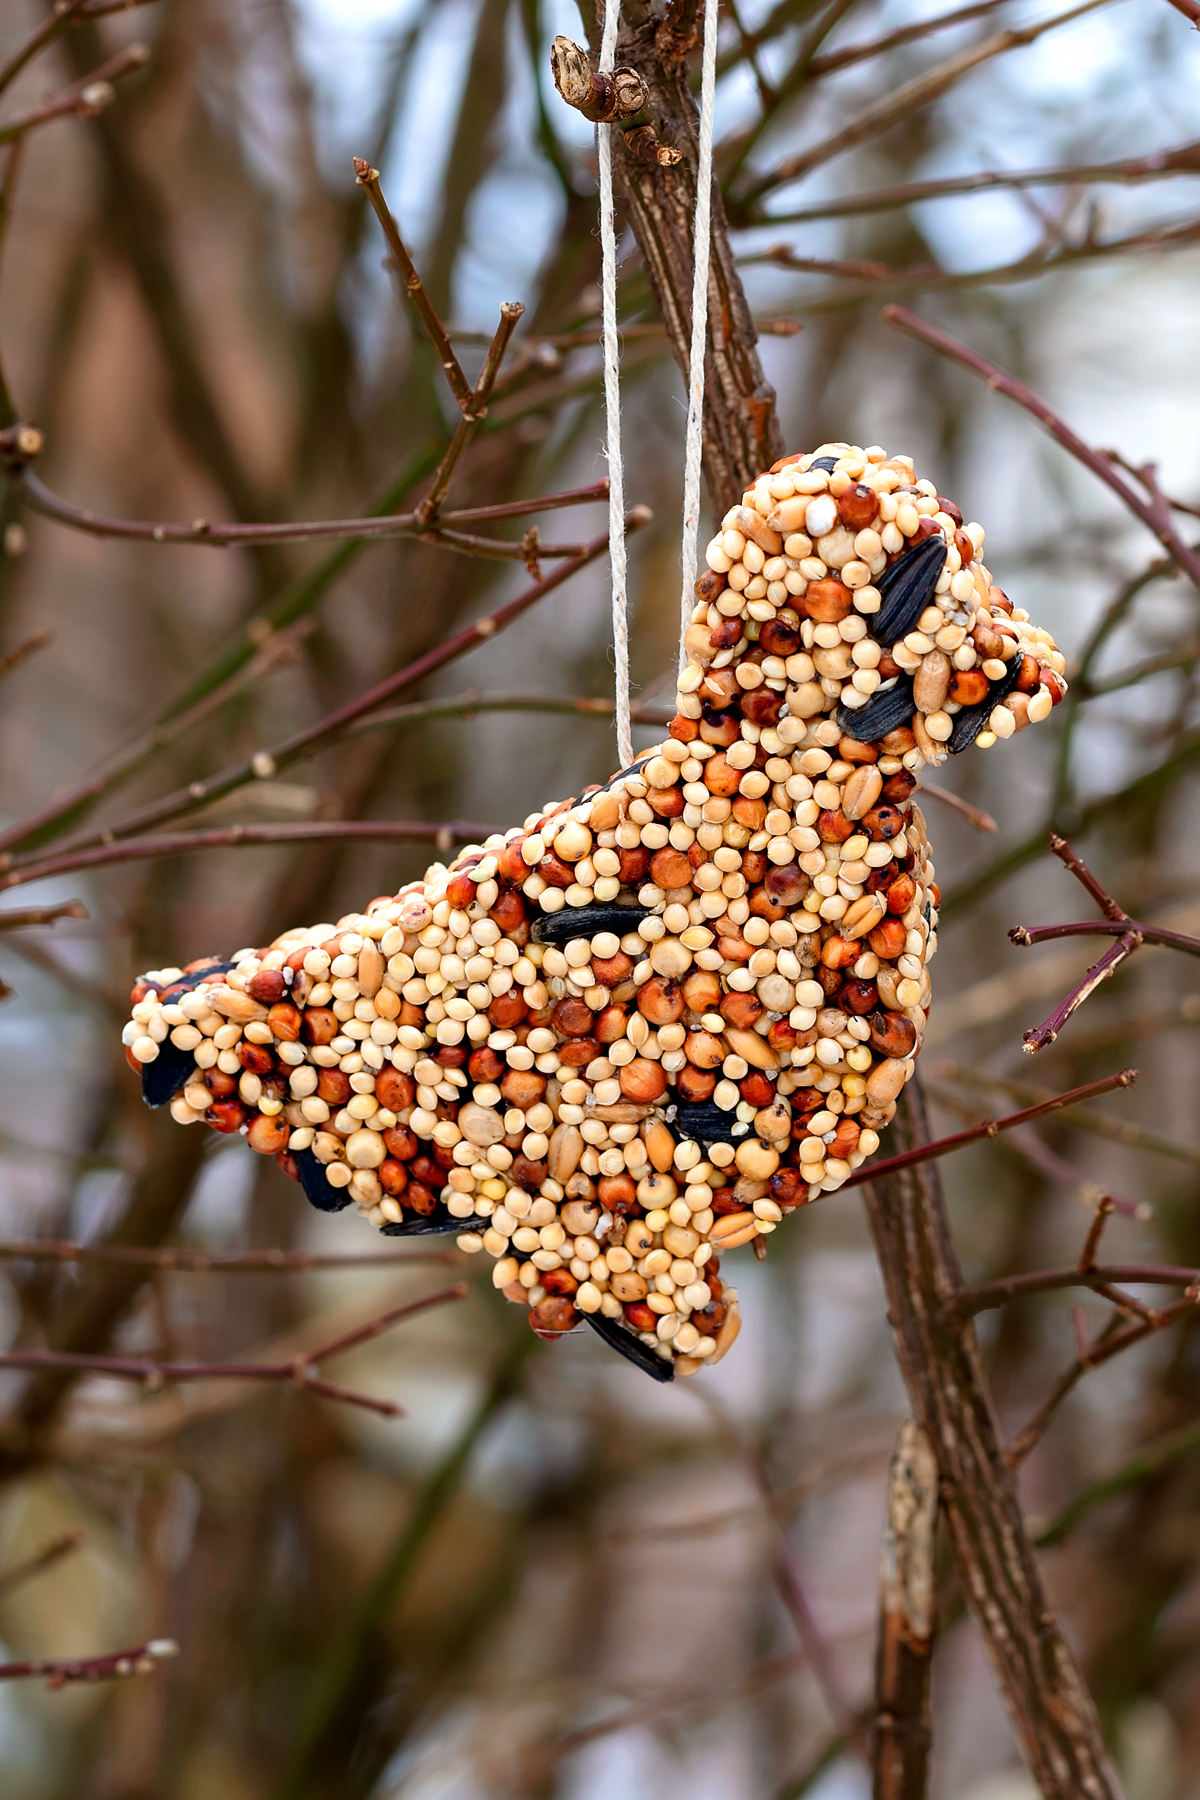
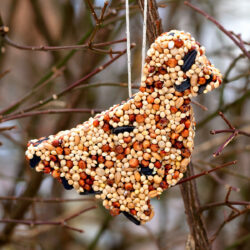
STEP 8: Remove and hang. Once hardened, gently remove the ornaments from the cookie cutters. Hang them from tree branches, shepherd’s hooks, or porch railings where you can watch the birds enjoy them.

Which Birds Will Visit?
One of the most exciting parts of making birdseed ornaments is seeing which birds stop by for a snack. These are some of the visitors we’ve spotted:
- Northern cardinals
- House finches and goldfinches
- Black-capped chickadees
- Dark-eyed juncos
- Mourning doves
- Pine grosbeaks
And yes, squirrels too. They love holding the ornaments like cookies!
The birds you attract will depend on your location and the seed mix you use. Blends with sunflower seeds, millet, and safflower attract the widest variety.
Tips for Success
Use these tips to make sure your birdseed ornaments turn out sturdy and last as long as possible.
Make Them Last Longer
- Only hang ornaments when temperatures stay below 50°F.
- Place them in shaded areas to reduce melting.
- Hang away from spots where fallen hulls will create a mess.
Best Cookie Cutters to Use
- Choose cutters at least 1/2 inch deep.
- Both metal and plastic cookie cutters work great!
- Wildlife shapes are fun, but any shape works.
Making These in the Classroom
- Pre-measure ingredients into bags for each group.
- Use small paper cups for mixing multiple batches.
- Pre-cut twine into 8-inch pieces.
- Cover tables with newspaper for easy cleanup.
Is Gelatin Safe for Birds?
This is a common question from parents and teachers.
Yes. Gelatin birdseed ornaments are widely recommended by bird experts, including the Cornell Lab of Ornithology. The key guideline is to only offer them during cold weather, below 50°F, to prevent melting and mold.
For good backyard bird health, rake up fallen seed hulls every few weeks to reduce the risk of disease.
Storage and Gifting
These ornaments do not store well at room temperature. Gelatin can mold within a few days.
For gift giving or make-ahead projects, we recommend our Birdseed Ornaments Without Gelatin, which have a longer shelf life.
Another great option is to package the dry ingredients separately with printed instructions. These make perfect party favors or classroom take-home kits.
Frequently Asked Questions
We’ve answered the most common questions we receive about making birdseed ornaments. If you don’t see your question here, feel free to leave a comment below!
In cold weather (below 50°F), they typically last 1–2 weeks depending on bird activity and weather conditions. Squirrels and enthusiastic birds may eat them faster!
No, the gelatin mixture begins to set within 15–20 minutes. You need to work with it immediately after mixing. If you need to make ornaments for a large group, prepare multiple small batches instead of one large batch.
This usually happens when the mixture isn’t packed firmly enough. Make sure to press down hard when filling the cookie cutters. Also ensure your gelatin fully dissolved before adding the birdseed.
If your winter temperatures regularly stay above 50°F, these gelatin ornaments will mold quickly. Try our Gelatin-Free Birdseed Ornaments instead, which are safe for warmer climates.
This recipe makes approximately 6–8 ornaments, depending on the size and thickness of your cookie cutters. Larger or deeper cutters will yield fewer ornaments.
More Winter Nature Activities
Looking for more ways to connect kids with nature during the colder months? Check out these popular winter projects that families and classrooms love!
- DIY Winter Bird Feeders – Simple, kid-friendly feeders made from everyday materials to attract backyard birds.
- Snowman Bird Feeder – A festive winter craft that doubles as a treat for feathered friends.
- Pine Cone Bird Feeders – Easy, hands-on project using pine cones, peanut butter, and birdseed.
- Bird Sensory Bin – Engage kids with a tactile, educational activity featuring seeds, feathers, and nature-themed items.
- Winter Nature Scavenger Hunt – Explore the outdoors while searching for signs of winter wildlife and nature treasures.
Pin This Project
Save this birdseed ornament tutorial to Pinterest so you can find it whenever you’re ready to craft. Follow Fireflies and Mud Pies on Pinterest for more nature crafts and kid-friendly activities.

Birdseed Ornaments
Ingredients
- 2 packets unflavored gelatin
- 1/2 cup water boiling
- mixing bowl
- spoon
- 2 cups birdseed
- cookie sheet
- cookie cutters
- hemp twine
- scissors
- parchment paper
Instructions
- Mix the gelatin: Empty 2 packets of unflavored gelatin into a mixing bowl. Pour in 1/2 cup boiling water and stir until completely dissolved. (Adult supervision required.)
- Add birdseed: Stir in 2 cups of birdseed until every seed is coated.
- Prepare cookie cutters: Line a cookie sheet with parchment paper and arrange 3–4 cookie cutters on top.
- Fill cookie cutters halfway: Using a spoon, fill each cutter halfway with the birdseed mixture.
- Add hanging loop: Cut a 6–8 inch piece of twine, tie into a loop, and press the knotted end into the center of the ornament.
- Complete filling: Add more mixture until cutters are full. Press down firmly with a small piece of parchment paper to compact seeds.
- Dry: Let ornaments set at room temperature for 24 hours until completely hard.
- Remove and hang: Gently pop out ornaments and hang from trees, porch rails, or shepherd’s hooks.
Notes
Originally published December 2019.


Kelsi DeNoyer says
Hi Melissa! About how many ornaments did this recipe make?
Melissa Lennig says
Hey Kelsi – This will vary depending on the thickness of your cookie cutters. I recall getting about 6-8 ornaments.
Jess says
If the mixture is made in the morning can I make the ornaments in the afternoon? Also with warm weather will they mold and fall apart? We live in Texas and it is hitting the 70s this week.
Melissa Lennig says
Hi Jess – I’m sorry. That probably won’t work (it will harden by the time you need it.) These ornaments are truly best for 50 degrees or lower. Gelatin molds quickly in warm temps.
Darla says
Could I make these and package them for useable a later date…. … how long do you think they would store for?
Melissa Lennig says
The gelatin will mold after a few days at room temperature. For gift-giving, I recommend this gelatin-free recipe: https://www.firefliesandmudpies.com/birdseed-ornaments-without-gelatin/