


This easy and fun Pencil Craft is made with simple materials like popsicle sticks, paper, and glue. Using a cut-and-paste printable template, kids can create a colorful, hands-on project that’s perfect for back-to-school. It’s a wonderful keepsake that kids of all ages will enjoy making and proudly displaying.
Looking ahead? You may also enjoy our Popsicle Stick Apple Craft.

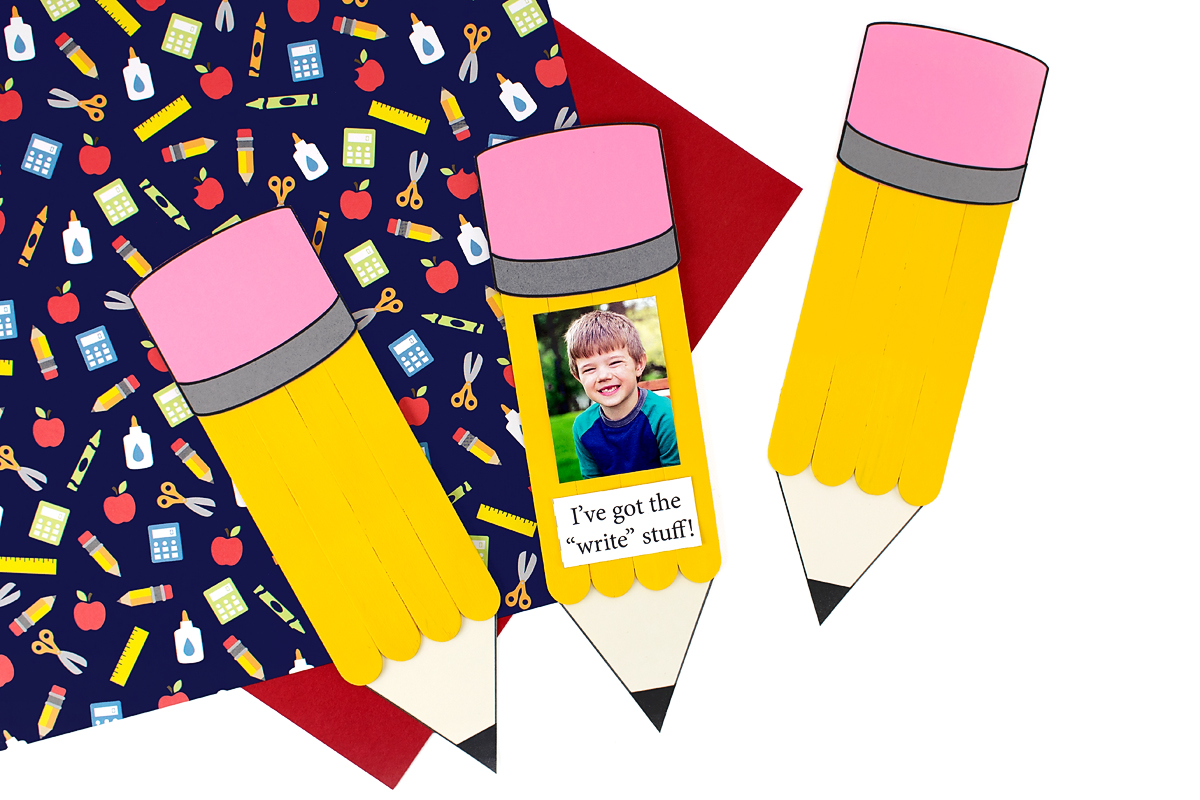
Pencil Craft for Kids
I can hardly believe it’s back to school time! If you’ve been following along with Fireflies and Mud Pies for a while, you know that we love a good craft pun. Our craft stick pencil activity is a fun picture frame to showcase back-to-school photos and boast that your children or students have “the write stuff.” 🤣
Wide wooden popsicle sticks, paper, paint, and glue are all that it takes to make this easy fall craft!
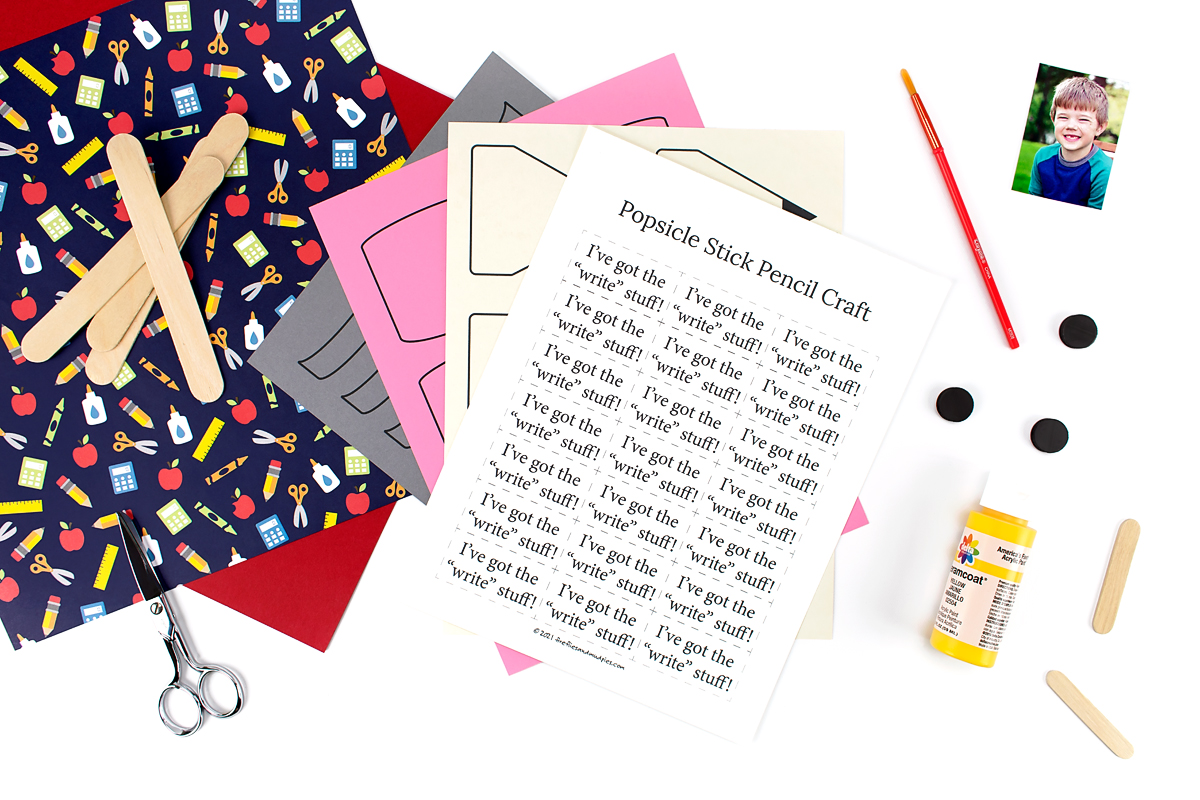
Craft Supplies Needed to Make a Craft Stick Pencil
Before you get started, make sure you have all the right supplies.
- Pencil Craft Template – Includes a paper pencil craft template.
- Cardstock – We used pink, grey, and cream.
- Wide popsicle sticks (4)
- Mini popsicle sticks (2)
- Hot glue gun or tacky craft glue
- Yellow acrylic paint
- Paintbrush
- Double-sided tape
- Scissors
- Adhesive magnets
- Wallet-sized photograph
Watch the Video Tutorial
Watch the video below to see how we created our flowery homemade suncatchers.
Steps to Make a Popsicle Stick Pencil Craft
Follow the steps below to craft bright and cheerful popsicle stick pencils with your kids or students.
STEP 1: Gather your supplies. Then, print the pencil outline template on cardstock. Each child will need one pink eraser, one grey metal ferrule (band), and one cream pencil point.
For convenience, we’ve also included a pencil body/barrel pattern and a pencil outline to color and cut. These are optional if you’re using popsicle sticks for this craft, as shown here.
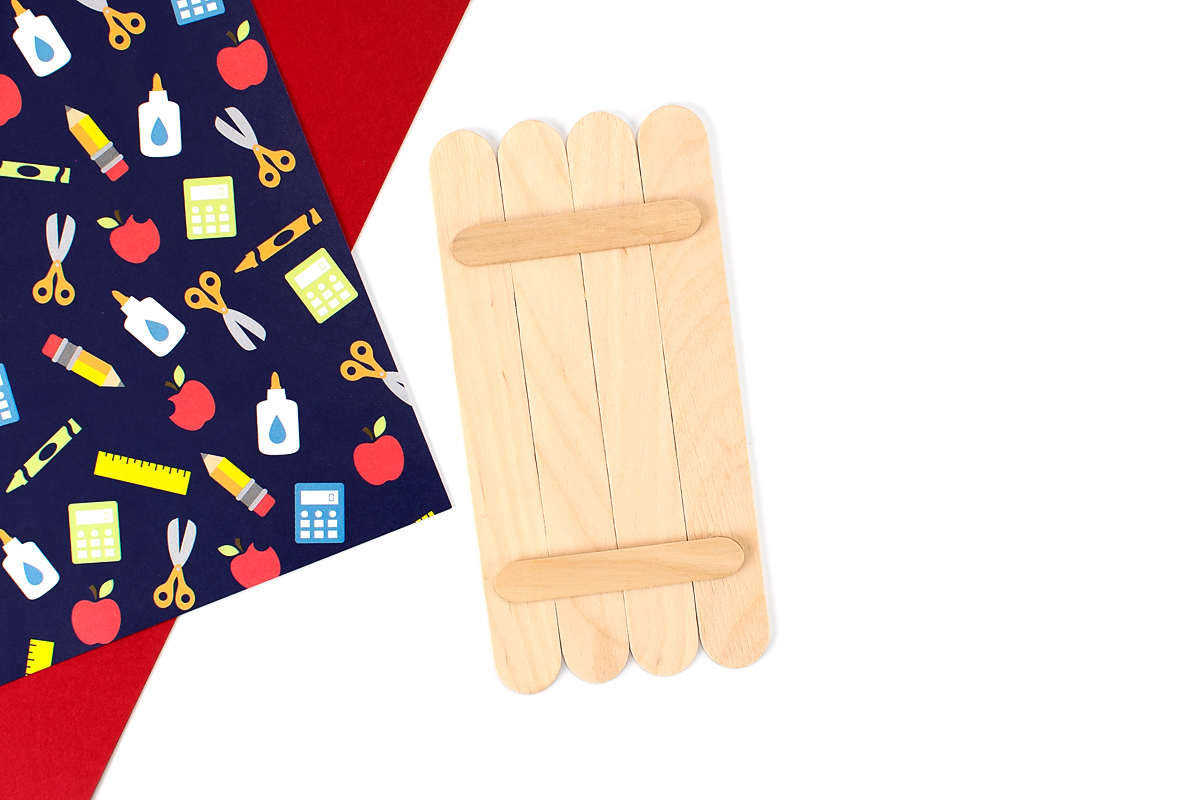
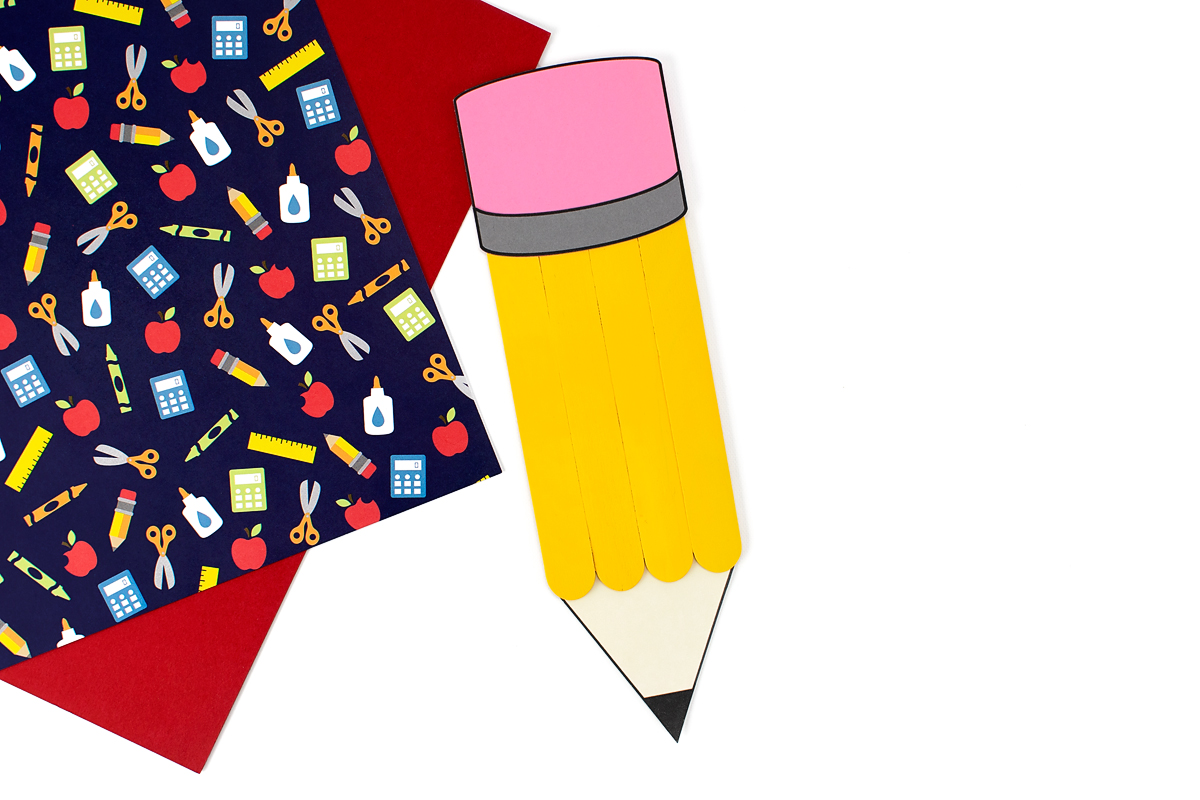
STEP 2: Arrange four wide craft sticks into a rectangle. Then, glue two mini craft sticks across the top to secure them. This will form the back of the popsicle stick pencil. We used hot glue, but wood glue or tacky craft glue works well too.
If you’re crafting with a large group, consider gluing the popsicle sticks ahead of time to save time.
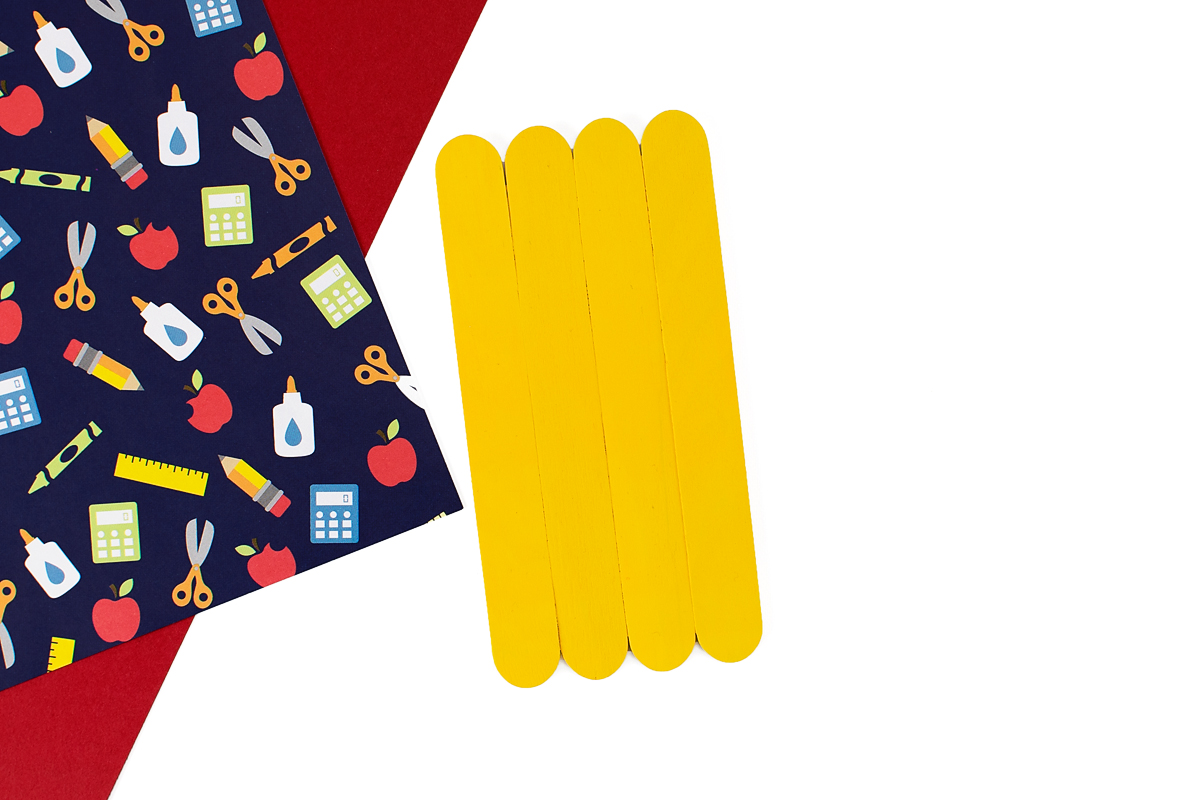
STEP 3: Add color. Flip the pencil over and paint the front yellow. So simple! If you don’t want to use liquid paint, try Kwik Stix—mess-free solid tempera paints.
STEP 4: Wait until the paint is dry. Then, glue the pencil point shape to the back bottom half of the popsicle stick pencil craft.
STEP 5: Now it’s time to finish the top of your pencil. Glue the paper ferrule to the bottom of the pink eraser. Next, attach the eraser to the top of the popsicle stick pencil.
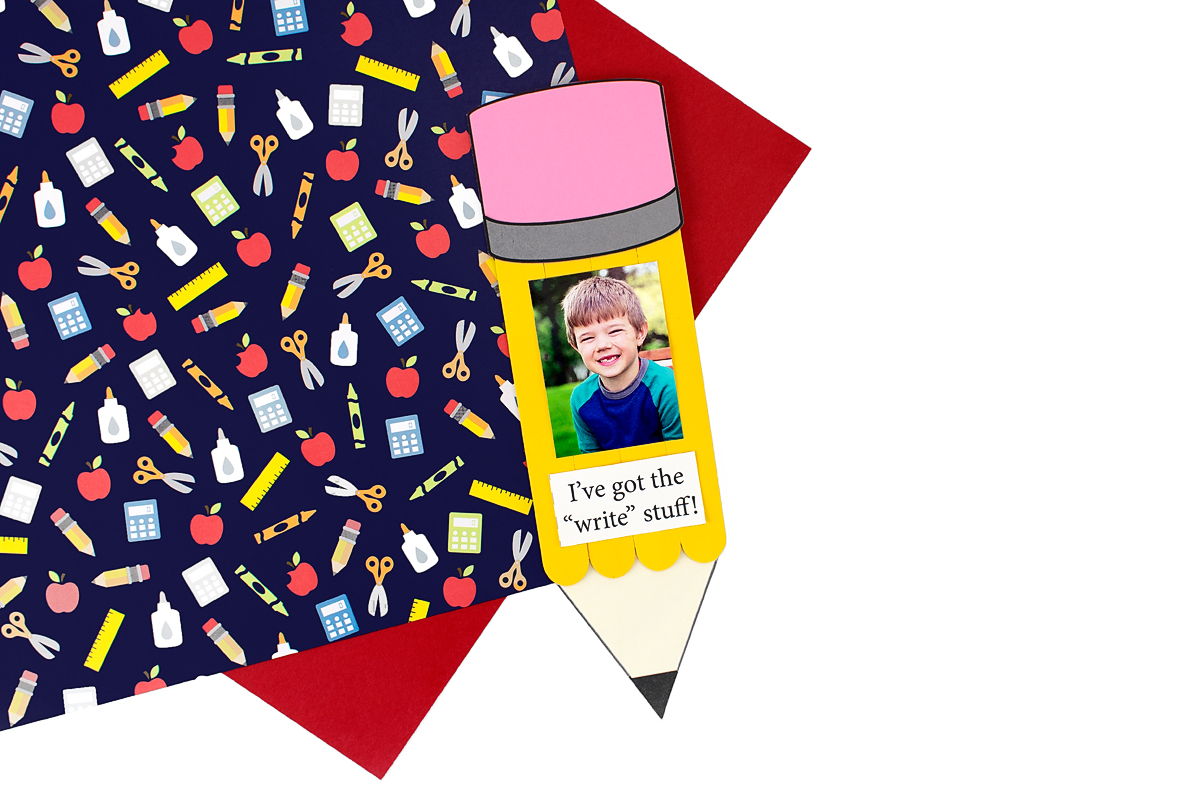
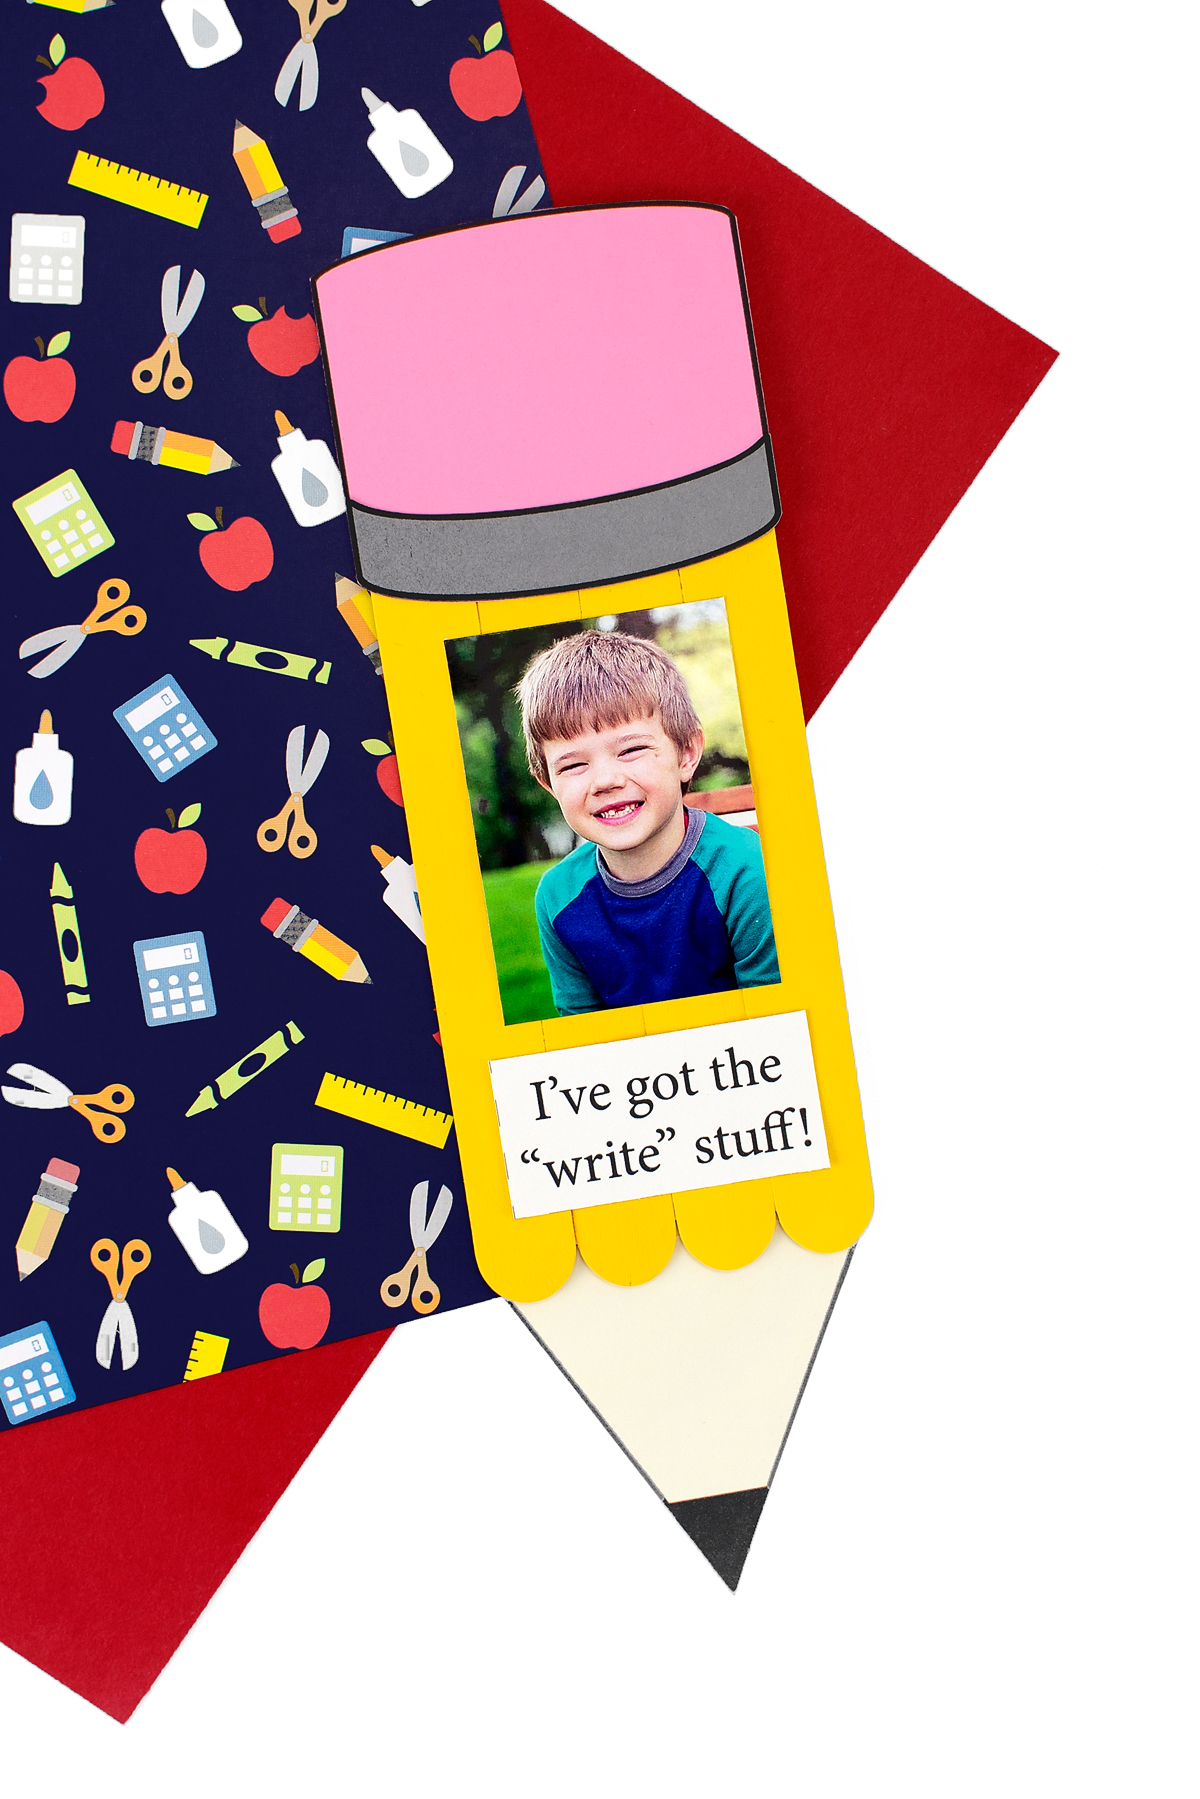
STEP 6: Personalize your pencil. Glue or tape the photograph and the words “I’ve got the write stuff!” to the front of the pencil. Alternatively, leave the photo and words off, then gift the pencil to a teacher to help decorate their classroom.
STEP 7: Add magnets if you want your pencil to hang. Press adhesive magnets onto the mini popsicle sticks on the back of the pencil so it can stick to the refrigerator.
STEP 8: Your back-to-school pencil craft is complete! Pair this craft with a cute book about pencils, such as When Pencil Met Eraser, and use it to decorate classroom bulletin boards.
More Pencil Crafts for Kids
Looking for even more ways to celebrate back-to-school? Try these fun and creative pencil-themed projects:
- Hot glue pencils around a tin can to make a cool DIY pencil holder.
- Create a festive back-to-school pencil wreath.
- Try Pencil Process Art—similar to marble painting, but using old pencils instead!
- Make colorful and unique pencil toppers out of felt.
- Try this Yarn Wrapped Pencil Craft from Our Kid Things for a cozy twist.
Save This Craft
Save this craft on Pinterest using the image below!


Want even more?
Make sure to follow on Facebook, Pinterest, and Instagram for more easy crafts, activities, recipes, and parenting tips. And don’t forget to subscribe to our emails.