

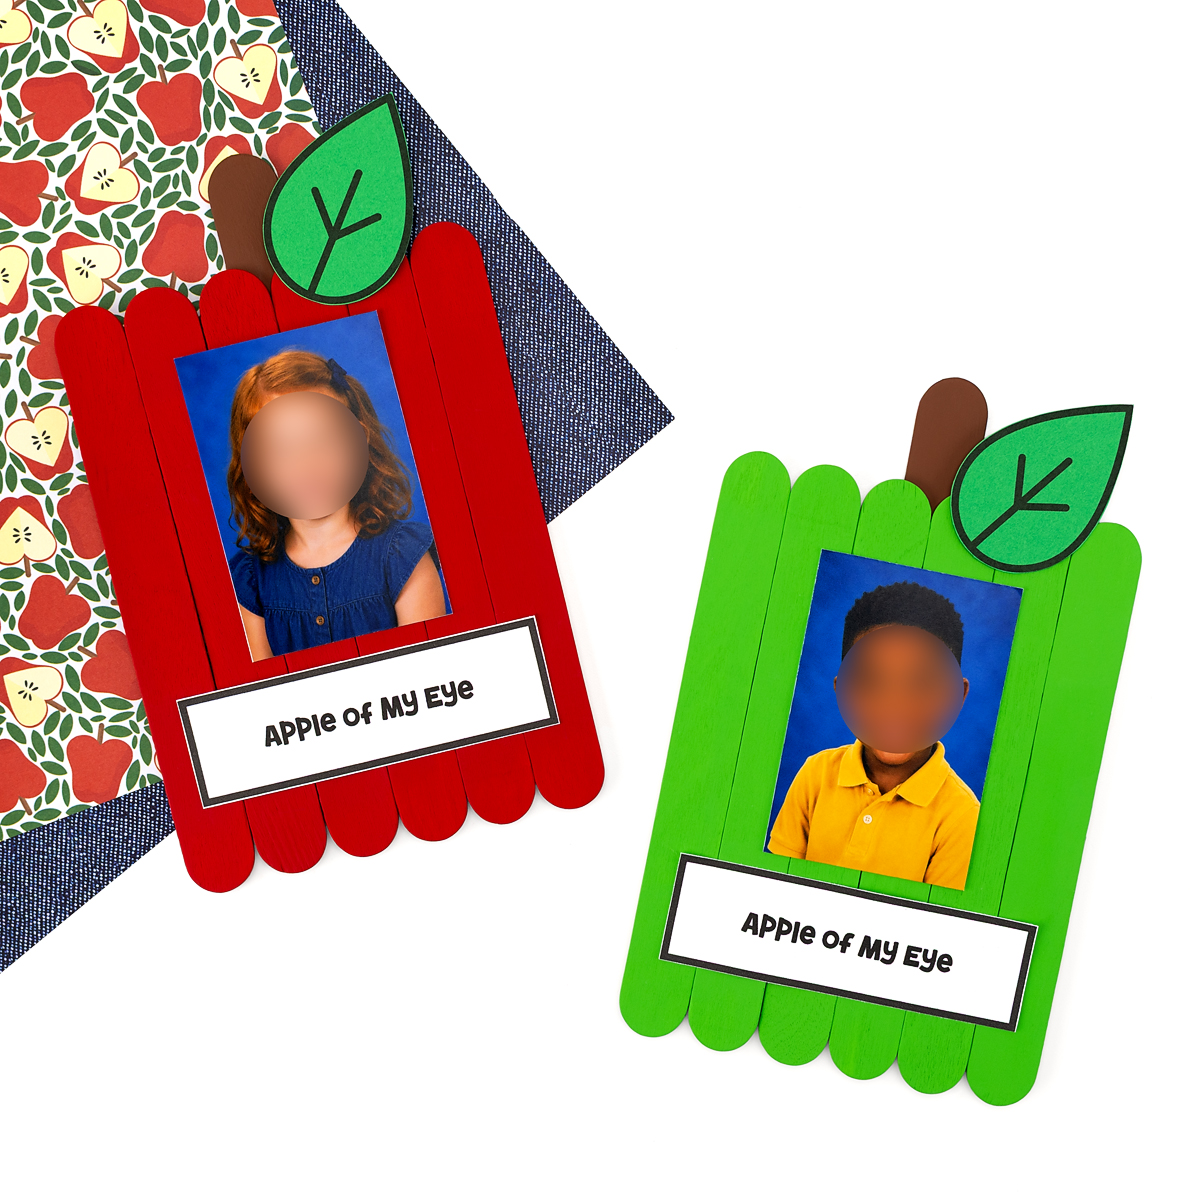
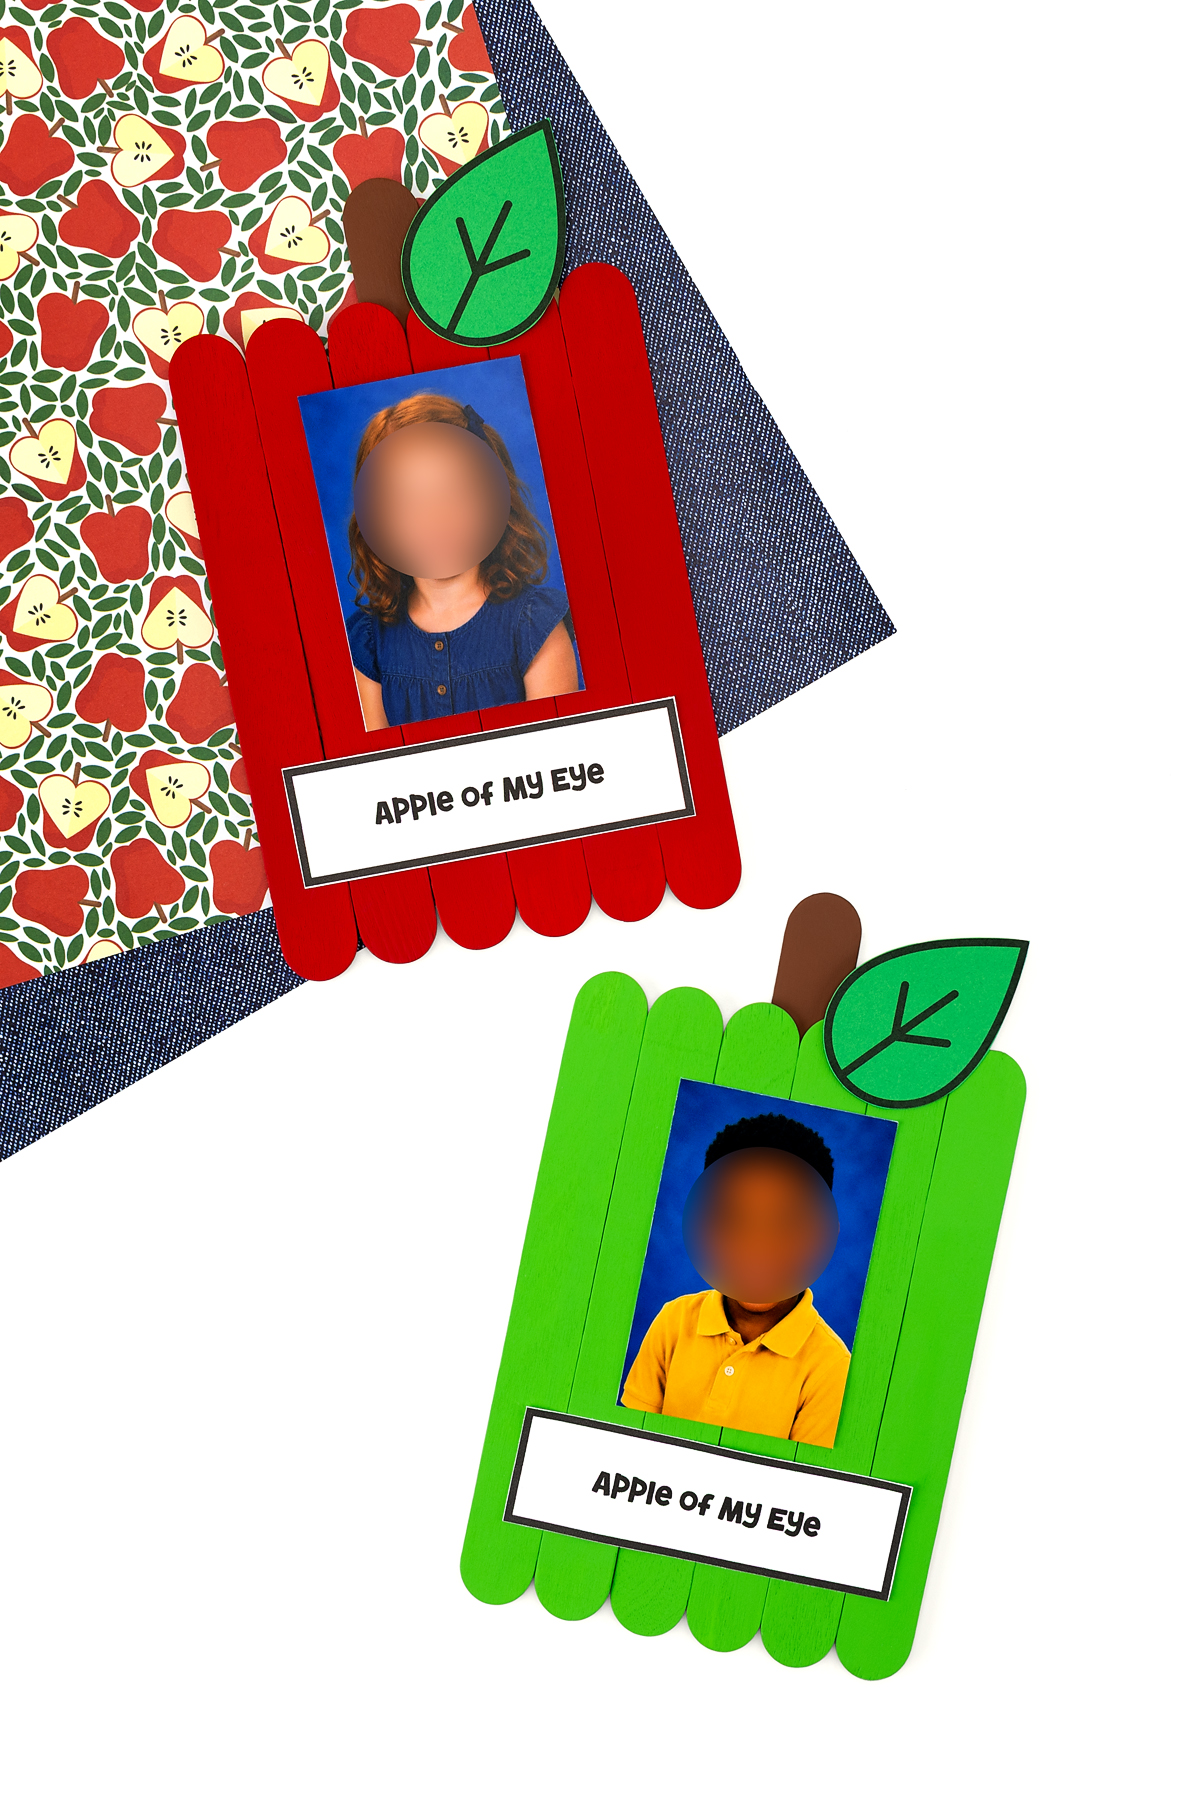
Apple crafts are one of the sweetest ways to celebrate fall, and this popsicle stick apple craft might be our favorite yet! Made with wide craft sticks, red and brown paint, a paper leaf, and our free “Apple of My Eye” printable, this craft turns a simple photo into a keepsake kids will want to hang on the fridge all season long.
Why You’ll Love This Craft
This craft stick apple craft is a fun and easy fall activity that’s perfect for home, school, or daycare. It uses simple supplies, comes together in about 30 minutes, and creates a sweet keepsake that families will treasure.
As kids paint, cut, and glue, they’ll strengthen fine motor skills, hand-eye coordination, and creativity. It’s also a wonderful opportunity to talk about apples, seasons, colors, and healthy foods while crafting together.
With just a little help, preschoolers can join in, while older children can complete most of the craft on their own. It’s a simple, engaging activity that’s perfect for apple-themed lessons and fall fun.
Craft Supplies Needed for This Popsicle Stick Apple Craft
You only need a handful of basic craft supplies to make this adorable apple keepsake. Gather everything before you begin to make crafting with kids quick and stress-free.
- Popsicle Stick Apple Printable Template
- Scissors
- Wide craft sticks (8)
- Low-temperature hot glue gun or tacky craft glue
- Red, green, yellow, and brown acrylic paint
- Paintbrushes
- 2″ × 3″ wallet-size school photo
Directions for Popsicle Stick Apple Craft
Follow these seven simple steps to turn a handful of craft sticks into a keepsake apple.
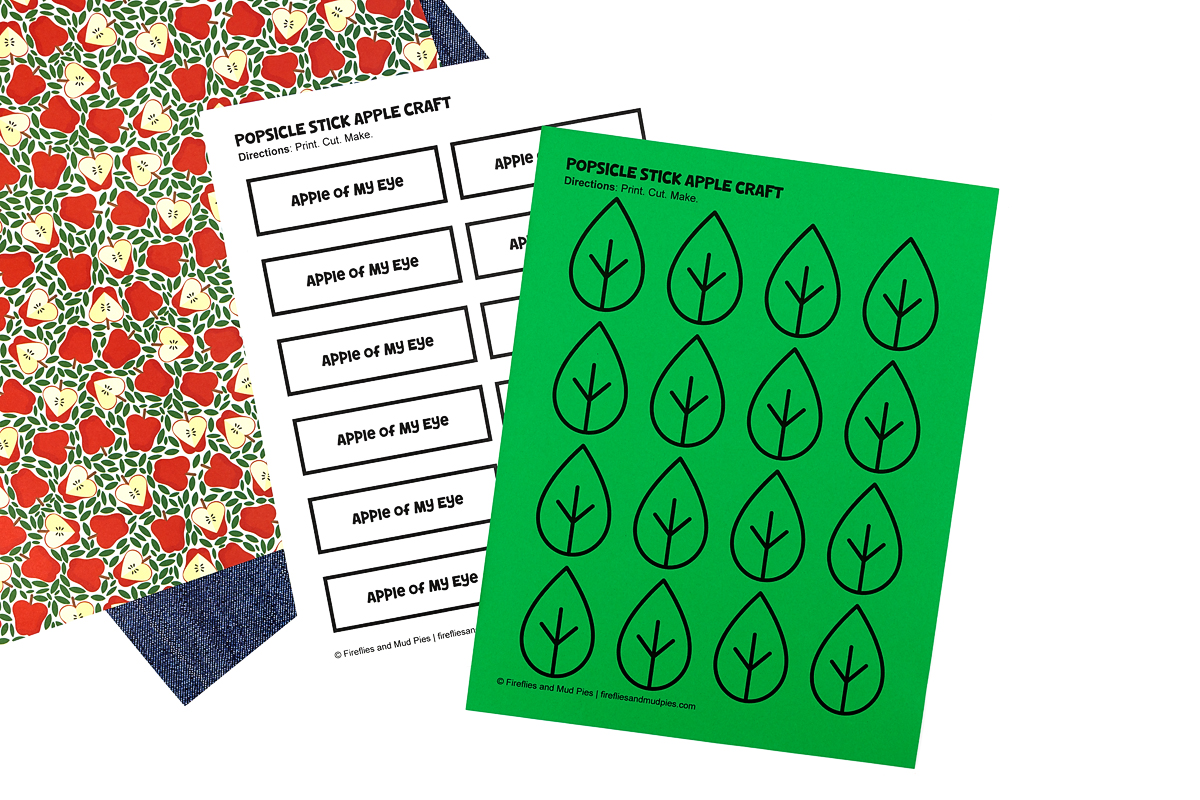
STEP 1: Print and cut the template. After gathering your supplies, print the Popsicle Stick Apple Template. Use scissors or a paper cutter to cut out the text and leaves.
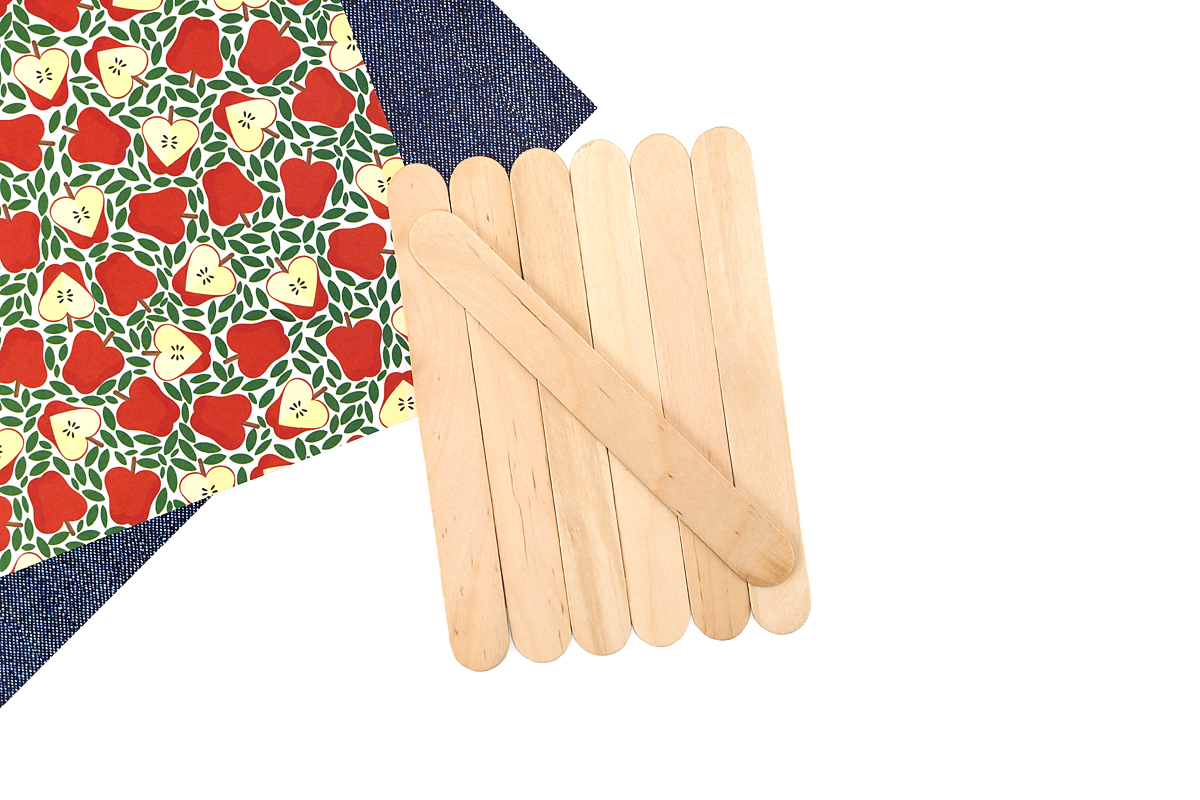
STEP 2: Assemble the back of the apple. Line up 6 jumbo craft sticks side by side, then glue 1 jumbo craft stick across the back to hold them together. This will create the base of your popsicle stick apple.
STEP 3: Paint the apple. Flip the craft stick apple over and paint the front using red, yellow, or green acrylic paint. Allow the paint to dry completely before moving on to the next step.
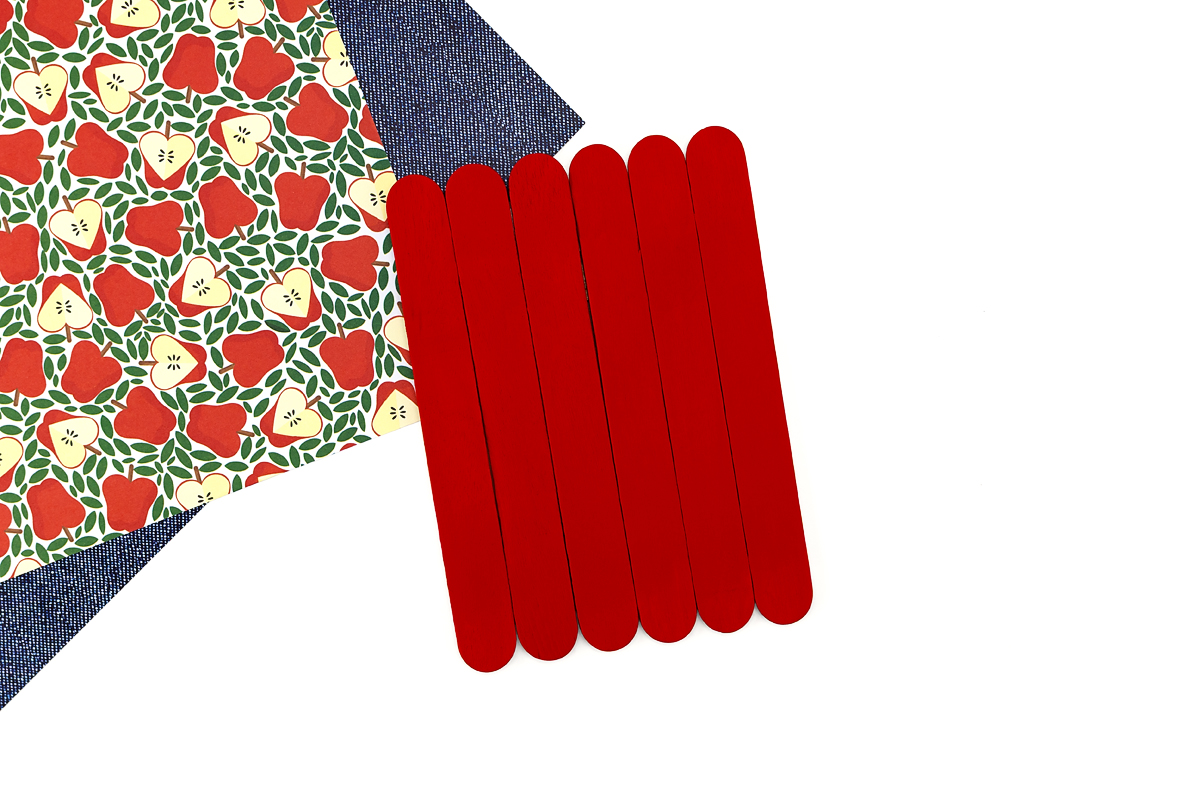
STEP 4: Create the apple stem. Cut the tip off a popsicle stick, then paint the small piece brown and allow it to dry. Once dry, glue it to the back of the apple to create the stem.
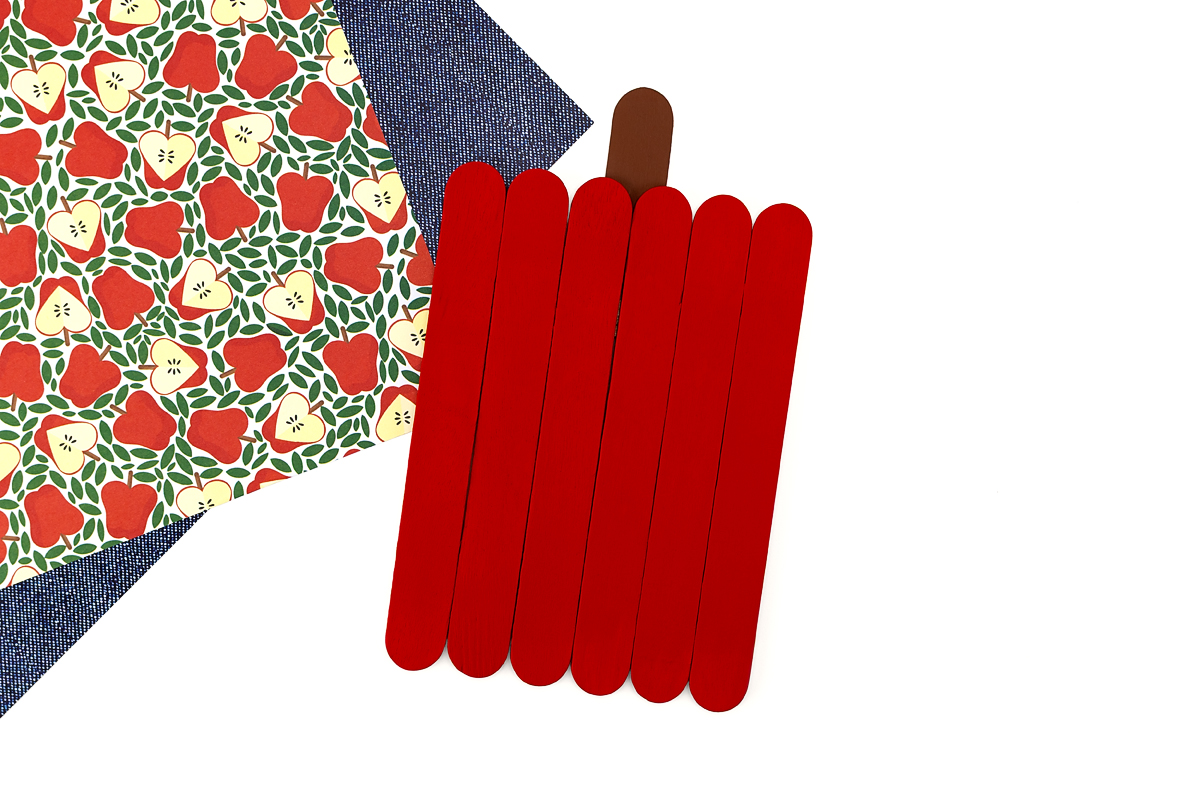
STEP 5: Add the leaf. Cut out the leaf from the template, then glue it to the front of the apple near the stem.
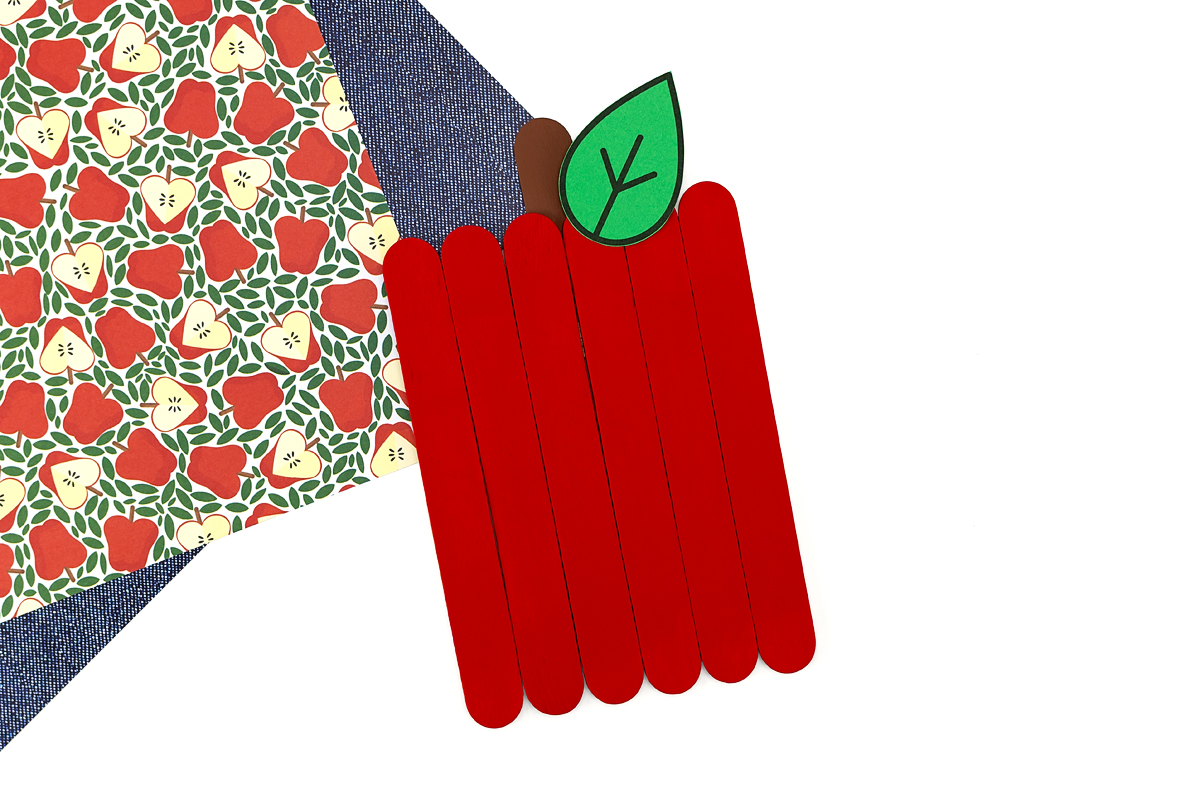
STEP 6: Add the photo and finishing touches. Glue a wallet-sized photograph and the “Apple of My Eye” text from the template onto the front of the apple frame. If desired, attach magnets to the back so your apple keepsake can be displayed on the refrigerator.
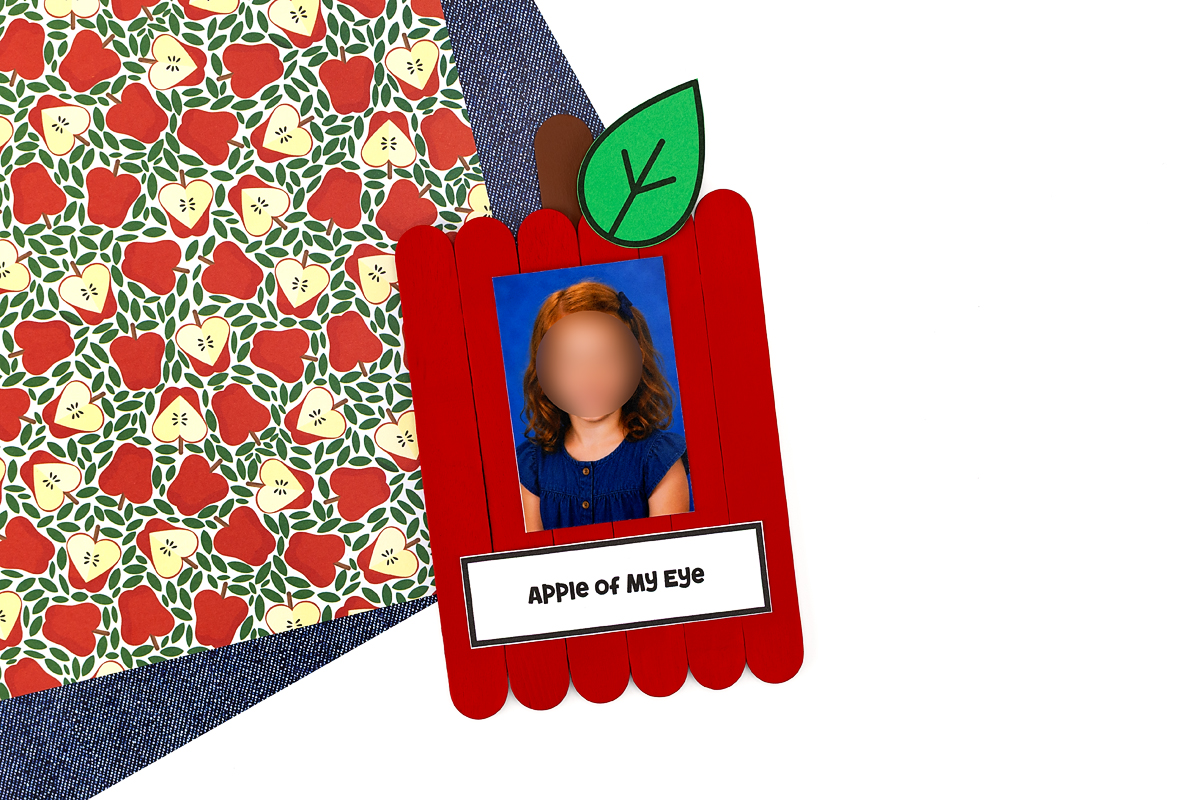
Extension Ideas
Once the basic craft is complete, try one of these simple ideas to add more creativity, learning, and fun to your apple activity.
- Explore colors and shapes – Before painting, talk with children about the different colors of apples and why they might look different. Let kids choose whether to make a red, green, or yellow apple.
- Add a name and year – Write each child’s name and the year on the back of the apple craft to create a special keepsake families can save and look back on.
- Make a classroom apple orchard – Have each student create their own apple photo craft, then display them together on a bulletin board for a fun classroom display.
- Connect it to apple learning – Pair this craft with a story about apples, an apple life cycle lesson, or a visit to a local orchard. Children will enjoy creating their own apple keepsake after learning how apples grow.
- Turn it into a gift – Add a magnet to the back or attach the finished apple craft to a card for a sweet handmade gift for parents, grandparents, or a special person.
Frequently Asked Questions
Have questions about making this popsicle stick craft? Here are some helpful tips to make the project a success.
This craft works well for kids ages 3 and up. Preschoolers may need help with cutting and assembly, especially when using hot glue, while older children can complete most of the project independently.
Yes! Tacky craft glue or wood glue works well as a substitute, though it will need additional drying time between steps.
Double-sided tape or a glue stick are great options for attaching a wallet-sized photo without causing wrinkles or warping.
Yes. You can free-hand cut a small rectangle for the photo backing or add the “Apple of My Eye” message directly to the craft using a paint pen or marker.
Plan for about 30 minutes of hands-on time, plus extra drying time for the paint and glue.
More Apple Crafts for Kids
Looking for more apple-themed fun? Keep the orchard creativity going with more easy apple crafts for kids. Add some color to your windows with an Apple Suncatcher, create a simple Preschool Apple Craft for little learners, or try a Torn Paper Apple Craft for a fun process art activity. Kids will also love making an adorable Apple Hedgehog Craft!
Save This Apple Craft for Later
Want to make this popsicle stick apple craft this fall? Save this idea to Pinterest so you’ll have it ready for an apple-themed activity, classroom project, or afternoon craft session.
Popsicle Stick Apple
Ingredients
- Popsicle Stick Apple Printable Template
- Scissors
- 8 Wide craft sticks
- Low-temperature hot glue gun or tacky craft glue
- Red, green, yellow, and brown acrylic paint
- Paintbrushes
- 2″ × 3″ wallet-size school photo
Instructions
- Print and cut the template. Print the Apple of My Eye template, then cut out the leaf and text pieces.
- Build the apple base. Lay 6 jumbo craft sticks side by side. Glue 1 jumbo craft stick across the back to hold them together. Let the glue dry completely.
- Paint the apple. Flip the craft stick base over and paint the front red, yellow, or green. Allow the paint to dry completely.
- Create the stem. Cut the tip from a craft stick and paint it brown. Once dry, glue it to the back of the apple to create the stem.
- Add the leaf. Cut out the leaf from the template and glue it to the front of the apple near the stem.
- Finish the craft. Glue a wallet-sized photo and the "Apple of My Eye" label onto the front of the apple. If desired, attach magnets to the back so it can be displayed on the refrigerator.





Want even more?
Make sure to follow on Facebook, Pinterest, and Instagram for more easy crafts, activities, recipes, and parenting tips. And don’t forget to subscribe to our emails.