


If you’re looking for an easy craft for kids that works well at home or in the classroom, try making a Star Suncatcher. This project is great for preschool and early elementary ages. It supports fine motor skills, encourages creativity, and makes a bright addition to your home decor or classroom window.
Are you making red, white, and blue stars? Our Patriotic Cookies are the perfect snack for 4th of July crafting!

Star Suncatcher Kids Craft
Star suncatchers are a fun craft for patriotic holidays like Patriot’s Day, Memorial Day, and the 4th of July. They also fit well into space-themed units, giving kids a creative way to learn about stars.
This activity helps develop fine motor skills as children cut and arrange pieces of tissue paper. It also promotes creativity and builds confidence in following step-by-step instructions. Once complete, the colorful suncatchers can be displayed in a sunny window, on a porch, or on a classroom bulletin board!
RELATED: Paper Star Ornaments
Suncatcher Craft Supplies
Before you start this craft, make sure you have all the right supplies.
- Star Suncatcher Template Printable
- Tissue paper squares – We used red, white, and blue tissue paper!
- Black cardstock
- White cardstock
- Scissors
- Contact paper or self-seal laminating sheets
- Double-sided tape
Directions for the Star Suncatcher Craft
Ready to begin? Follow the steps below to make your suncatcher.
STEP 1: Download and print the star suncatcher template. Click the link in the supplies list to download the free printable star suncatcher craft template. Once downloaded, print the pattern on white cardstock.

STEP 2: Cut out the star frame. Next, use scissors to cut out the star shape along the bold outline. Since this suncatcher is simple, most kids can handle this step with little assistance. Younger children may still need some help cutting smoothly around the edges.
To create a solid black frame for the suncatcher, try one of the following methods:
- Place black cardstock behind the printed template, staple them together, and cut through both layers at once.
- Cut out the template first, trace it onto black cardstock, and then cut along the traced lines.

STEP 3: Add the star outline. Place the star frame onto the sticky side of the self-seal laminating sheet. If you’re using a piece cut from printed cardstock, make sure the printed (black ink) side is facing down.

STEP 4: Add the tissue paper. Fill the inside of the star frame with pieces of tissue paper. Trim them as needed to fit the star’s points. Continue layering and overlapping the tissue until the entire shape is covered in a colorful design.
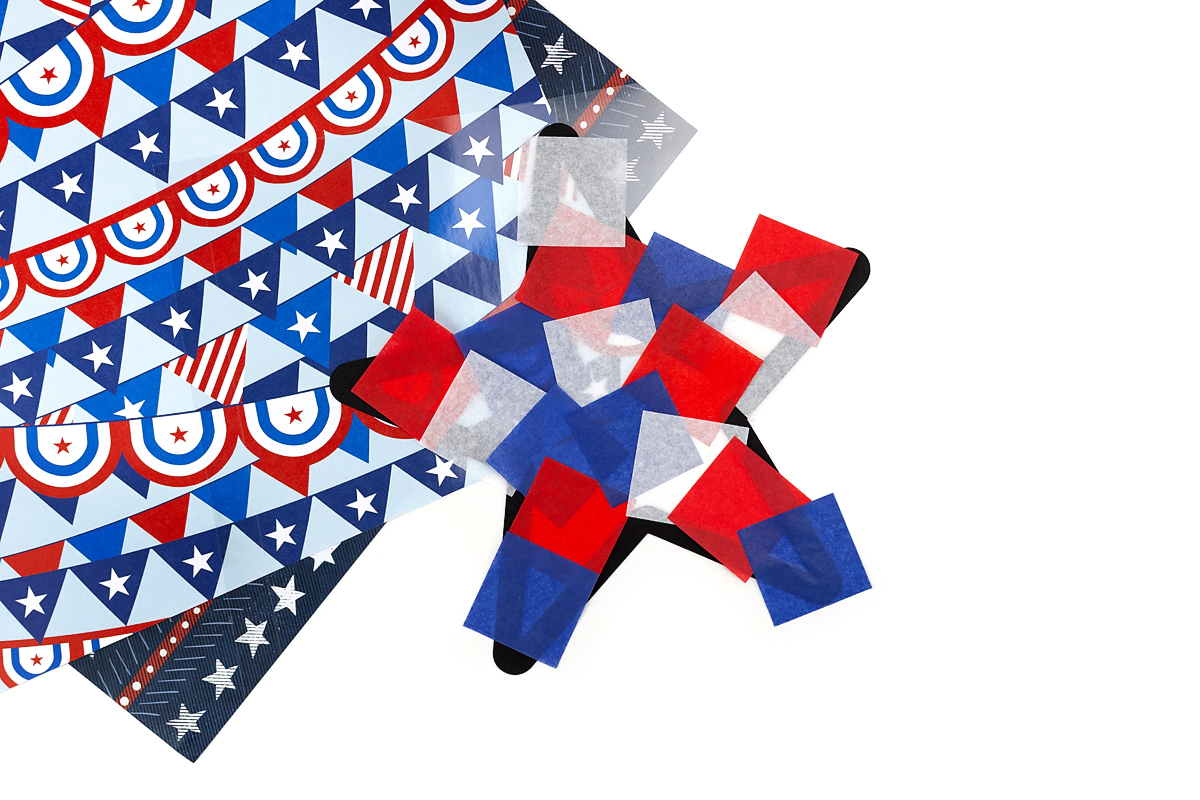
STEP 5: Seal your design. After placing all the tissue paper, lay a second laminating sheet on top to seal the star. Then, use scissors to trim around the edges of the star shape and press down firmly to ensure the layers stick securely.

STEP 6: Hang up your suncatcher! These star suncatchers add a nice pop of color to any window. Use double-sided tape to hang them in a sunny spot and enjoy the light shining through.

Take it Further
Turn this craft into a full day of learning and fun!
- Pair this stained glass star with books about stars, space, or holidays.
- Count the number of tissue paper squares on each suncatcher.
- Learn about the stars in the night sky.
- Teach your child what the stars on the American flag symbolize.
- Give your creation as a handmade gift for a friend, teacher, or grandparent
- Try making suncatchers in other simple shapes like hearts.
- Add this star to your collection of Christmas Suncatchers.

More Suncatcher Crafts for Kids
Explore more easy and colorful suncatcher projects that are perfect for kids to make and display at home or school.
- Strawberry Suncatcher Craft
- Flower Suncatchers
- Rainbow Suncatcher
- Snowflake Suncatcher Template
- Watermelon Suncatcher Craft
- Summer Suncatchers
Save This Craft
Save this craft on Pinterest using the image below!


Want even more?
Make sure to follow on Facebook, Pinterest, and Instagram for more easy crafts, activities, recipes, and parenting tips. And don’t forget to subscribe to our emails.