

Looking for a festive and fun St. Patrick’s Day activity? This Preschool Shamrock Craft is perfect for little hands! With our free printable shamrock template and some colorful tissue paper, your preschoolers will create beautiful shamrocks while developing important fine motor skills.
Are you an educator, parent, or librarian looking for more preschool craft ideas? You may also enjoy our Apple Craft, Ghost Craft, or Bat Craft!

Why You’ll Love This Preschool Shamrock Craft
This shamrock craft is a teacher and parent favorite for good reason. Here’s what makes it special:
- Perfect for developing scissor skills with wide cutting lines designed specifically for preschool-aged children.
- Builds fine motor control through gluing tissue paper squares.
- Encourages creativity as children choose their own tissue paper colors and placement.
- Minimal prep time with the free printable template ready to use.
- Creates a beautiful keepsake for St. Patrick’s Day celebrations!
- Budget-friendly using simple materials you likely already have on hand.
Craft Supplies Needed
Gather these simple supplies before starting your shamrock craft:
- Preschool Shamrock Craft Template
- Green cardstock
- Child-safe scissors
- Tissue paper in various shades of green (light green, dark green, lime green)
- White school glue or glue sticks
- Optional: glitter, sequins, or gold stickers for extra decoration
Step-by-Step Instructions
Follow these easy steps to create your shamrock preschool craft:
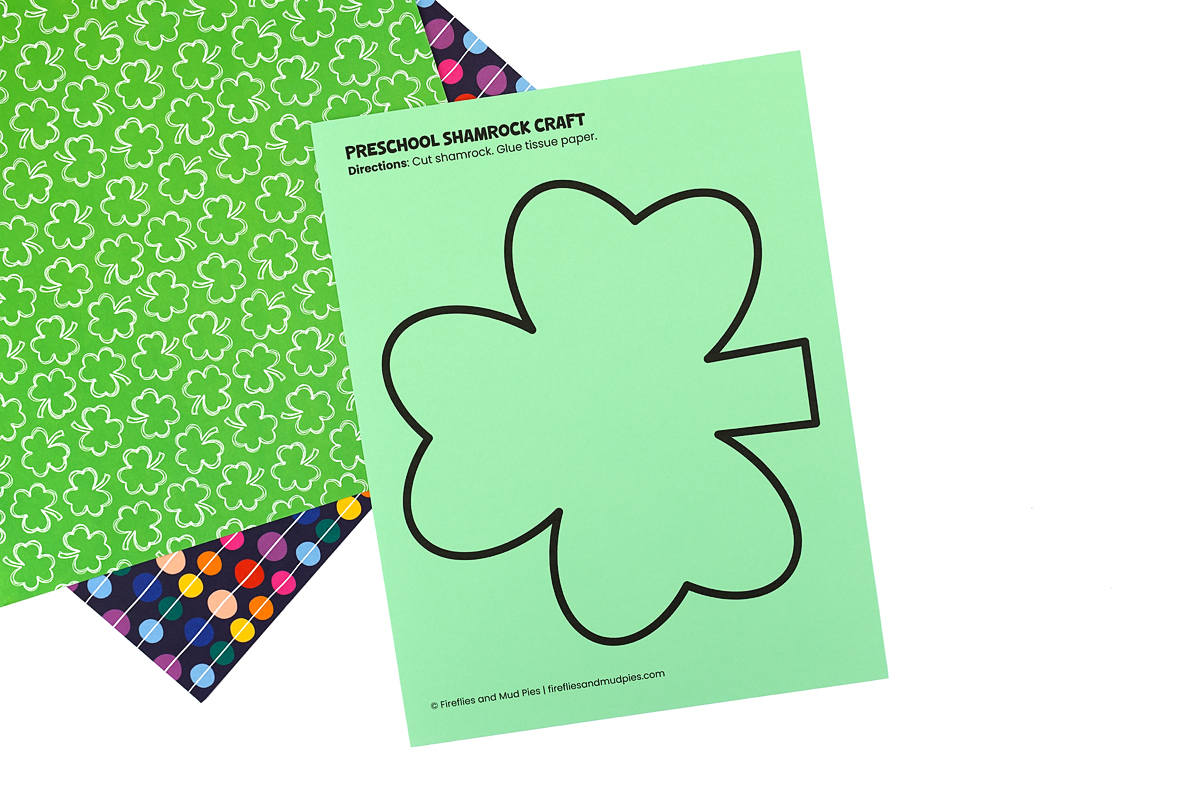
STEP 1: Download and print the shamrock template. Print the free shamrock template on green cardstock or construction paper. The template features wide cutting lines that are perfect for preschoolers who are still developing their scissor skills.
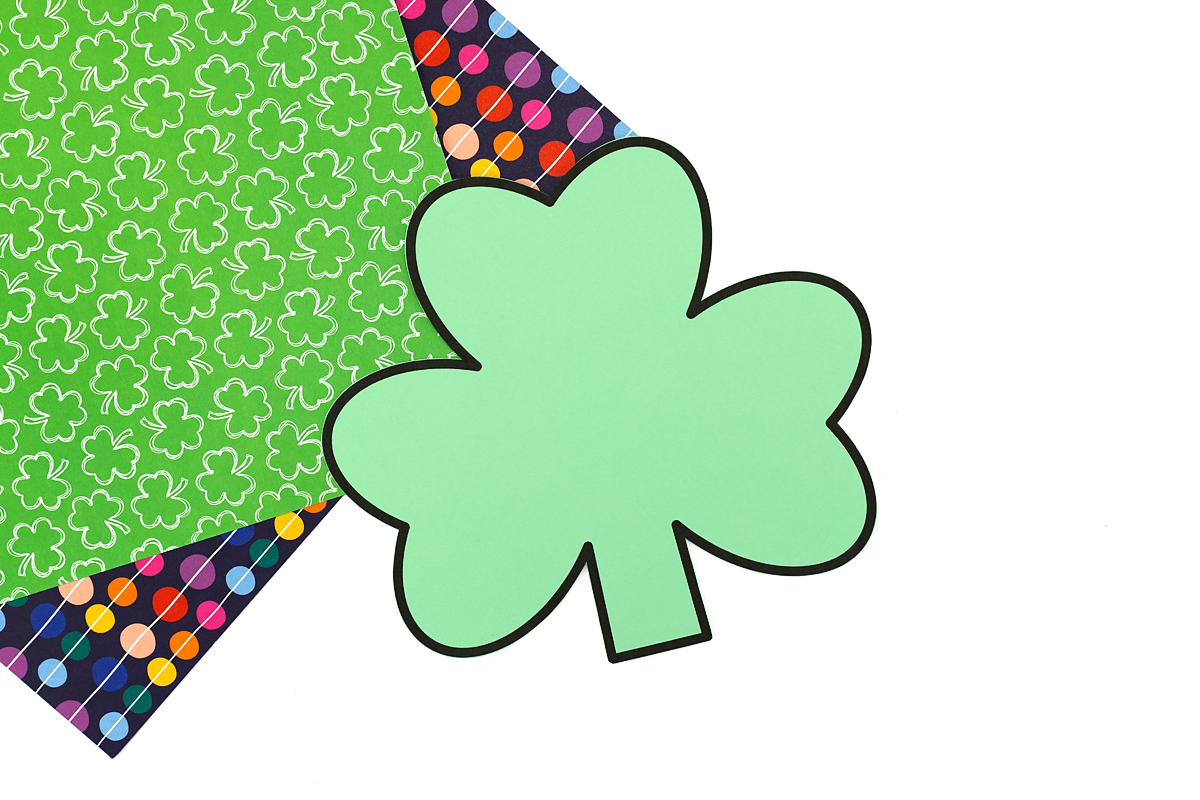
STEP 2: Cut out the shamrock. Help your preschoolers cut along the thick lines. The wide margins make it easier for little hands to stay on track. Encourage them to go slowly and follow the lines carefully.
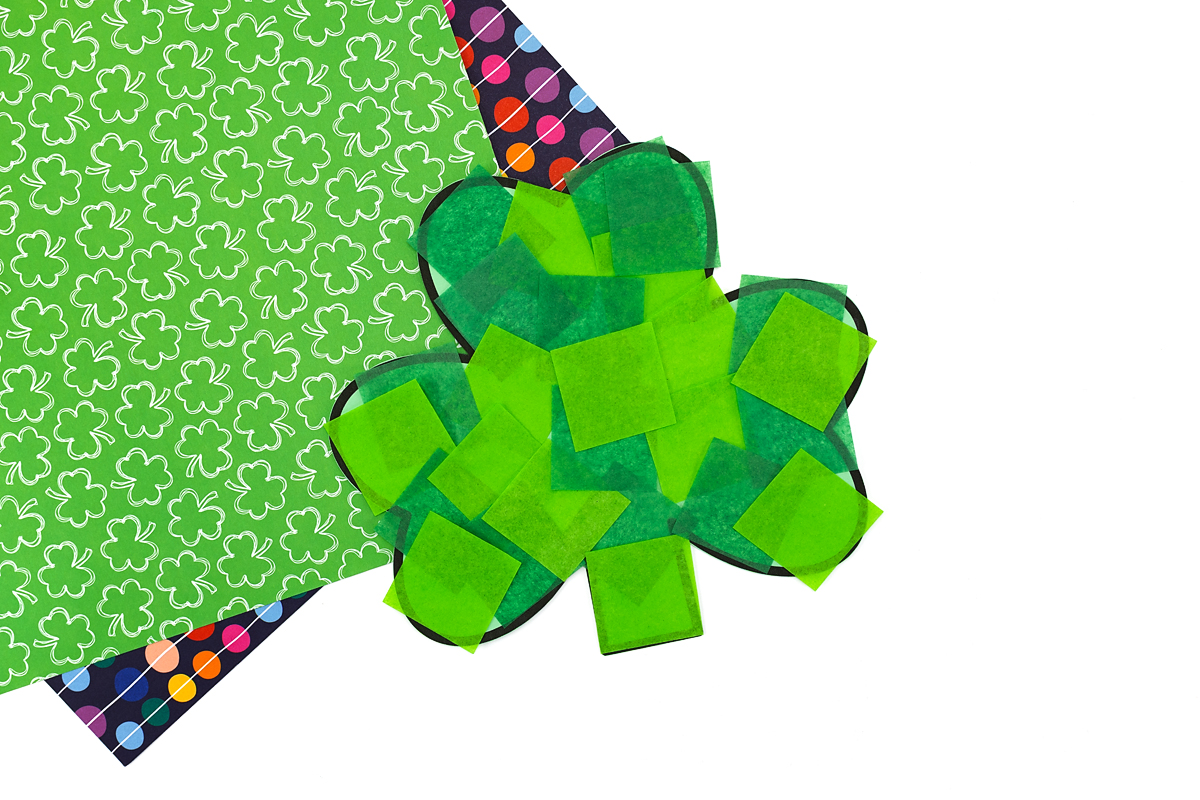
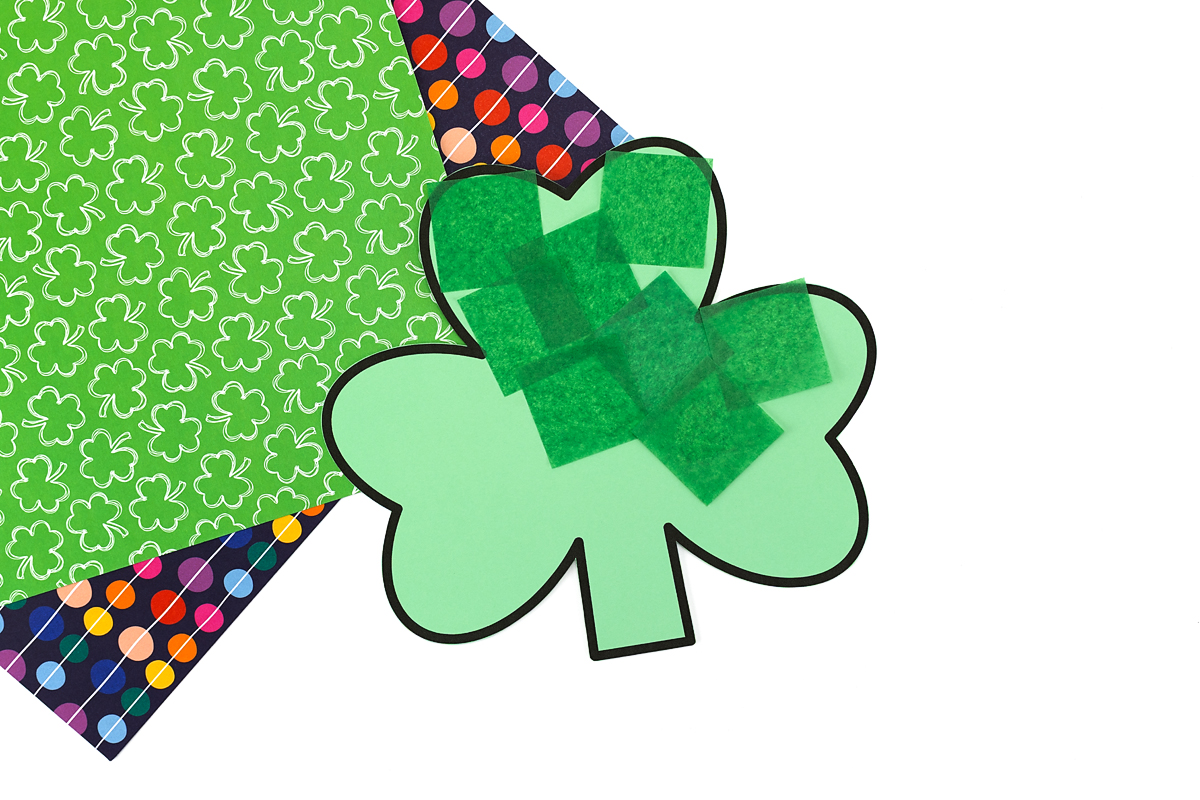
STEP 3: Add glue to the shamrock. Apply glue to small sections of the shamrock at a time. This prevents the glue from drying before the tissue paper is added and makes the process more manageable for young children.
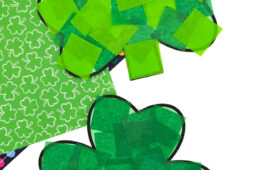
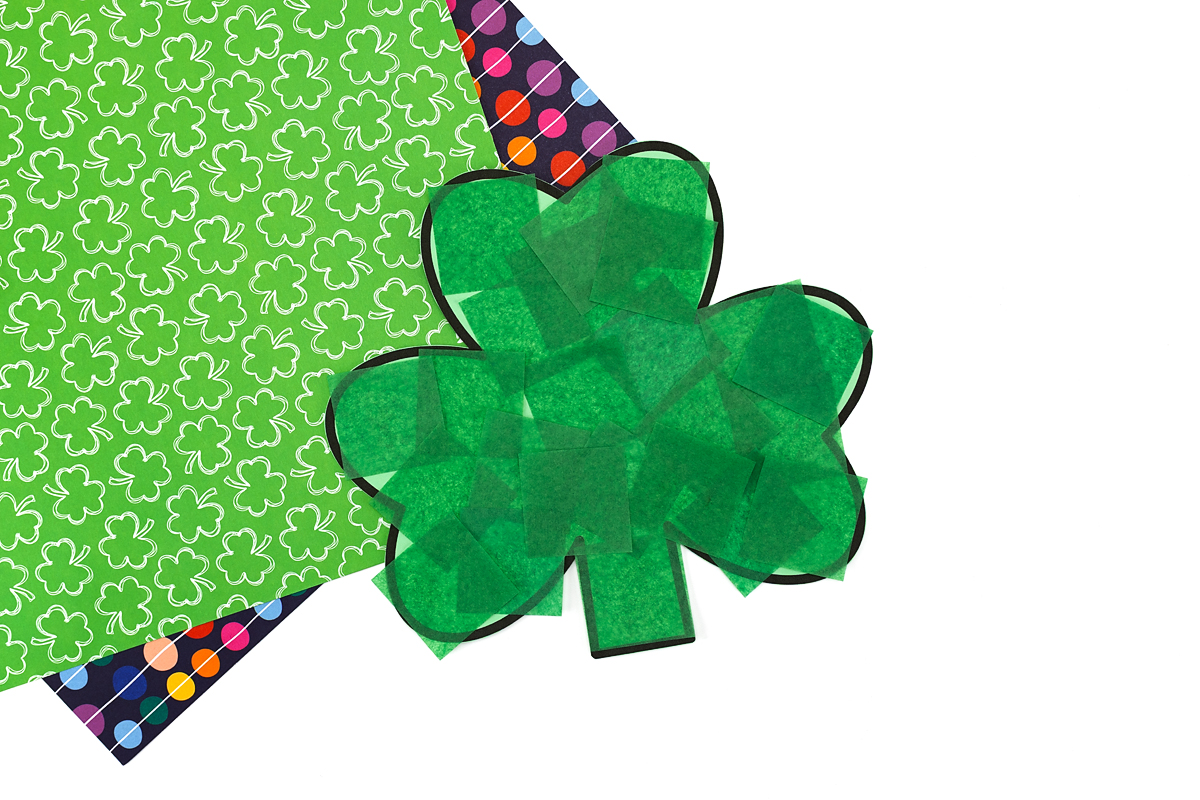
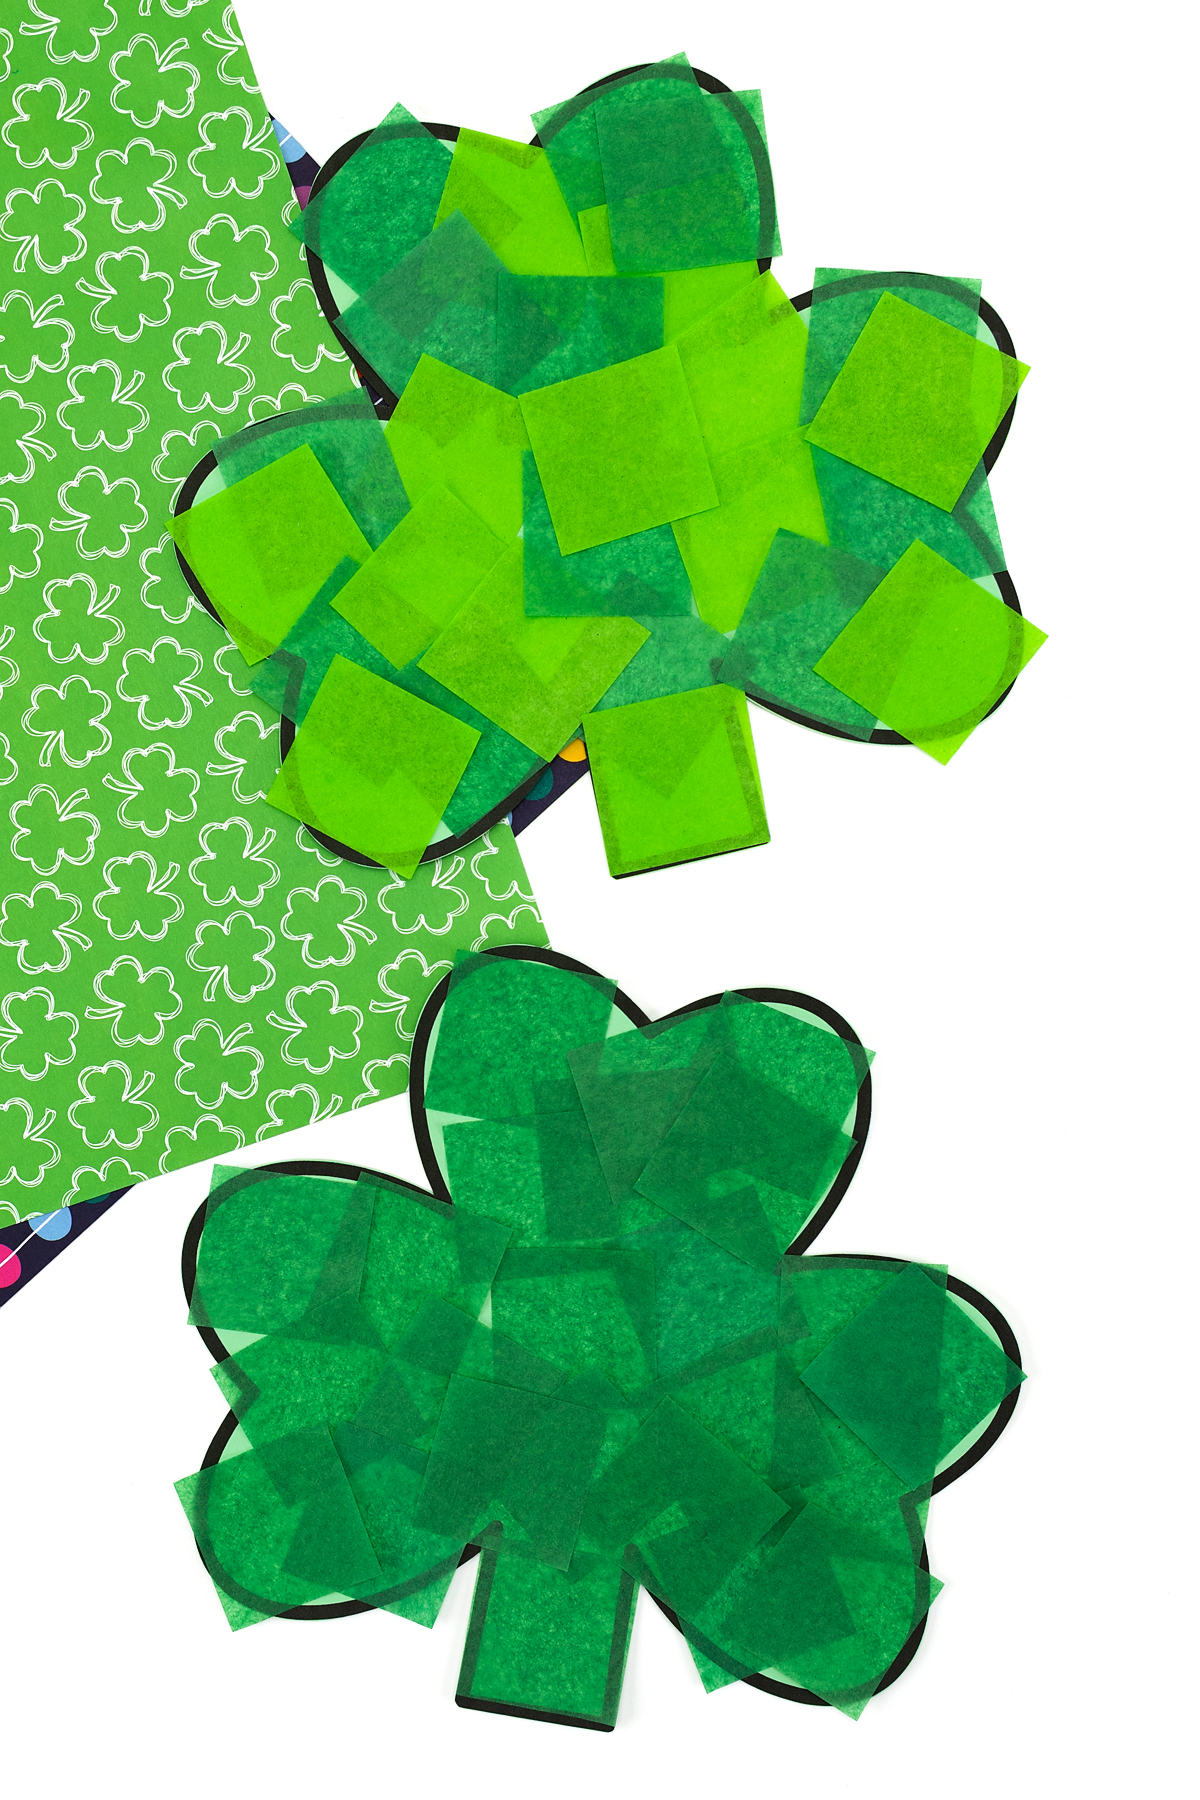
STEP 4: Stick on the tissue paper. Let children place the tissue paper squares onto the glued areas. They can overlap the pieces, create patterns, or mix different shades of green for a vibrant effect.
STEP 5: Let it dry. Allow the shamrock to dry completely, usually about 30 minutes. Once dry, your beautiful St. Patrick’s Day decoration is ready to display!
Tips for Success
Make your shamrock craft activity even smoother with these helpful tips:
- Use cardstock instead of regular paper for a sturdier shamrock that holds up better with glue and tissue paper.
- Demonstrate the cutting and gluing process first so children know what to expect.
- Work in small groups to provide individualized attention and support.
- Cover tables with newspaper for easy cleanup.
- Have wet wipes nearby for sticky fingers!
Extension Ideas
Take your preschool shamrock craft to the next level with these creative extensions:
- Create a shamrock garland – Punch a hole at the top of each shamrock and string them together with ribbon or yarn to create a festive hanging garland for your classroom or home.
- Make a counting activity – Write numbers on the shamrocks and have children add the corresponding number of tissue paper squares, combining art with early math skills.
- Add a writing component – For older preschoolers, have them write their names on the back of the shamrock or dictate something they’re lucky to have while you write it down.
- Mix up the colors – Print the template on white cardstock, then use tissue paper in rainbow colors or gold, or add some sparkle with metallic tissue paper for a unique twist on the traditional green shamrock.
- Create a shamrock garden – Attach the completed shamrocks to craft sticks or straws to make shamrock “plants” that can be displayed in a pot filled with green paper grass.
- Turn it into a card – Fold green construction paper in half and glue the decorated shamrock to the front to create a special St. Patrick’s Day card for family members.
- Explore texture with different materials – Instead of tissue paper, try crumpled paper, fabric scraps, felt pieces, or torn magazine pages in green tones for varied sensory experiences.
- Practice pattern-making – Encourage children to create patterns with their tissue paper placement, such as alternating light and dark green pieces or arranging them in rows.
- Read a book – Pair this craft with a book about St. Patrick’s Day!
Frequently Asked Questions
Here are answers to common questions about this preschool shamrock craft:
This craft is designed for preschoolers ages 3–5. The wide cutting lines on the template make it accessible for children who are just learning to use scissors. For younger children (2–3 years), you can pre-cut the shamrock and focus on the tissue paper gluing activity.
No problem! You can substitute tissue paper with torn construction paper pieces, crumpled paper from magazines, green napkins, or even small pieces of fabric. Foam stickers, pom-poms, or buttons also work wonderfully for a different texture and look.
Most preschoolers can complete this craft in 15–30 minutes, depending on their age and attention span. The cutting portion takes about 5–10 minutes, and decorating with tissue paper takes another 10–20 minutes. Building in drying time, you’ll want to plan for about an hour total.
Yes! This craft works great for large groups. Print enough templates for each child, prepare stations with scissors, glue, and tissue paper, and consider having adult helpers or older students assist with the cutting portion. Working in small rotation groups can also help manage the activity more smoothly.
This shamrock craft supports multiple developmental areas: fine motor skills through cutting and gluing, hand-eye coordination, color recognition, following multi-step directions, creativity and self-expression, and patience as children complete a project from start to finish. It’s a wonderful way to build confidence in young learners!
More Easy Shamrock Crafts for Kids
Looking for more simple and creative shamrock ideas? These kid-friendly crafts are perfect for celebrating St. Patrick’s Day:
- Shamrock Suncatcher Craft – This bright and colorful shamrock suncatcher looks beautiful hanging in a window. Kids will love layering tissue paper to create a glowing design that shines in the sunlight.
- St. Patrick’s Day Shamrock Wreath – Create a festive shamrock wreath that’s perfect for classroom doors or at-home decorating. This easy craft lets kids practice cutting and gluing while making cheerful holiday décor.
- St. Patrick’s Day Hedgehog Craft – This adorable hedgehog craft gets a St. Patrick’s Day twist with shamrocks and festive green details. It’s a fun way to combine creativity with a little holiday flair.
- Scrunchy Tissue Paper Shamrock – A hands-on favorite, this scrunchy tissue paper shamrock is great for building fine motor skills. Kids will enjoy crumpling and gluing tissue paper to create a textured, colorful design.
Save This Craft
📌 Don’t forget to PIN this craft! Save this craft on Pinterest to your St. Patrick’s Day Crafts or Tissue Paper Crafts boards on Pinterest so you can find it later!
Preschool Shamrock Craft
Ingredients
- Preschool Shamrock Craft Template
- Green cardstock
- Scissors
- Green tissue paper squares
- White school glue or glue sticks
Instructions
- Print the template on white or green cardstock for extra durability.
- Cut out the shamrock carefully along the outline.
- Apply glue to one section of the shamrock at a time.
- Stick the tissue paper squares onto the glue, covering the shamrock completely.
- Let dry flat before displaying or sending home.


Want even more?
Make sure to follow on Facebook, Pinterest, and Instagram for more easy crafts, activities, recipes, and parenting tips. And don’t forget to subscribe to our emails.