

The classic Magic Milk experiment is an easy and fun kitchen science activity that mesmerizes kids with swirling colors and unexpected reactions. Using just a few common household items, children can explore the science behind surface tension while creating a vibrant work of art in milk!
Do you love colorful science experiments? You may also enjoy trying the Skittles Experiment!
Magic Milk Science Experiment
With just milk, dish soap, and food coloring, kids can make a swirling burst of rainbow color that looks like magic—but it’s really chemistry in action. This simple, eye-catching experiment is perfect for science fairs because it’s easy to set up, fun to watch, and offers a great opportunity to explore a basic scientific concept in a hands-on way.
It’s also a great opportunity to walk through the steps of the scientific method. Kids can start by asking a question—like how milk affects the reaction—and then form a hypothesis. They can test different variables (such as fat content, type of milk, or temperature), observe what happens, and record their results. By comparing outcomes and drawing conclusions, kids get to experience real scientific thinking in a fun and visual way.
Materials Needed
Before you get started, make sure you have all the right supplies and magic milk ingredients:
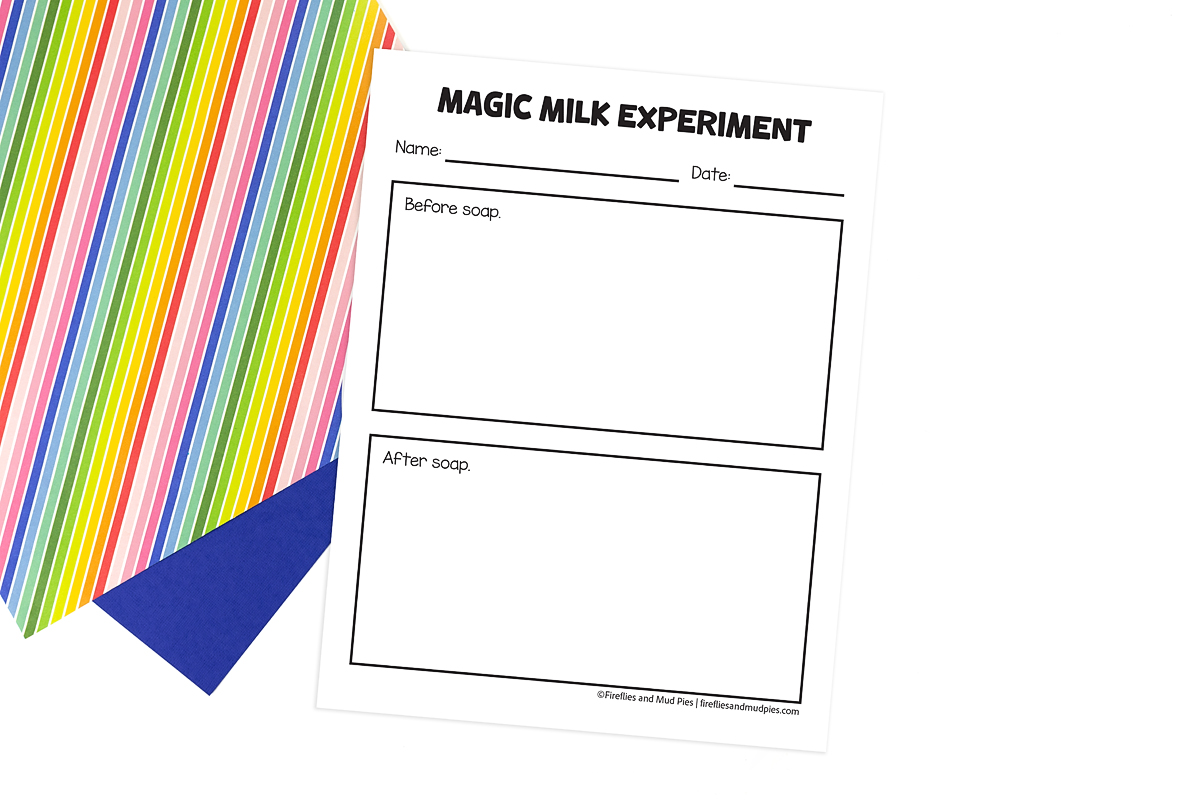
- Magic Milk Recording Sheet
- Shallow dish – Plates, pie dishes, trays, and baking dishes work well.
- Whole milk – Higher fat content works best!
- Food coloring – Various colors of liquid food coloring.
- Cotton swabs
- Dish soap (washing-up liquid) – We used Dawn dish soap, but have also used 7th Generation.
Watch the Video Tutorial
Watch our magic milk video below to see our beautiful milk and dish soap art in action!
Magic Milk Experiment Steps
Magic milk science offers a playful introduction to chemistry and physics that kids can see in action. It’s one of my kids’ favorite activities! Follow the directions below to try it out.
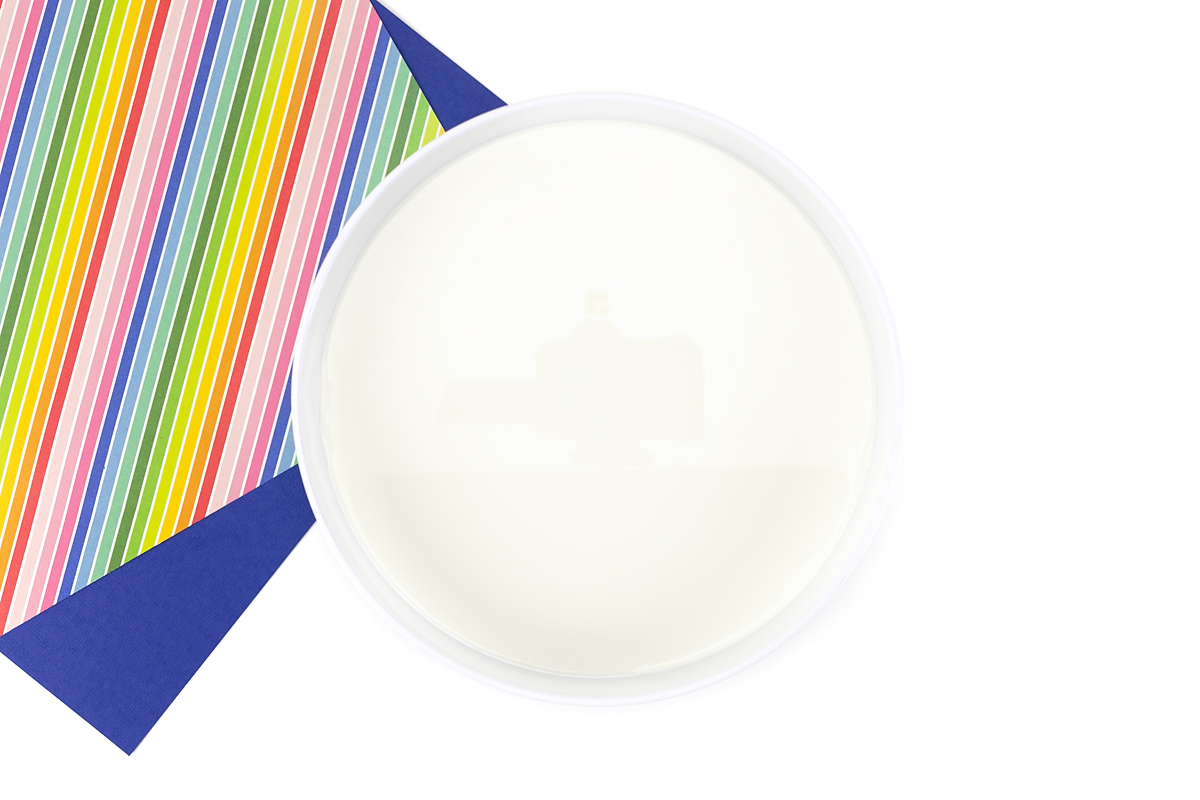
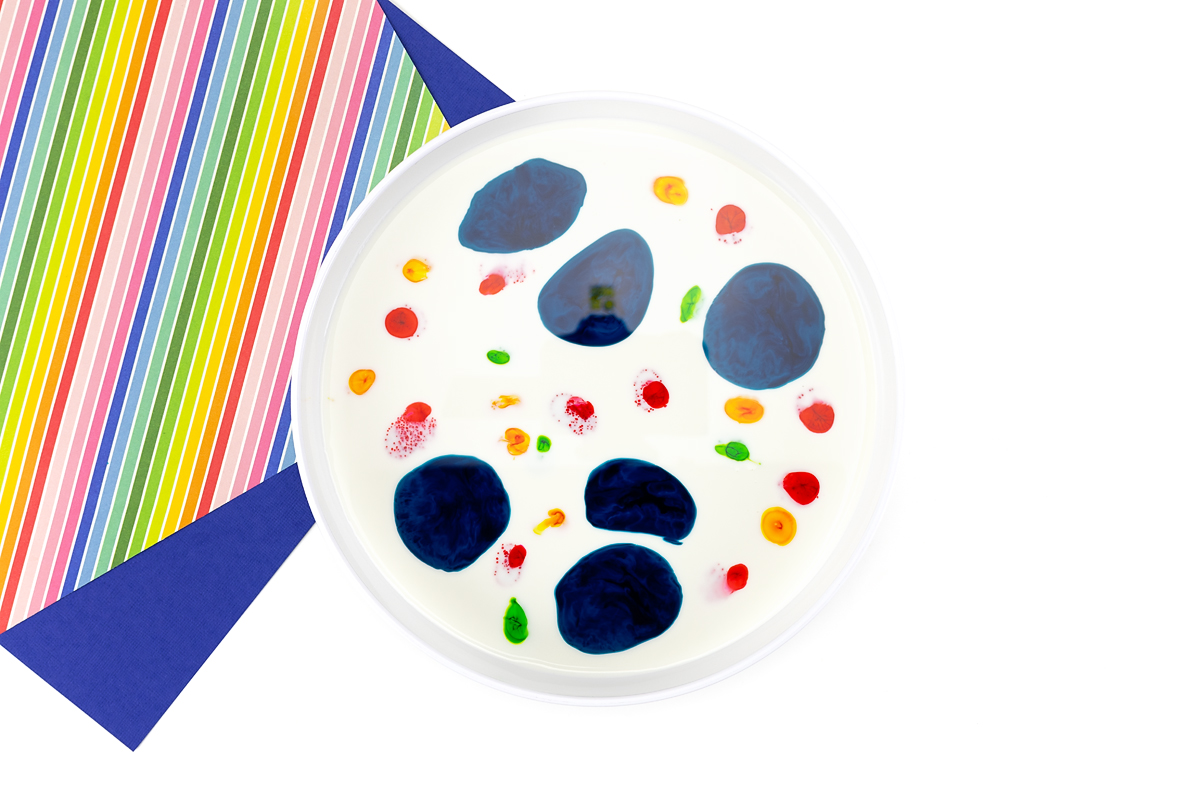
STEP 1: Pour the milk. Start by pouring the milk into the shallow dish, making sure to cover the bottom completely.
STEP 2: Add food coloring. Drop different colors of food dye onto the surface of the milk. Space them out to create a colorful pattern. We found it interesting that the blue food coloring we used spread out over the surface of the milk more than the other colors.
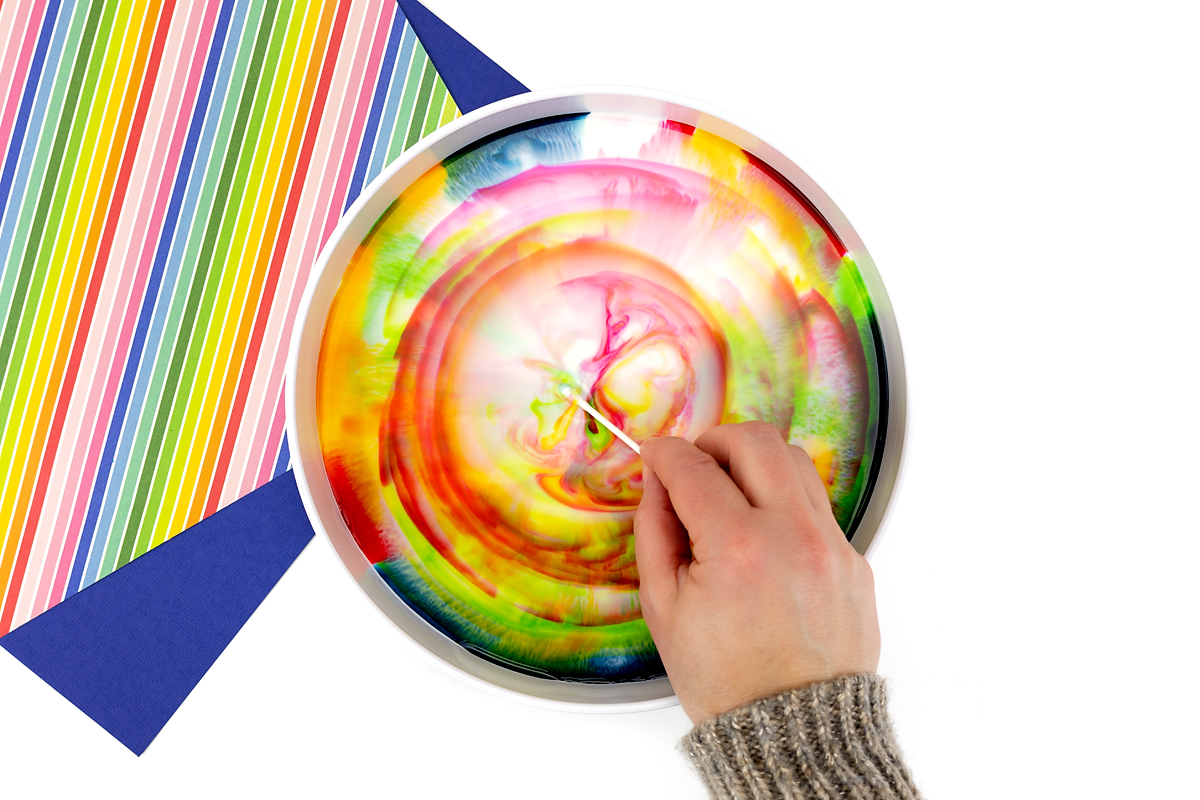
STEP 3: Dip the cotton swab in dish soap. Take the cotton swab and dip one end into the dish soap. Make sure it’s coated well.
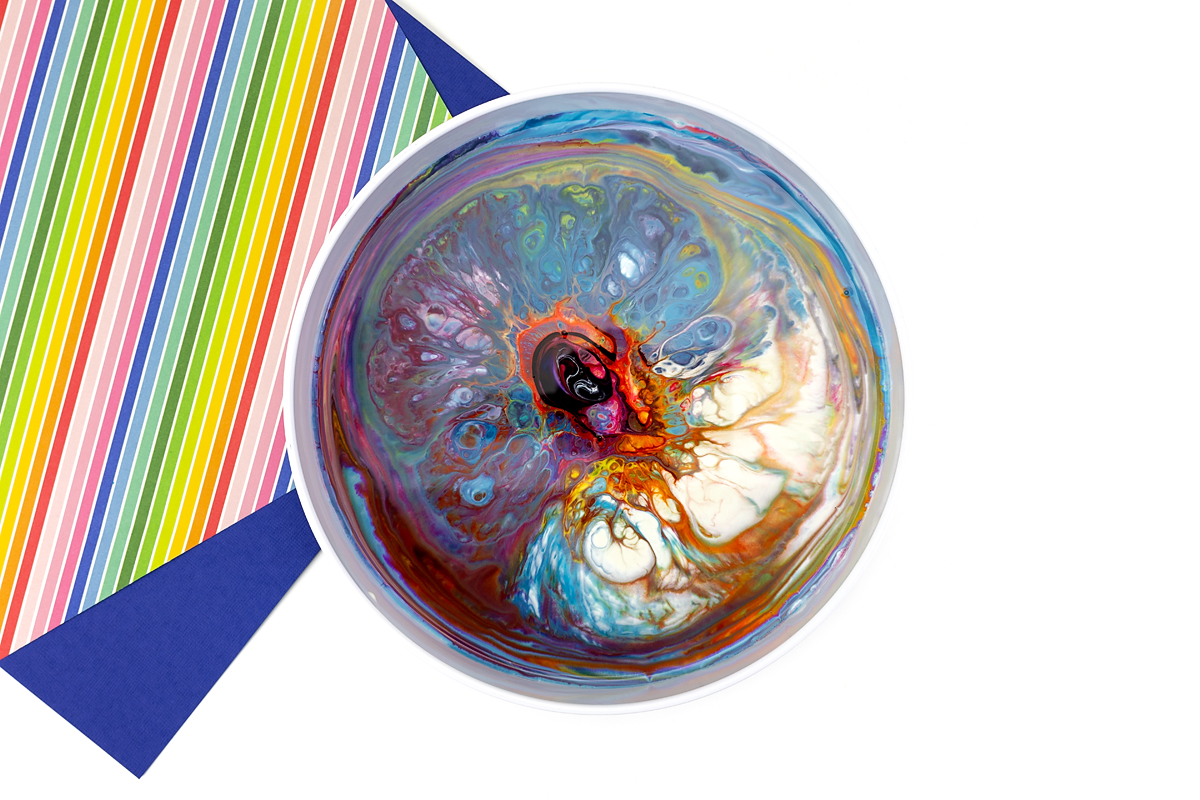
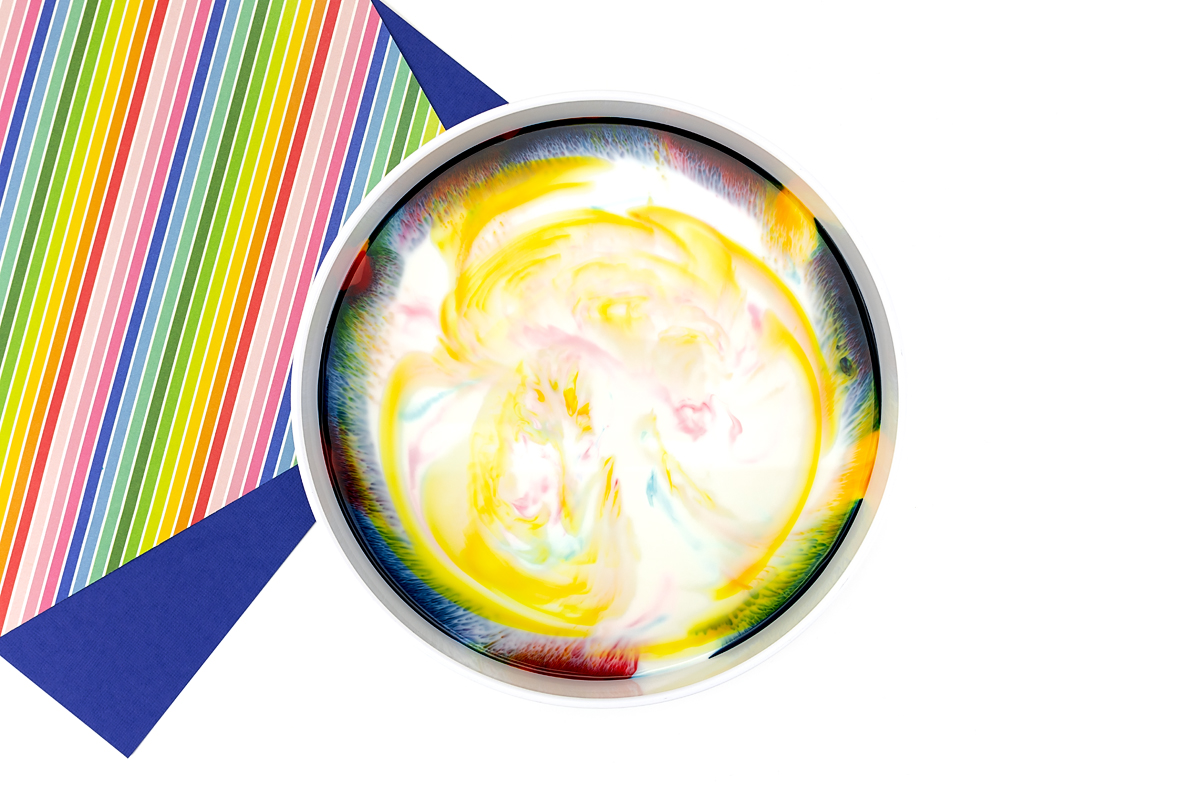
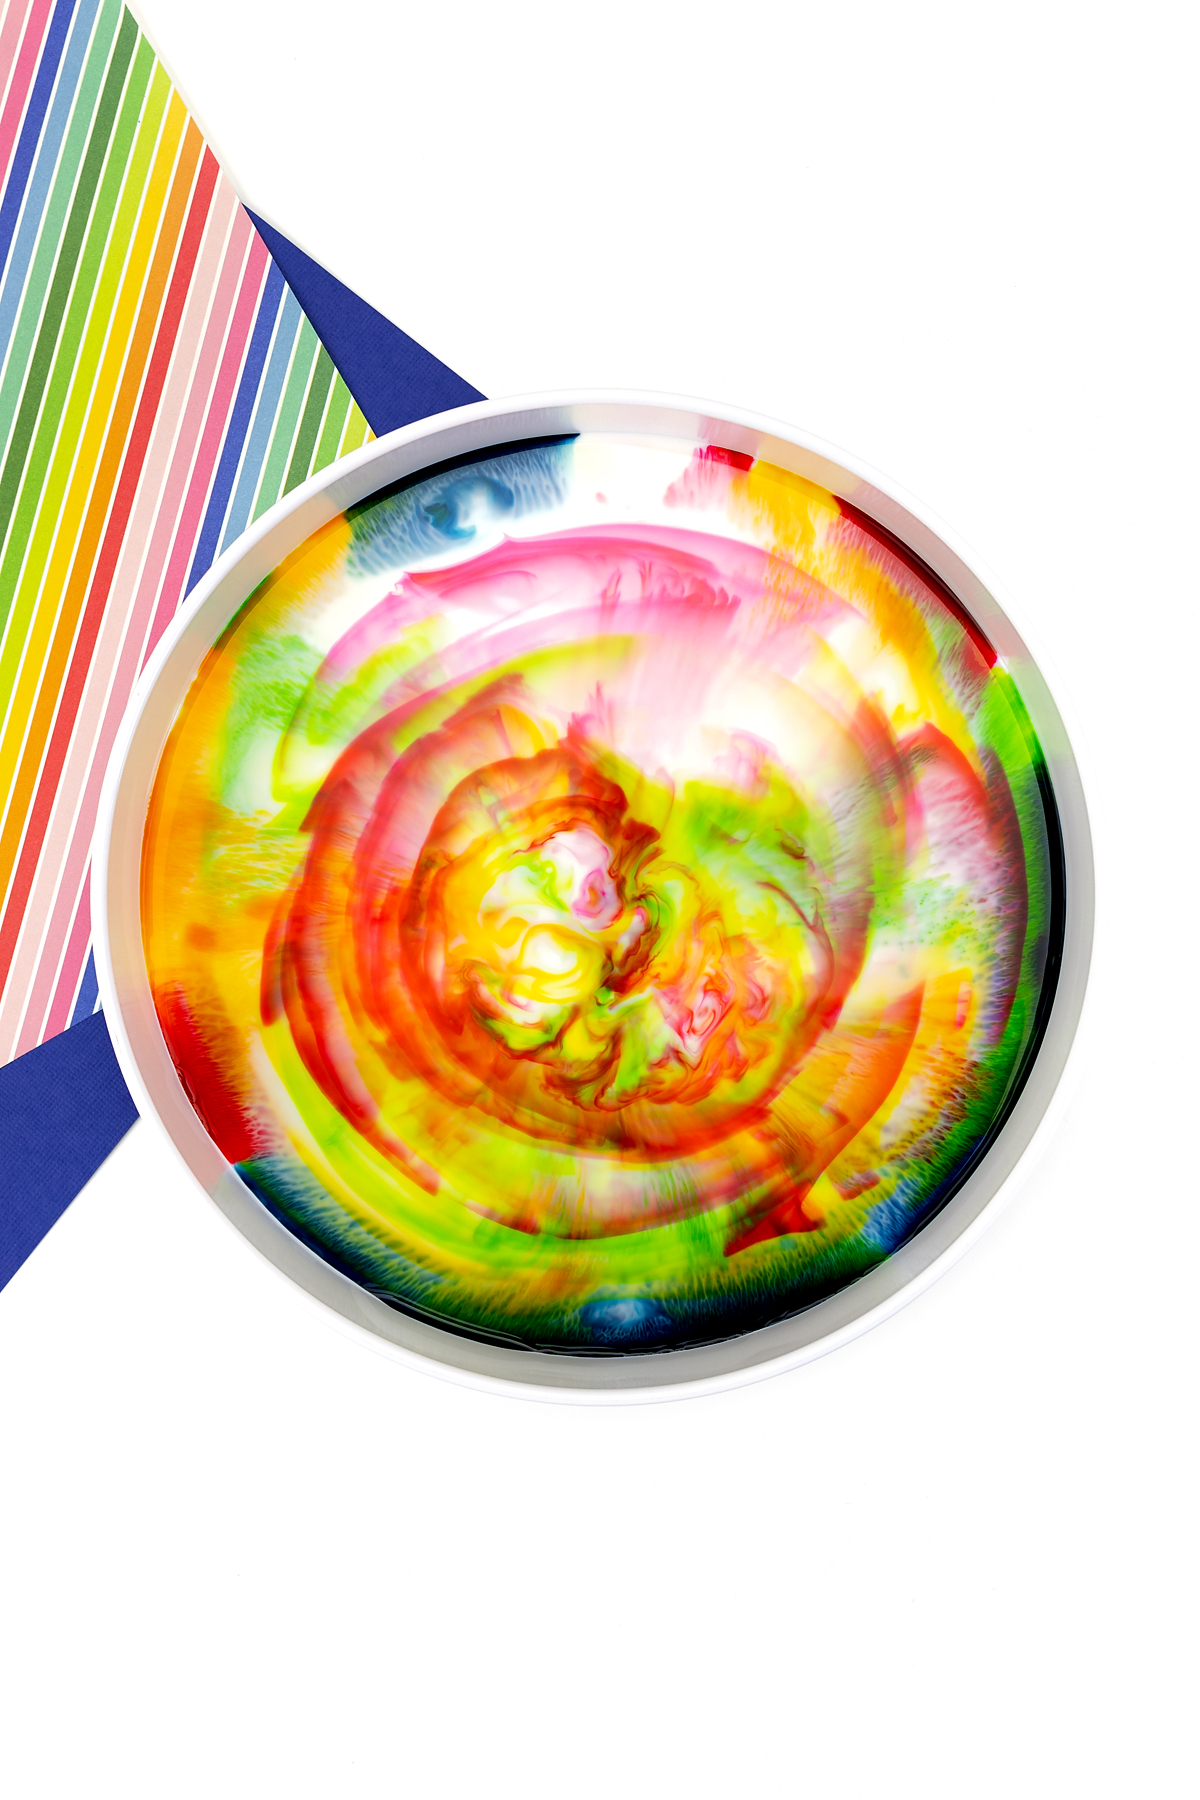
STEP 4: Tap the milk. Gently touch the dyed surface of the milk with the soapy end of the cotton swab. Watch as the colors instantly swirl and move, creating a magical effect!
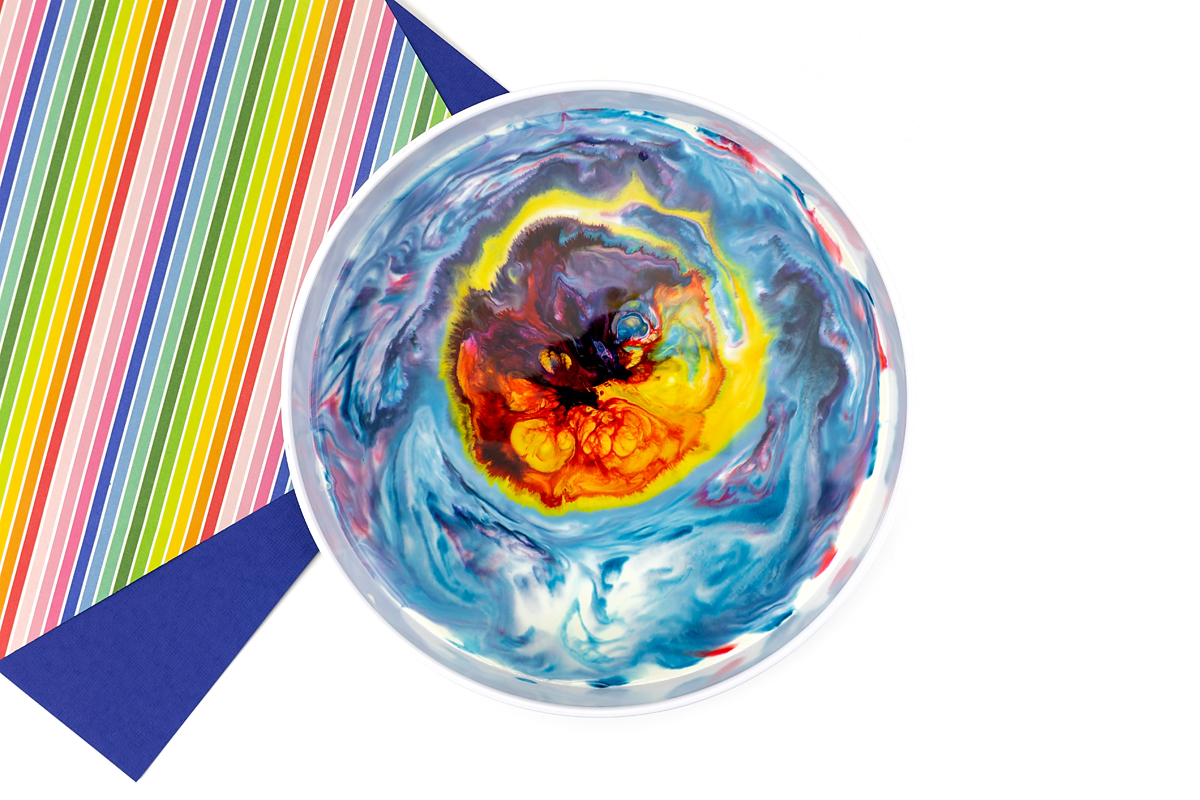
STEP 5: Repeat. Dip a fresh cotton swab in dish soap, then gently press it into the milk. Observe as more colors magically appear from the bottom of the plate like fireworks!
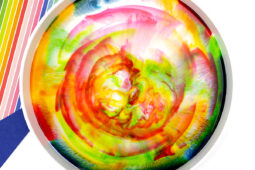
If desired, pour the milk out of your plate and start the experiment over, again and again. It will look different each time! I just love the photo below—it reminds me of a Grateful Dead t-shirt.
STEP 6: Record your data. Invite your child to use our free printable magic milk experiment PDF to draw or write about what they observed before adding soap—then after adding soap!
Magic Milk Experiment Explanation
Milk contains microscopic fat molecules called milk fat globules. When you add dish soap to milk, the soap starts to break up those fat molecules. This makes the surface of the milk unstable, kind of like popping a bubble. As the soap spreads out, it pushes the food coloring around, creating cool swirls and bursts of exploding color. The movement keeps going until the soap finishes mixing with all the fat in the milk. It’s not magic—it’s science!
Take it Further
Ready to explore more? Check out these extension ideas.
- Try using different types of milk (e.g., skim, 2%, heavy cream, almond, or melted ice cream) and observe the differences in movement.
- Use a dropper to add more soap in different spots to see how the patterns change.
- Let kids predict what will happen before adding the soap, encouraging scientific thinking.
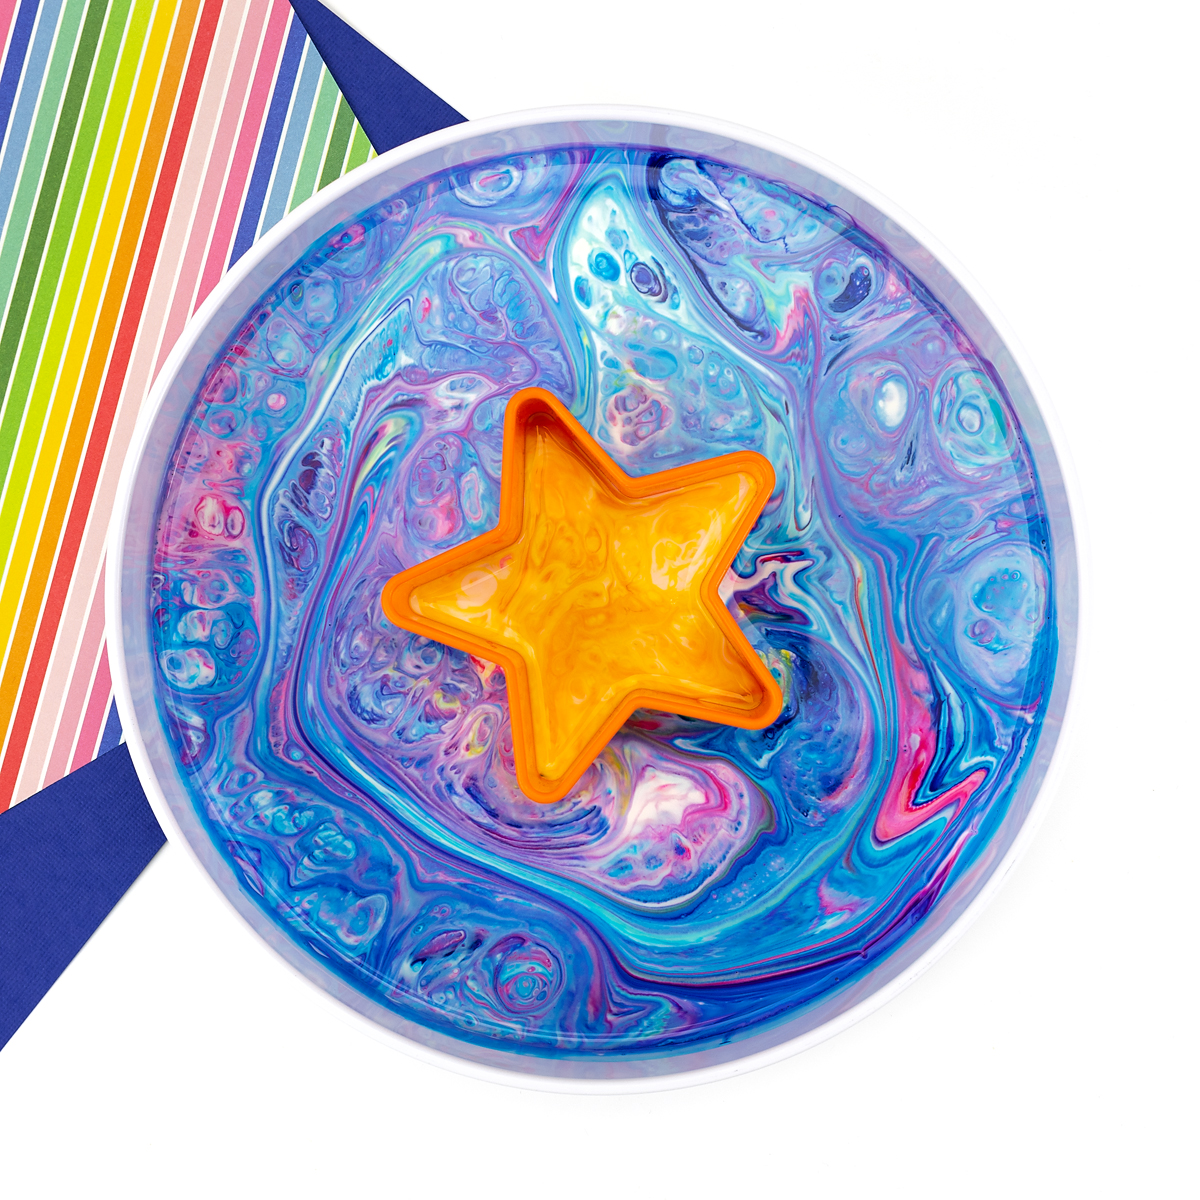
- Experiment with placing cookie cutters in the milk to divide warm and cool colors!
- What happens if you use water instead of milk?
- Will this experiment work with shampoo? Hand soap? What about a kitchen spray?
- Arrange themed color-changing milk experiments for holidays. For example, red and green food dye for Christmas or a pumpkin-themed experiment for fall.
- How does this experiment change if you first heat the milk?
- Pair this activity with the book Little Blue and Little Yellow and use it to learn about color mixing.
- Enjoy drinking a fresh cup of milk after the experiment!
More Screen-Free Activities for Kids
Looking for more ways to play and learn at home? You may also enjoy:
- Exploring the reaction between baking soda and vinegar in this fun Christmas-themed science experiment.
- The engaging STEM challenge of building something that floats.
- Learning about the life cycle of a butterfly with this interactive butterfly life cycle craft.
- Making rainbow rice for sensory play.
Save This Post
Save this kids milk magic science experiment on Pinterest using the image below.


Want even more?
Make sure to follow on Facebook, Pinterest, and Instagram for more easy crafts, activities, recipes, and parenting tips. And don’t forget to subscribe to our emails.