

This Apple Suncatcher craft is a bright and cheerful fall project that kids of all ages will enjoy! With just a few simple materials like colored tissue paper and a free printable apple template, children can create their own stained glass apple suncatcher to hang in the window. It’s an engaging way to explore color, shape, and creativity while practicing important fine motor skills.
Decorating windows for fall? You may also like our Sunflower Suncatchers.
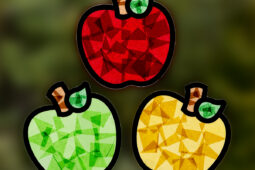
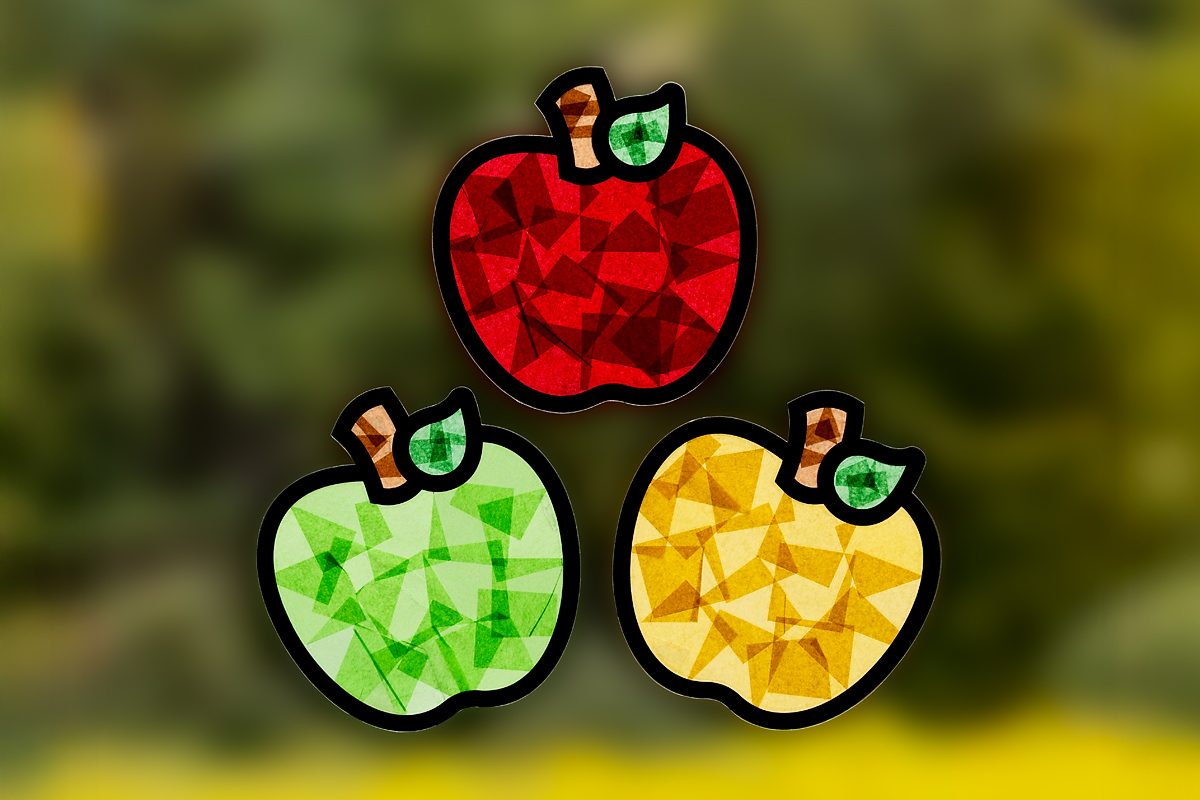
Apple Suncatcher Craft
Fall is the perfect season for apple crafts, and this one fits right in with classroom themes, apple units, or weekend fun at home. Kids will love layering the bright tissue paper colors, and you’ll love how quick and low-prep it is with the included free printable. It’s a wonderful way to celebrate the season and add a little autumn charm indoors.
Related: Beaded Apple Suncatchers
Why You’ll Love This Craft
This activity is simple, affordable, and packed with benefits:
- Kids practice fine motor skills as they cut, tear, and place tissue paper.
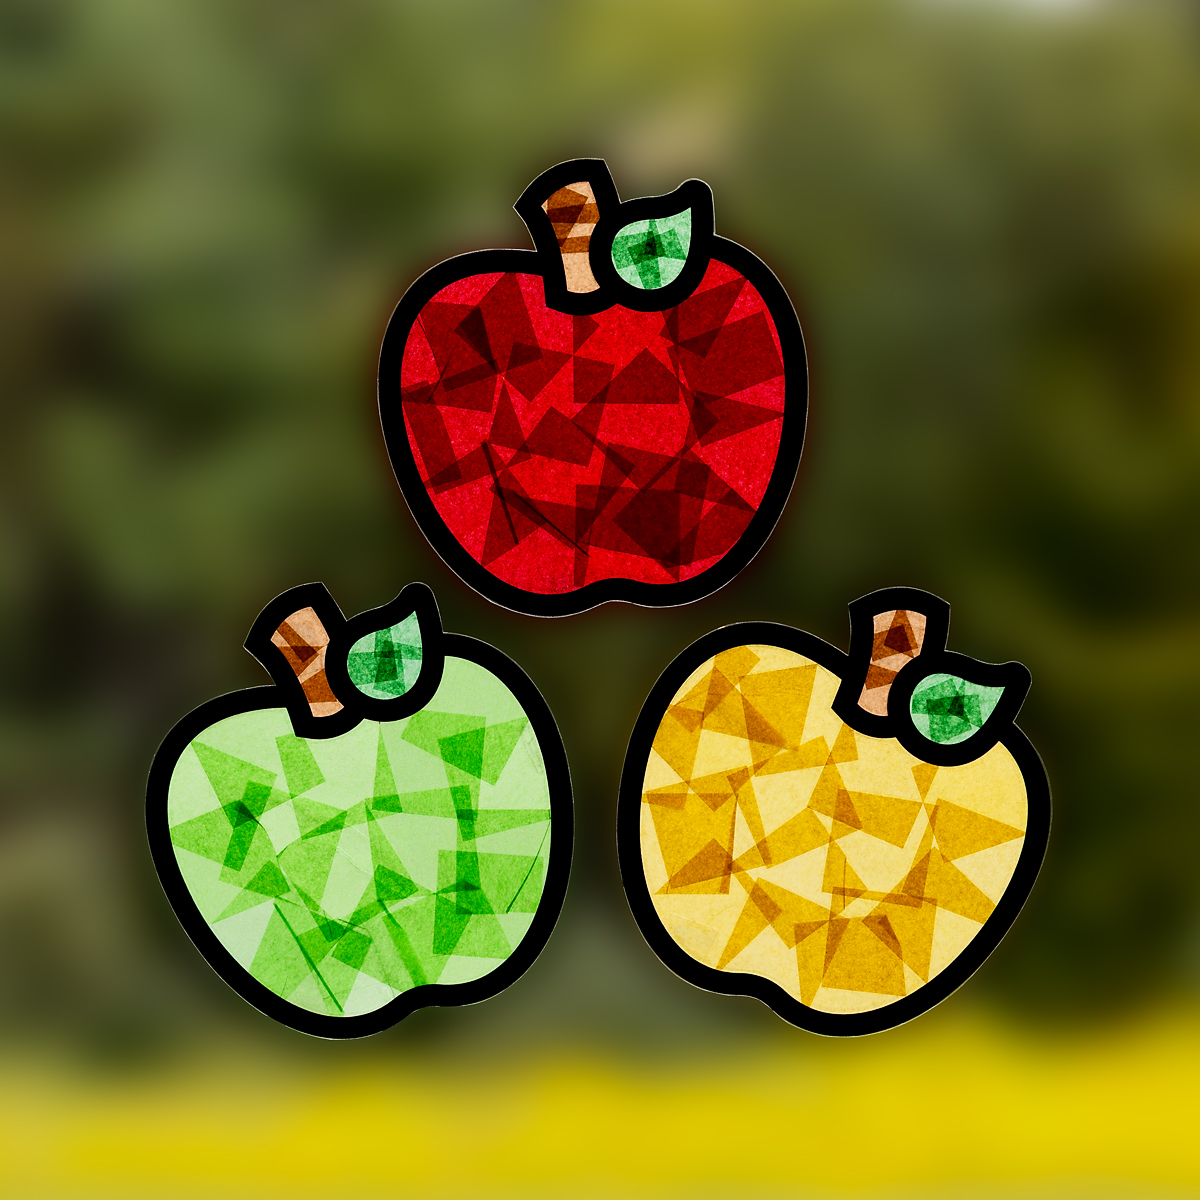
- The bright colors make a cheerful stained glass effect in your windows.
- It’s a low-mess project that works well in groups or one-on-one.
- The free printable apple template makes prep easy for busy teachers and caregivers.
- A creative way to celebrate fall, orchards, and apple themes.
Craft Supplies Needed
Before you get started, make sure you have everything you need:
- Apple Suncatcher Template (free with email subscription)
- Tissue paper squares
- Contact paper or self-seal laminating sheets
- White cardstock
- Black cardstock
- Double-sided tape
- Scissors
Step-by-Step Directions for the Apple Suncatchers
Use the steps below to make bright and colorful window art with your kids:
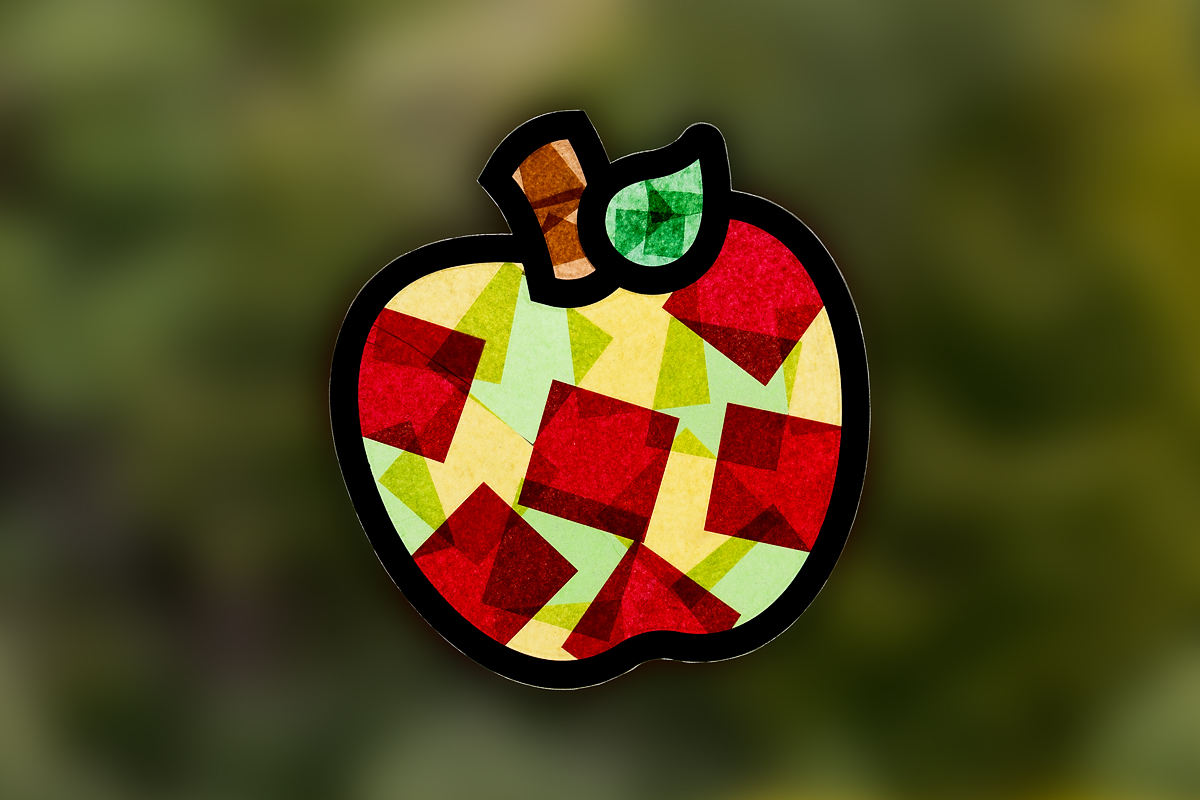
STEP 1: Download the template. Access the free apple printable by clicking the link in the supplies list and subscribing to our free craft newsletter. After subscribing, navigate to the post in our Substack titled Apple Suncatcher Craft to find your download link. Print the free suncatcher templates on white cardstock.
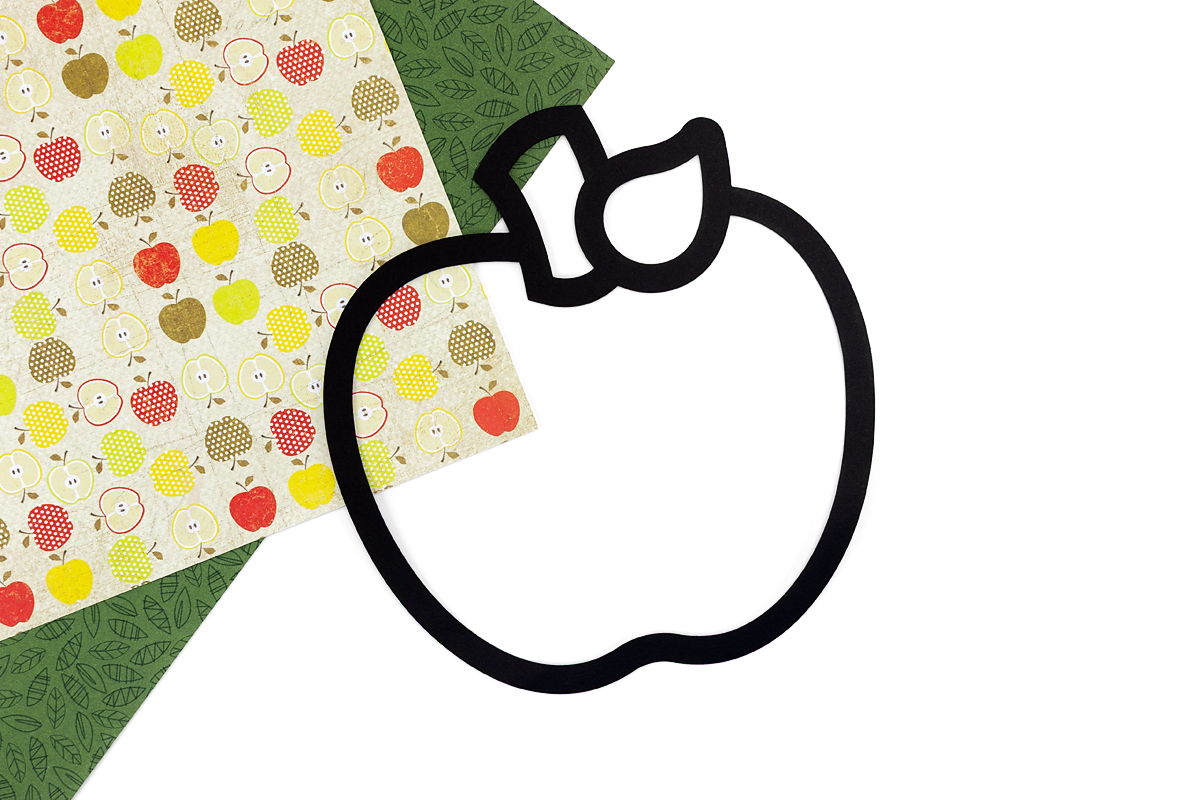
STEP 2: Cut out the apple shape. Use scissors to carefully cut along the bold outline of the apple. Older kids can usually manage this on their own, but younger children may need help with the curves around the stem and leaf.
To make a dark frame for your suncatcher, you have two options:
- Place a sheet of black cardstock behind the printed template, staple them together, and cut both layers at once.
- Or, cut out the template first, trace it onto black cardstock, and then cut along the traced lines.
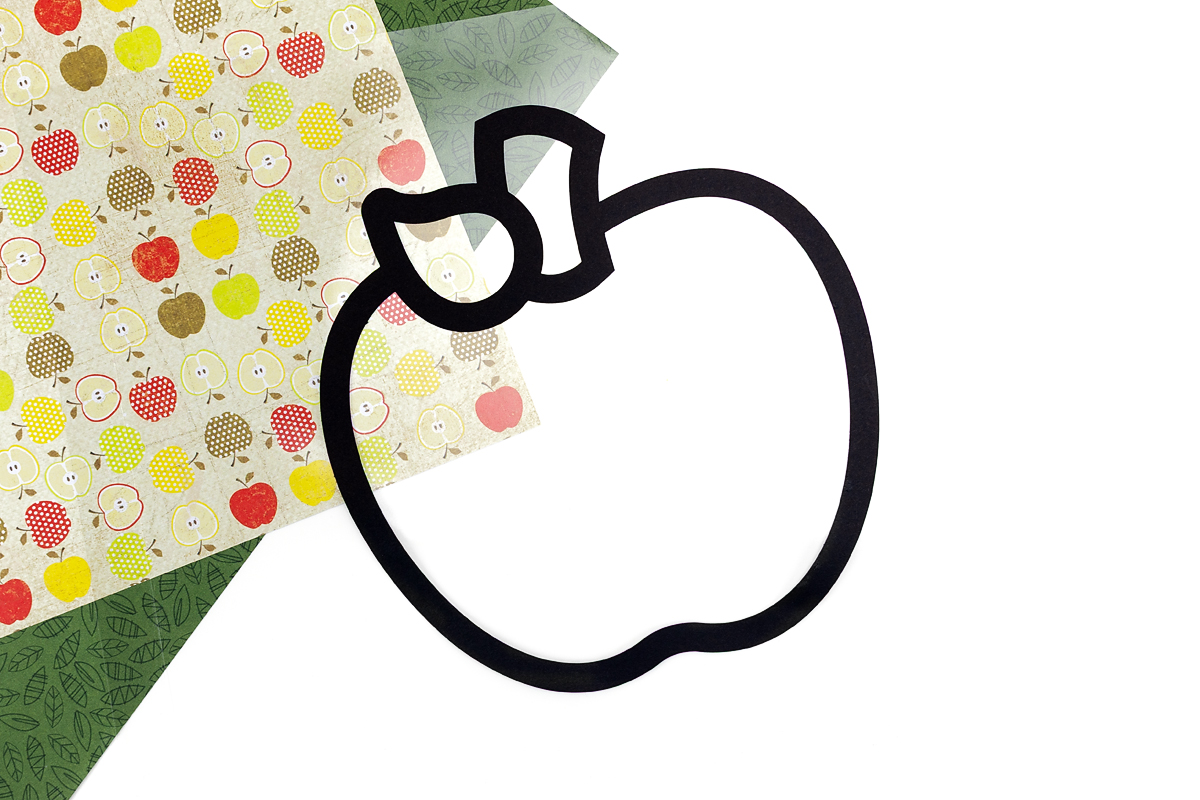
STEP 3: Position the outline. After cutting, place the apple frame onto the sticky side of the self-adhesive laminating sheet. If you used printed cardstock, be sure the ink faces down.
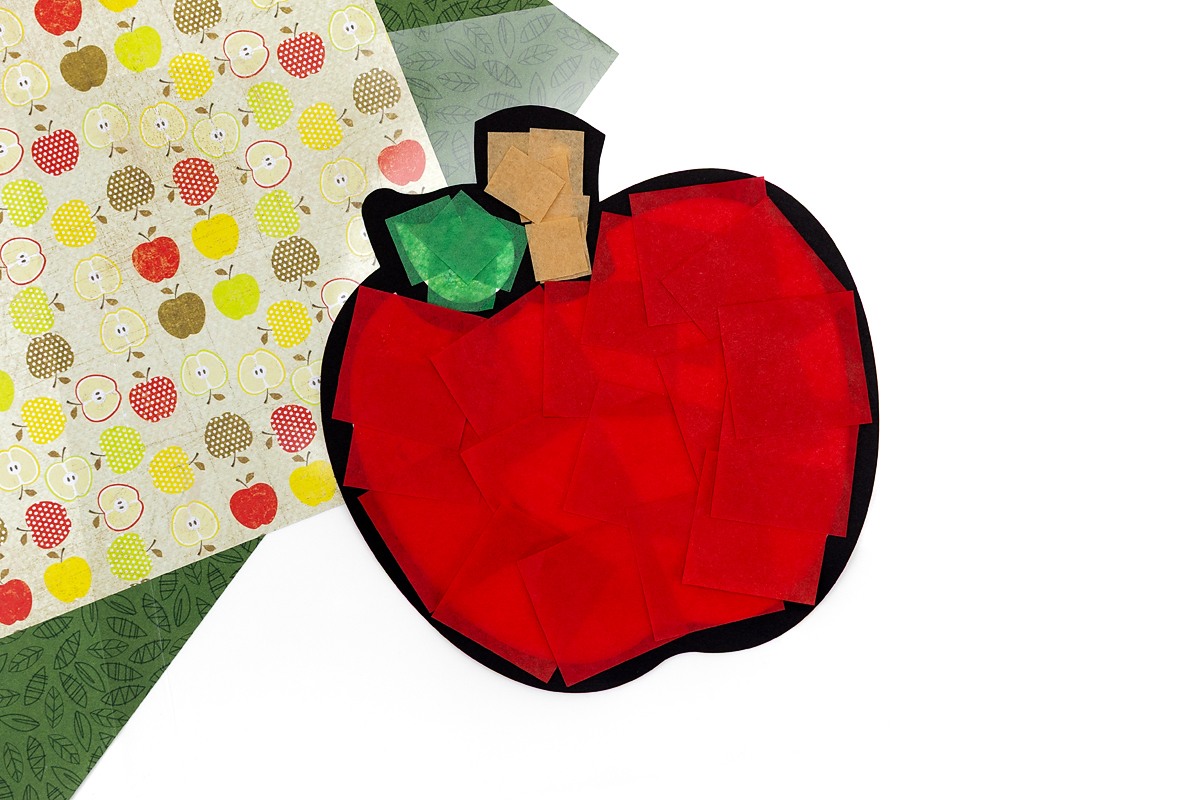
STEP 4: Add the tissue paper. Place small squares of colored tissue paper inside the frame, overlapping the pieces to create a layered effect.
STEP 5: Seal the apple. After the tissue paper is in place, cover the design with a second sheet of laminating film. Press down gently to smooth any wrinkles. Trim around the apple frame, leaving a small border so the edges stay sealed.
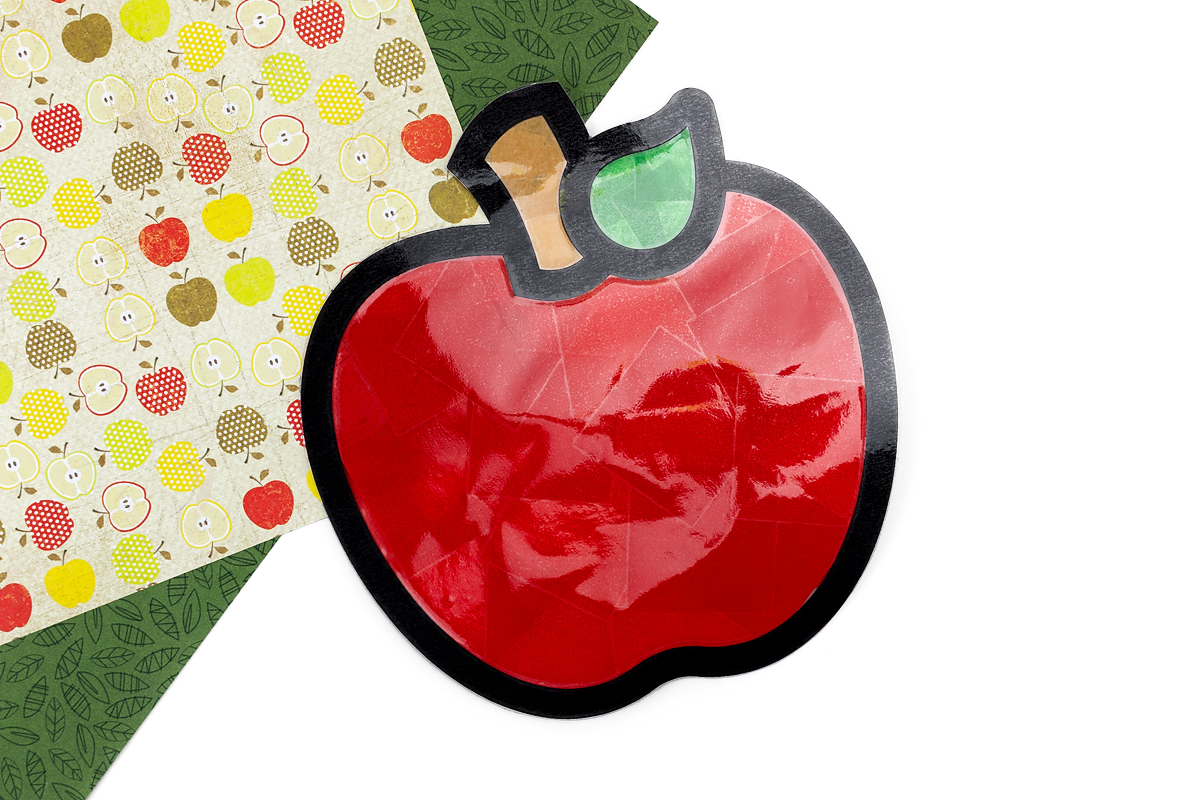
STEP 6: Display your apple. Choose a sunny window and hang your suncatcher with double-sided tape. When the sunlight passes through, the colors will shine, creating a cheerful and bright addition to any room!
Take It Further
Once your apple suncatcher is complete, there are plenty of ways to extend the activity and keep kids engaged. This is a great opportunity to explore more creativity, connect to fall themes, and add learning opportunities.
- Try other shapes: Use the same method to make a pumpkin or leaf suncatcher.
- Experiment with color: Encourage kids to mix tissue paper colors to create gradients, patterns, or even rainbow apples. You could also try using red, green, and yellow cardstock instead of black.
- Layered effects: Add multiple layers of tissue paper or use translucent shapes to explore overlapping colors and light. You could even add glitter for a little sparkle!
- Storytime connection: Pair the craft with apple-themed books such as Apple Picking Day! or Applesauce Day.
- Math and science tie-ins: Count apples, sort tissue paper by color, or talk about how apples grow from seed to fruit.
- Sensory exploration: Let kids explore the sticky texture of contact paper, or combine this craft with a tasting activity featuring different apple varieties.
- Classroom display: Hang all of your students suncatchers in your classroom window!
- Visit a farm: Enjoy this craft after picking apples at an apple farm.
More Apple Crafts for Kids
If your little learners loved the apple suncatcher, they’ll enjoy trying these other fun and creative apple crafts. Each of these projects pairs nicely with books, fall activities, or a hands-on apple-themed lesson plan, making them perfect for home or classroom crafting.
- Apple Tree Craft – Build a colorful apple tree using paper, buttons, and tissue paper. A great way to practice cutting, gluing, and layering.
- Preschool Apple Craft – Simple, hands-on activity perfect for younger children, focusing on color recognition and motor skills.
- Paper Plate Apple Core Craft – Turn a paper plate into a realistic apple core while learning about healthy eating and apple anatomy.
- Torn Paper Apple Craft – Kids tear colored tissue paper to fill in an apple shape, perfect for developing fine motor skills and creativity.
- Paper Plate Caramel Apple Craft – Combine painting, paper, and imagination to make a sweet and sticky fall favorite that’s fun to create.
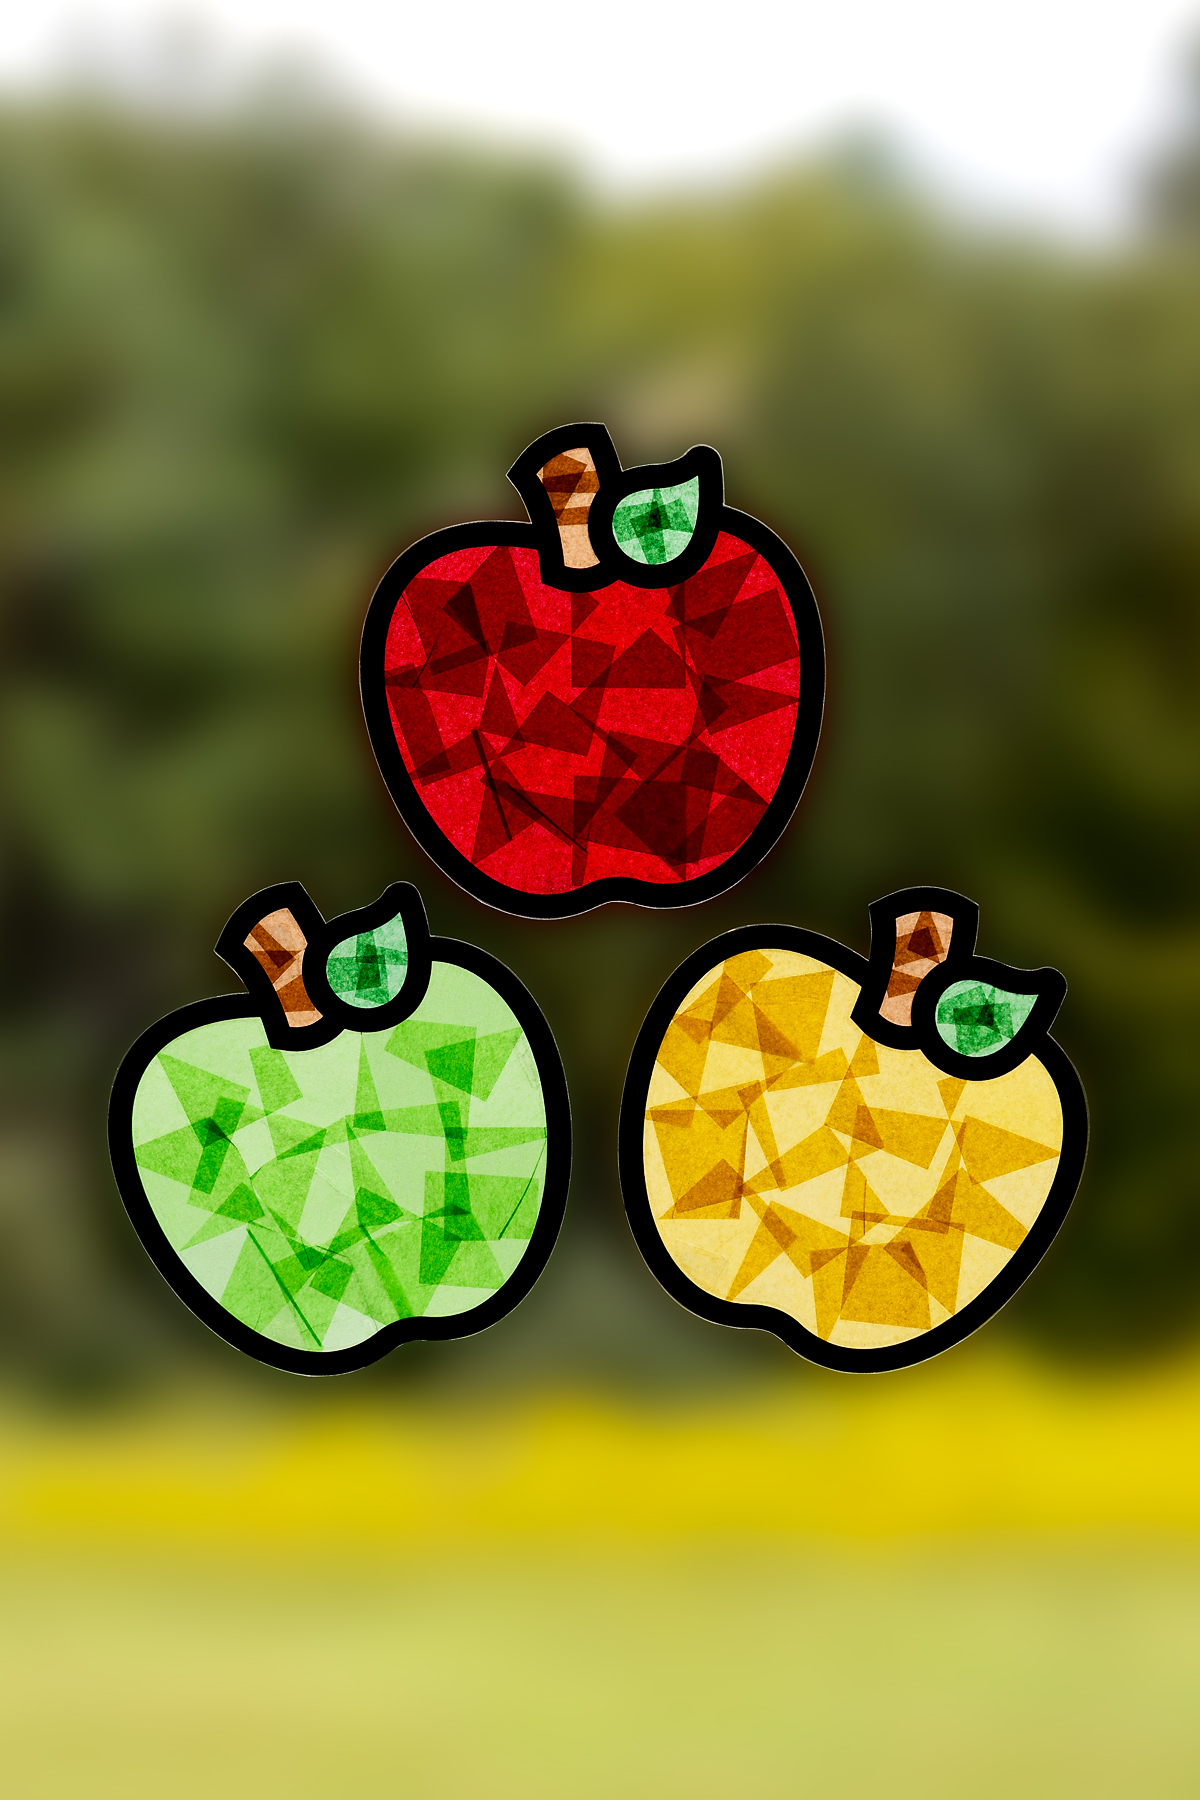
Save This Craft
Save this craft on Pinterest using the image below!


Want even more?
Make sure to follow on Facebook, Pinterest, and Instagram for more easy crafts, activities, recipes, and parenting tips. And don’t forget to subscribe to our emails.