

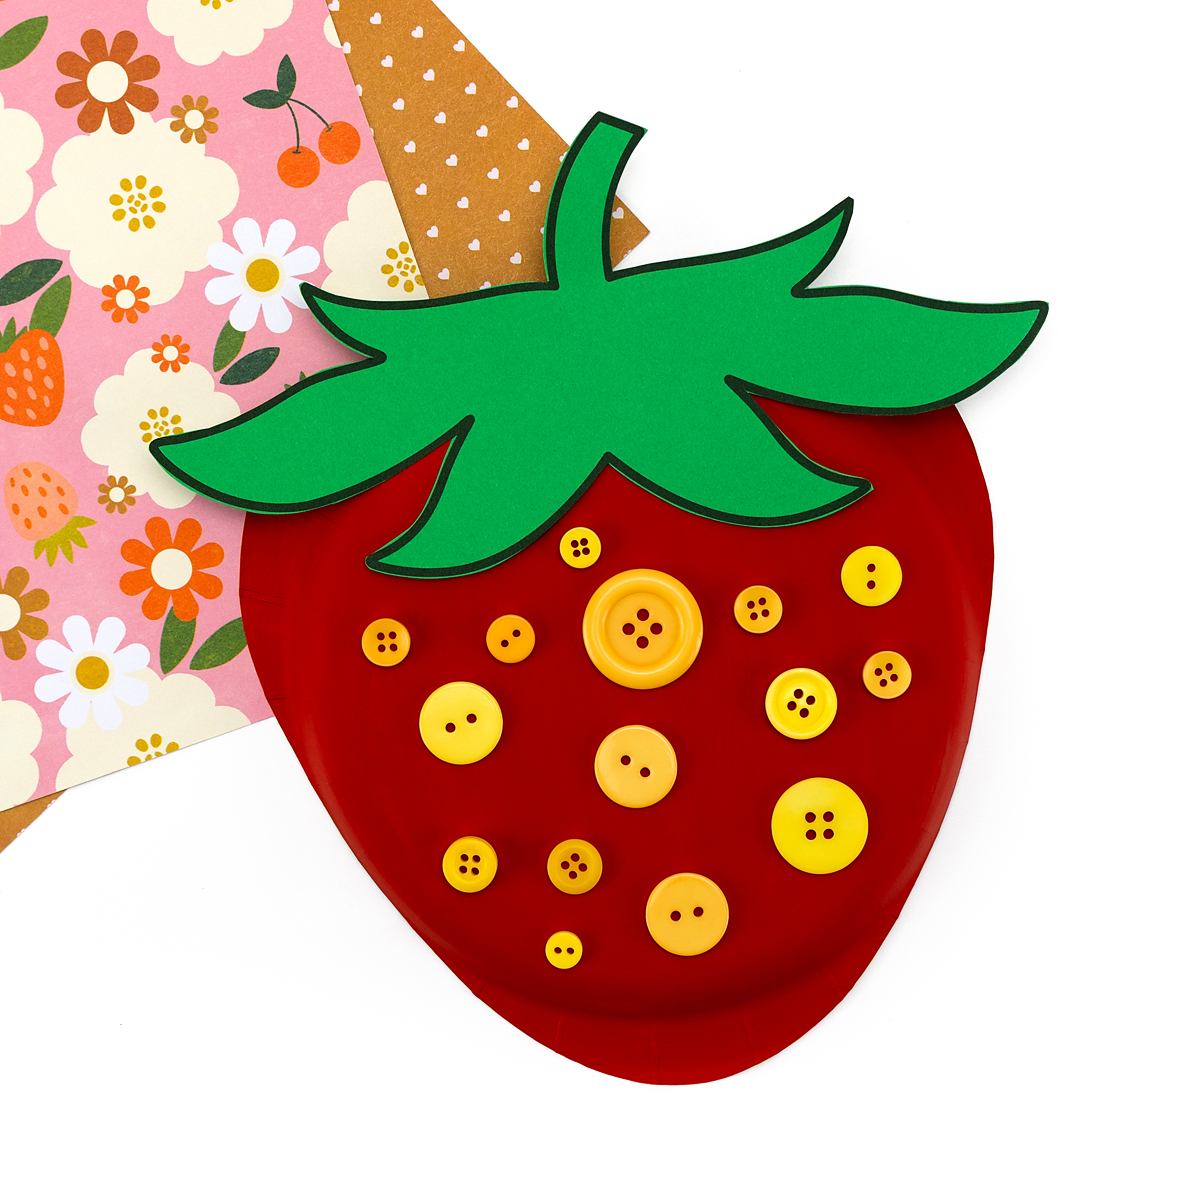
Strawberries are a simple way to add a fresh, seasonal touch to craft time! This Paper Plate Strawberry Craft is easy to prepare and uses materials you likely already have on hand. With a free printable template and a few basic supplies, kids can create a bright project that’s fun to make and easy to display on a classroom bulletin board or family refrigerator.
Pair this craft with our Strawberry Suncatcher Craft or Popsicle Stick Strawberry Craft for a fun themed strawberry activity set that lets kids explore different materials and creative styles.
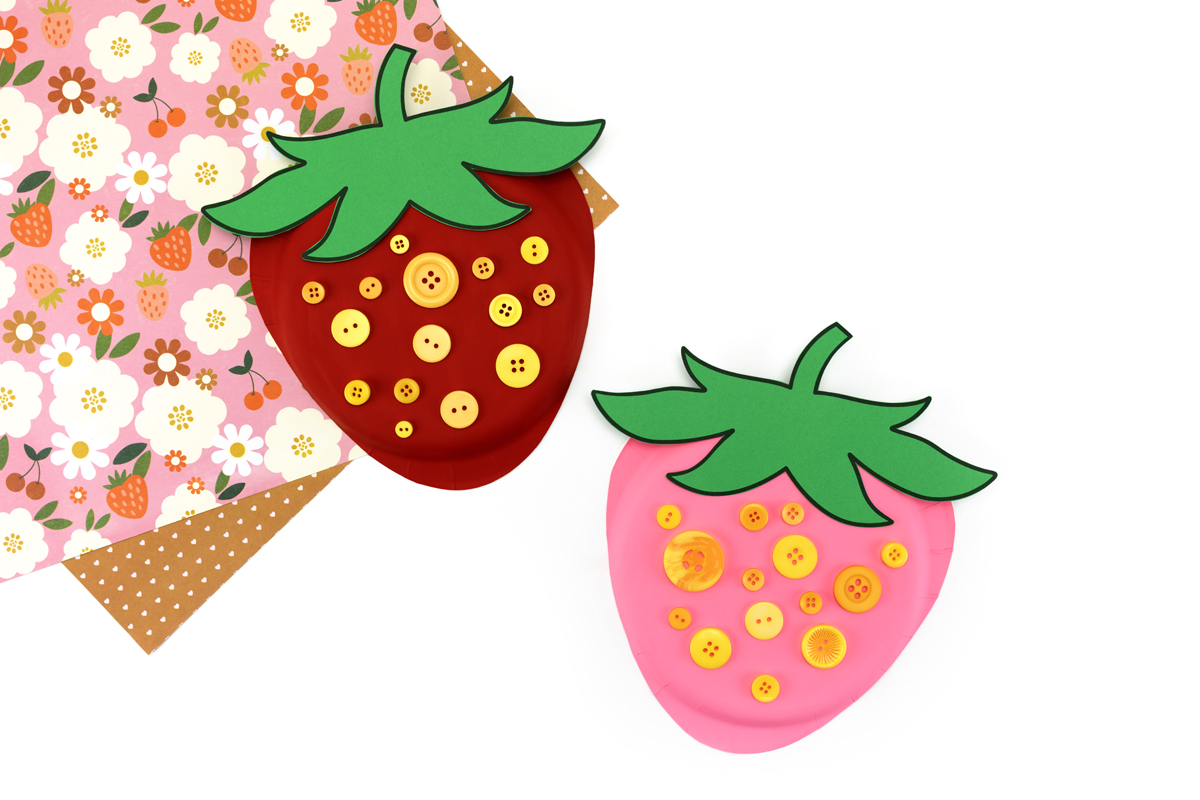
Why You’ll Love This Craft
There are plenty of reasons this one is a great choice for spring crafting:
- It uses simple supplies – Paper plates, paint, glue, and buttons are easy to find, and you may already have everything you need at home or in the classroom.
- The free template keeps it easy – Kids can trace the strawberry shape right onto the paper plate, making cutting more manageable and less frustrating.
- It works for all ages – Younger kids can paint and glue with help, while older kids can handle tracing, cutting, and assembling on their own.
- It adds a fun sensory step – Painting the plate and pressing on the yellow button “seeds” keeps kids engaged and helps build fine motor skills.
- It creates a bright summer display – The finished strawberries are sturdy and colorful, making them perfect for bulletin boards, walls, or seasonal decorations.
Quick Craft Overview
This quick overview helps you decide if this paper plate strawberry craft is a good fit for your group:
- Skill level: Easy
- Ages: All ages
- Prep time: 5–10 minutes
- Craft time: 30–45 minutes
- Mess level: Low to medium (paint and glue involved)
- Why it’s fun: Kids get to paint, assemble, and add button “seeds” to create a bright, hands-on strawberry they can proudly display.
Is this craft too difficult for your child? You may enjoy trying our Torn Paper Strawberry Craft instead.
Craft Supplies Needed
Here is everything you need to gather before you get started:
- Paper Plate Strawberry Template
- White cardstock
- Green cardstock
- Paper plate (6″)
- Scissors
- Red or pink paint
- Paint brush
- Tacky craft glue
- Yellow buttons
How to Make a Paper Plate Strawberry Craft
This project comes together in just a few easy steps. Read through all the instructions before you begin so everything is ready to go:
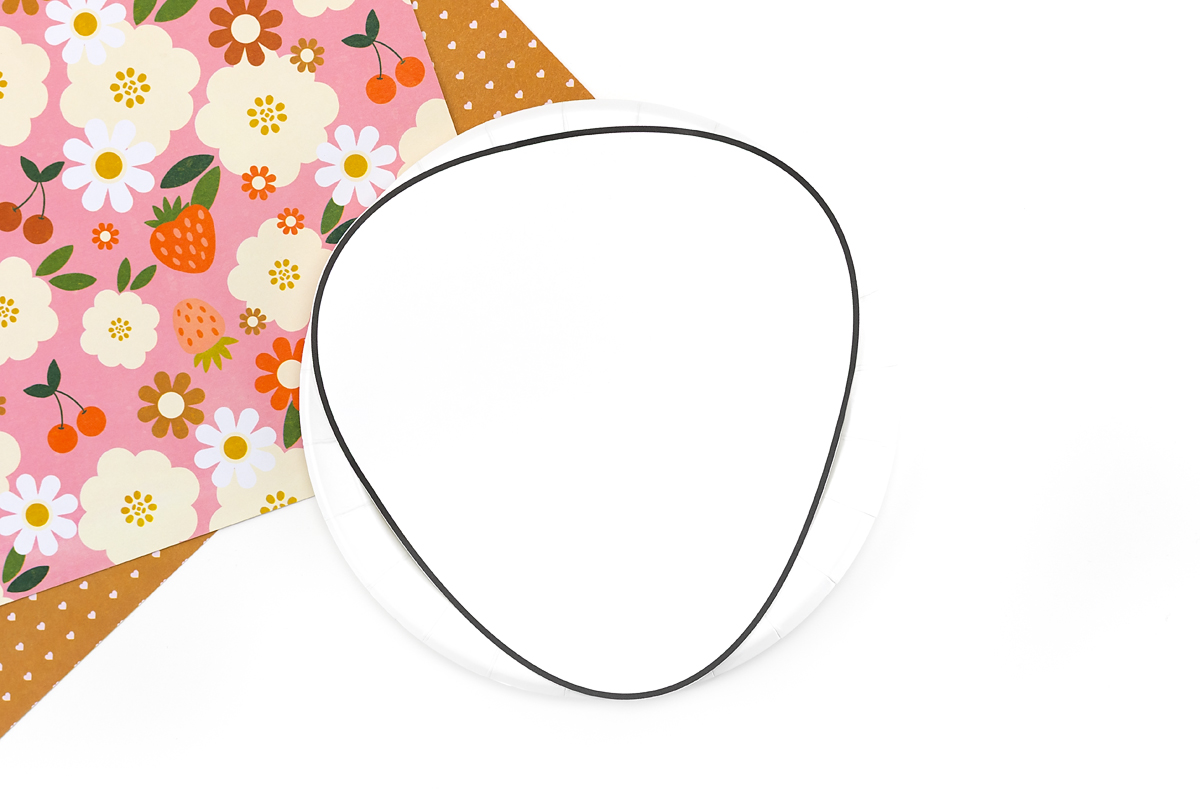
STEP 1: Trace and cut the strawberry shape. Print the free template and cut out the strawberry body outline. Place it on the back of your paper plate and trace around it with a pencil, then cut along the line. The paper plate gives the strawberry a slightly curved, dimensional look that flat paper cannot match.
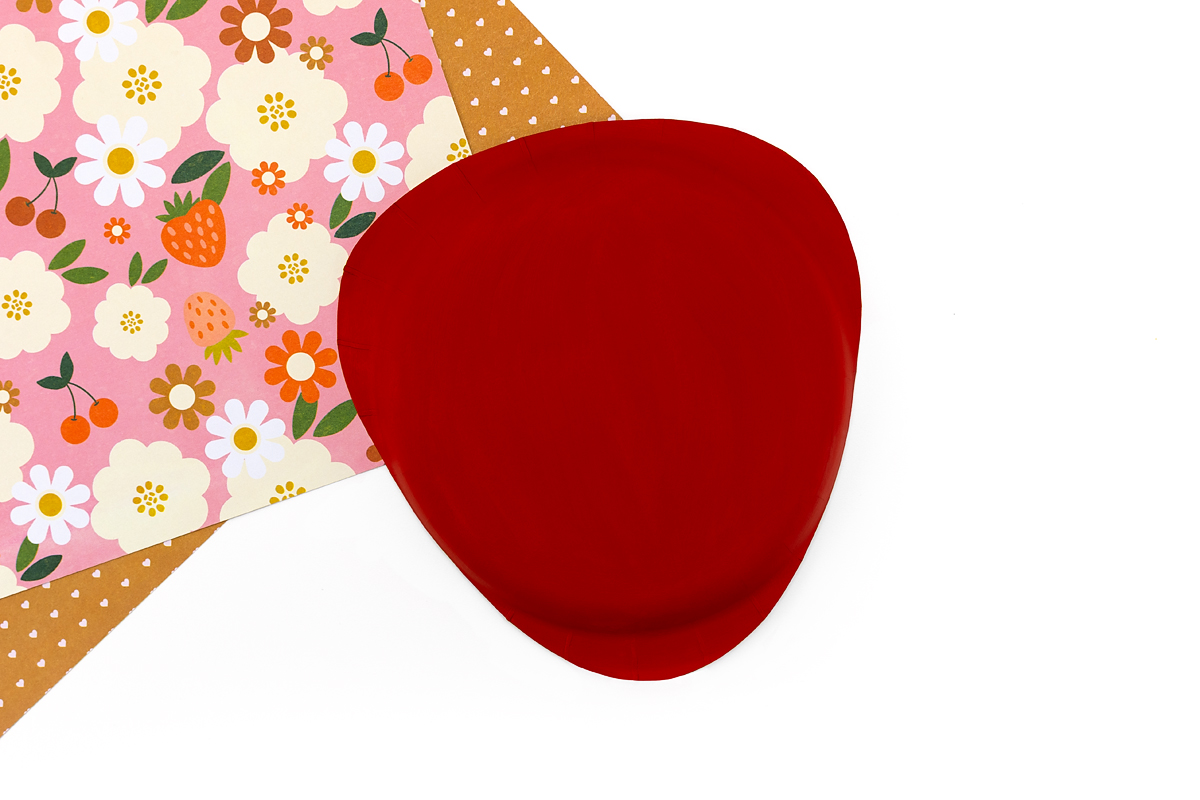
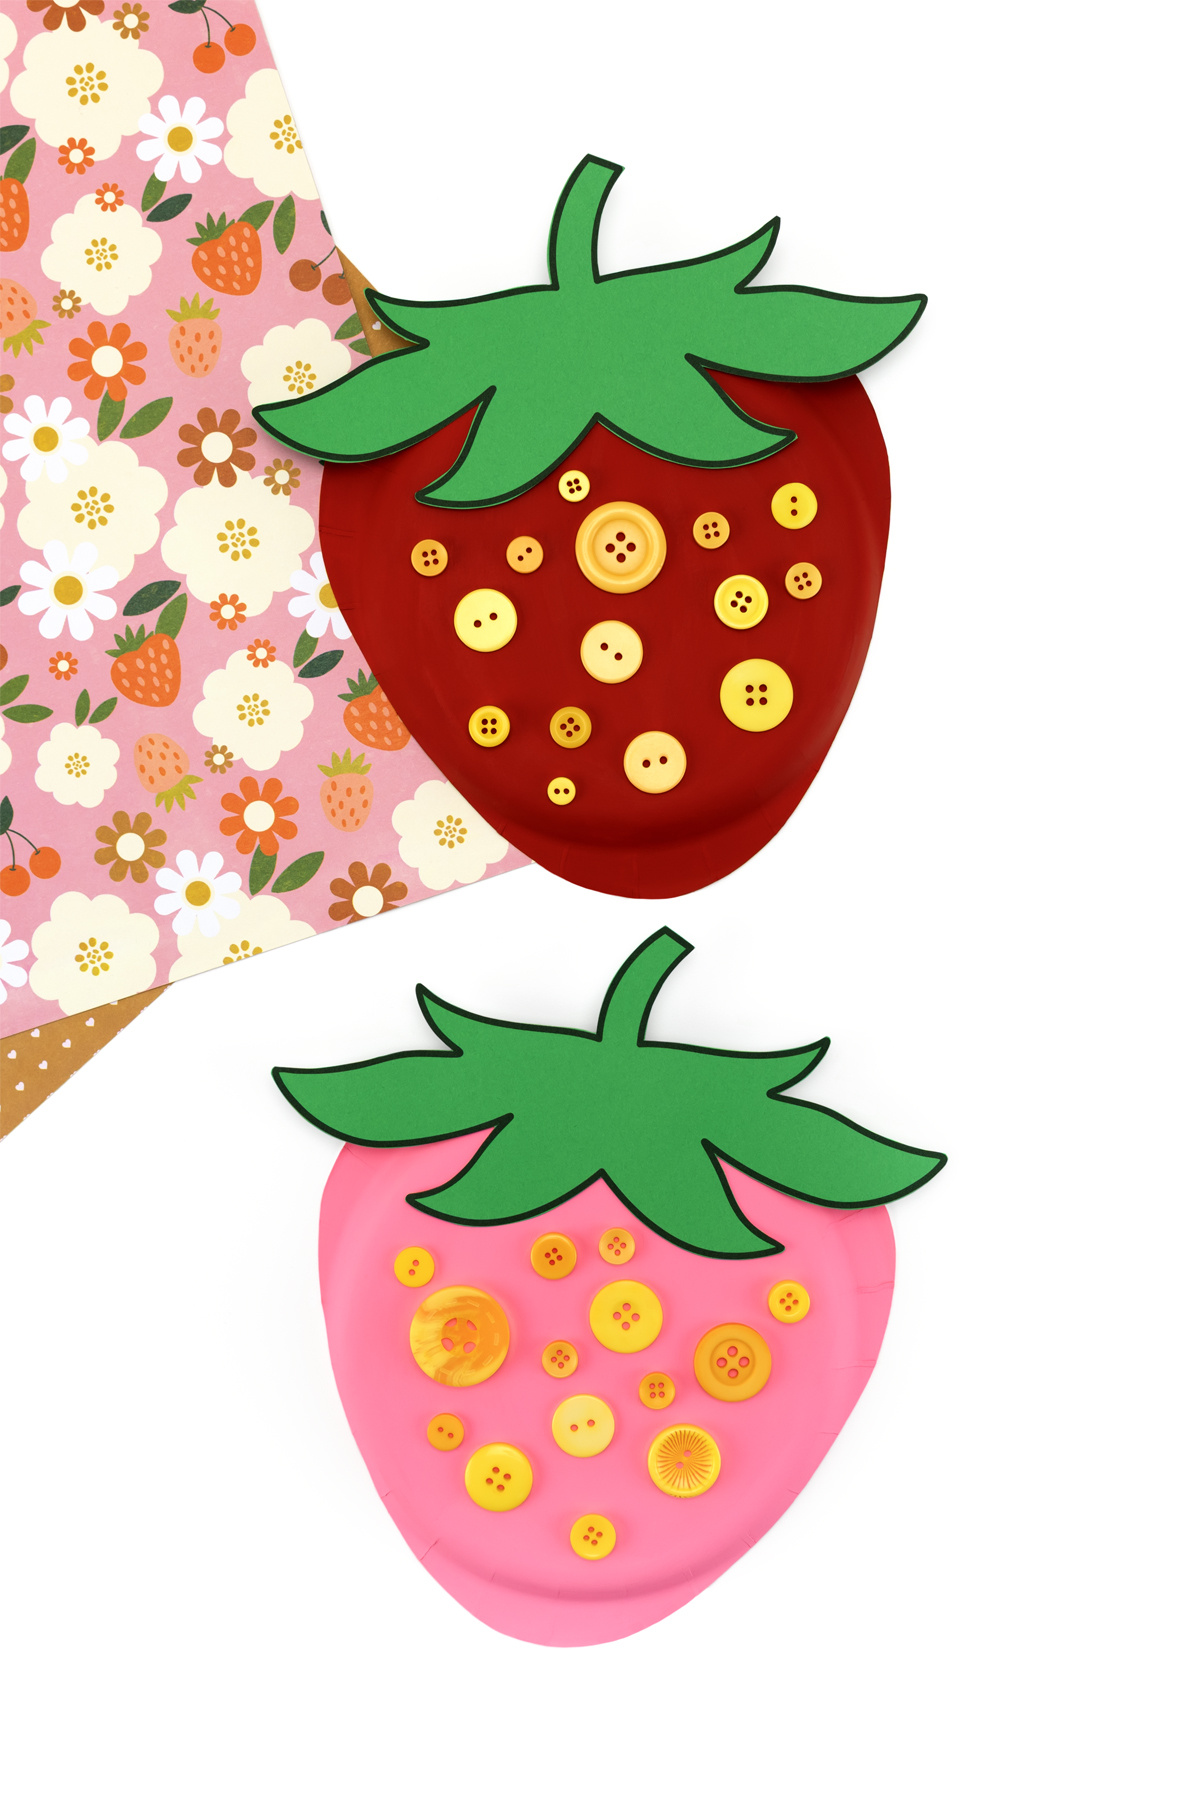
STEP 2: Paint the strawberry. Paint the back of your cut paper plate red or pink. Bright red gives a classic strawberry look, while pink creates a softer, sweeter version kids love just as much. Set the painted strawberry aside and let it dry completely before moving on.
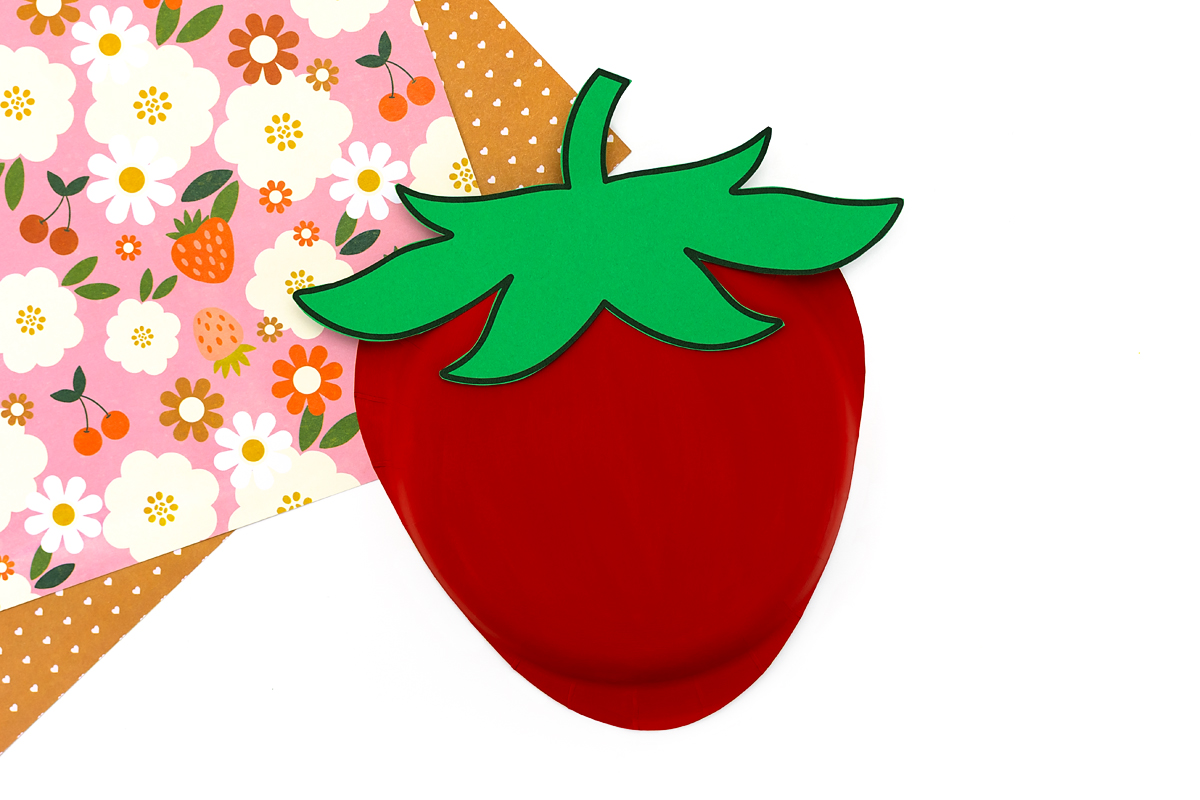
STEP 3: Cut out the leaves. Cut out the strawberry leaves from the printed green paper. Because the leaves are printed directly on green paper, there is no painting required for this step, which is a nice timesaver for bigger groups. Once the strawberry is fully dry, apply glue to the back of the leaves and press them onto the top of the strawberry shape. Hold them in place for a moment so they adhere well.
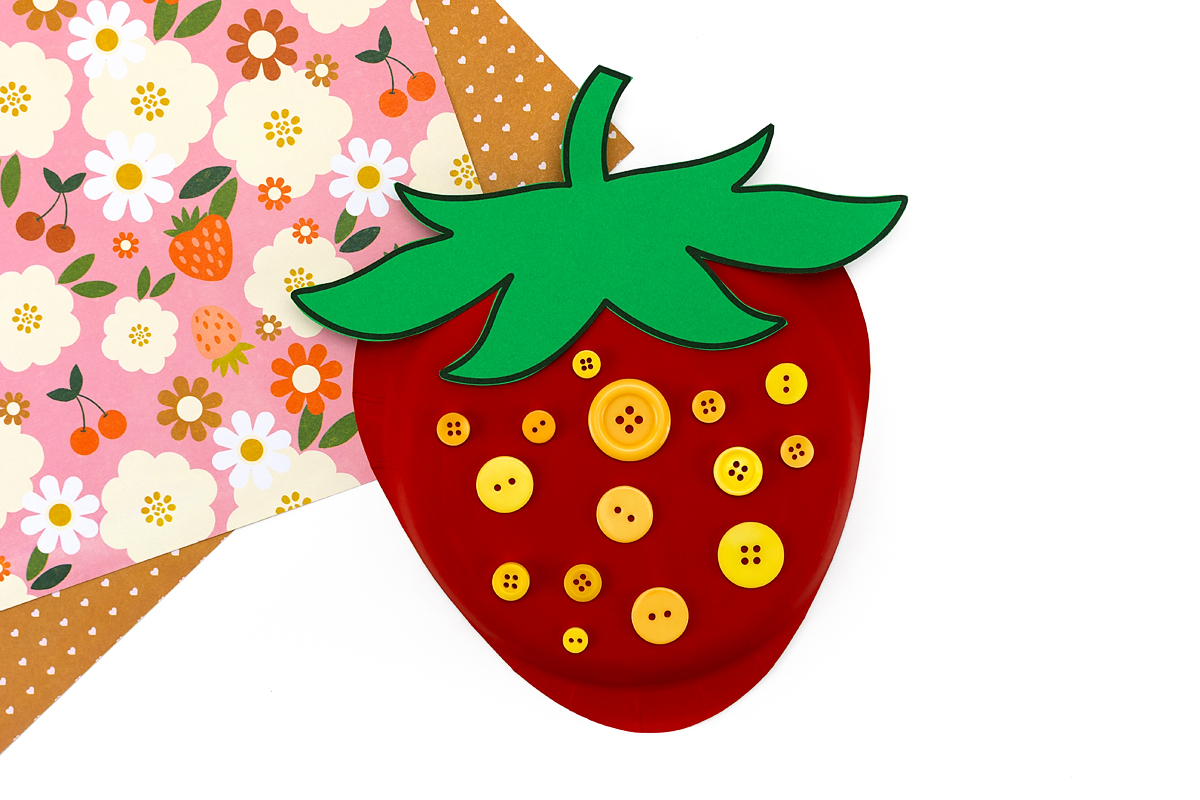
STEP 5: Add the button seeds. This is the step kids look forward to most! Apply small dots of glue across the front of the strawberry and press yellow buttons onto each dot to create the seeds. The buttons add a sweet, tactile detail that makes each strawberry feel one of a kind. Allow everything to dry flat before displaying or hanging.
Tips for Making This Craft
A few simple tips can help everything go smoothly from start to finish:
- Let it dry – Allow the paint to dry completely before adding the leaves and buttons so everything stays in place.
- Pick your paint – Acrylic paint gives bright, bold color, while washable tempera is a good option for younger kids and easy cleanup.
- Prep ahead – For classrooms or groups, cut the paper plates into strawberry shapes in advance to save time.
- Mix your color – Add a little white to red paint to create a soft strawberry pink if needed.
- Use what you have – No yellow buttons? Try foam stickers, pom-poms, or small dots of yellow paint for the seeds.
Take It Further
Once your strawberry is finished, there are lots of simple ways to keep the creativity going and build on the activity:
- Story time tie-in – Pair the craft with a strawberry-themed book and talk about where strawberries grow and how they are picked.
- Counting practice – Have kids count out a set number of “seeds” using buttons, stickers, or paint dots for simple math practice.
- Name craft – Write each child’s name across the strawberry and use it as a personalized display or bulletin board piece.
- Color exploration – Try different shades of red and pink, or even create “fantasy strawberries” in fun colors like purple or blue.
- Sensory swap – Use tissue paper, felt, or craft foam instead of paint to give the strawberry a different texture.
- Label the parts – For older kids, turn the craft into a mini lesson by labeling the leaves, seeds, and fruit.
- Dramatic play – Add the finished strawberries to a pretend play kitchen, farm stand, or grocery store setup.
Frequently Asked Questions
Parents, grandparents, and teachers often have a few questions before starting a new craft. Here are the most common ones about this paper plate strawberry project.
Yes, with support. Toddlers can handle painting and pressing the buttons into glue, which they usually enjoy. An adult or older child should help with tracing, cutting, and any detailed assembly.
Plan for about 30–45 minutes total, including drying time. If the strawberry shapes are pre-cut for a group, the active crafting time will be much shorter.
Absolutely. The steps are simple enough for kids to follow independently, and the free printable template makes prepping multiple paper plates quick. Pre-cutting the shapes before your session is the best way to keep things moving smoothly with a large group.
Foam or paper stickers, small pom-poms, sequins, or simple dots of yellow paint all work well. Any small yellow craft material can easily stand in for seeds.
Save This Paper Plate Strawberry Craft for Later
Planning ahead? Save this easy strawberry craft to Pinterest so you have it ready for summer afternoons, classroom activities, or camp fun.
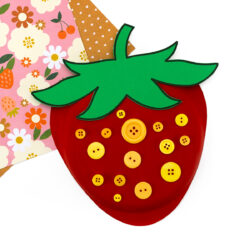
Paper Plate Strawberry Craft
Ingredients
- Paper Plate Strawberry Craft Template
- White cardstock
- Green cardstock
- Paper plate 6"
- Scissors
- Red or pink paint
- Paint brush
- Tacky craft glue
- Yellow buttons
Instructions
- Print the free template and cut out the strawberry body outline. Place it on the back of a paper plate, trace around it with a pencil, and then cut along the line to form your strawberry shape.
- Paint the back of your cut paper plate red or pink. Bright red gives a classic strawberry look, while pink creates a softer version. Set it aside and let it dry completely before moving on.
- Cut out the strawberry leaves from the printed green paper. No painting is needed for this step, making it quick and easy for groups. Once the strawberry is dry, add glue to the back of the leaves and press them onto the top of the strawberry shape, holding briefly to secure them.
- Add the button seeds. Add small dots of glue across the front of the strawberry and press yellow buttons onto each dot. Let dry flat before displaying or hanging.





Want even more?
Make sure to follow on Facebook, Pinterest, and Instagram for more easy crafts, activities, recipes, and parenting tips. And don’t forget to subscribe to our emails.