


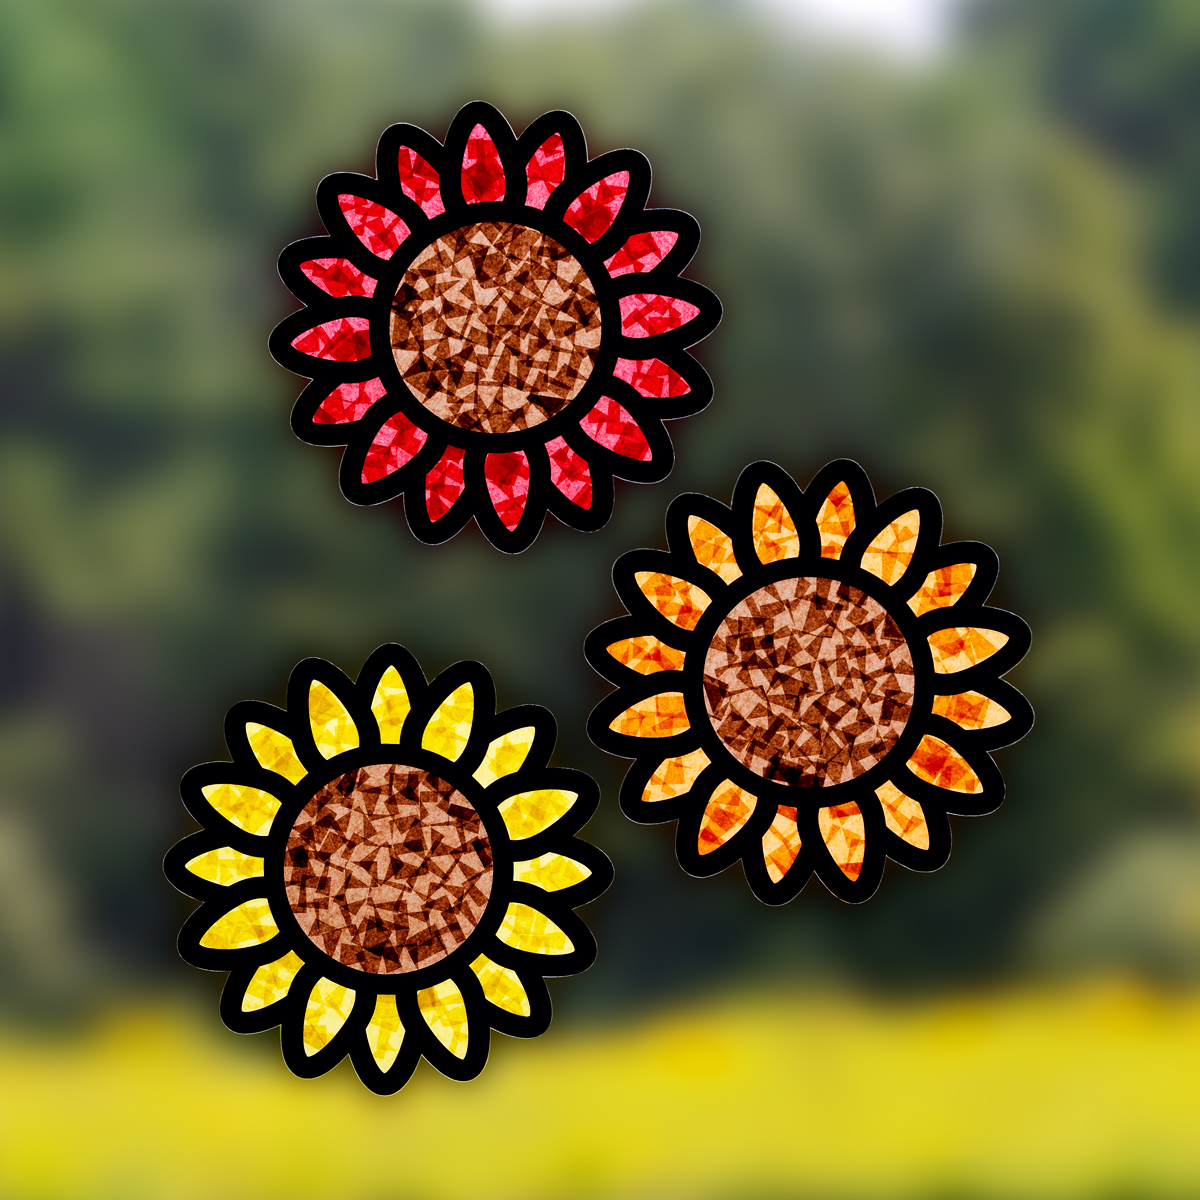
Late summer and early fall are the perfect times of year to make these easy and bright Sunflower Suncatchers! This craft uses simple materials you probably already have at home or in the classroom. It’s a fun way for kids to explore color and creativity while building fine motor skills. Whether done during school, summer camp, or around the kitchen table, it results in a cheerful decoration that looks great hanging in a sunny window!
Looking for another fun project? Try making our Paper Plate Sunflower craft!
Sunflower Kids Craft
In my vegetable garden, the sunflowers grow tall—some reaching nearly 12 feet—and are always buzzing with bees! Their bright, yellow blooms inspired this simple sunflower suncatcher craft for kids. Younger children enjoy placing tissue paper pieces to fill in the petals, while older kids can practice cutting smaller squares for more detailed work. Once finished, these suncatchers add a sunny touch to windows or classroom walls. This craft also fits well with lessons about gardening, pollinators, and the changing seasons.
Craft Supplies Needed
Before you started, make sure you have everything you need.
- Sunflower Suncatchers Template
- Tissue paper squares
- Contact paper or self-seal laminating sheets
- White cardstock
- Black cardstock
- Double-sided tape
- Scissors
Step-by-Step Guide: Sunflower Suncatchers Craft
Follow the directions below to create cheerful decorations with your kids or students.
STEP 1: Download the template. First, use the link in the supplies list to get the sunflower suncatcher pattern. Next, print it on white cardstock or sturdy paper so it’s easier to work with.
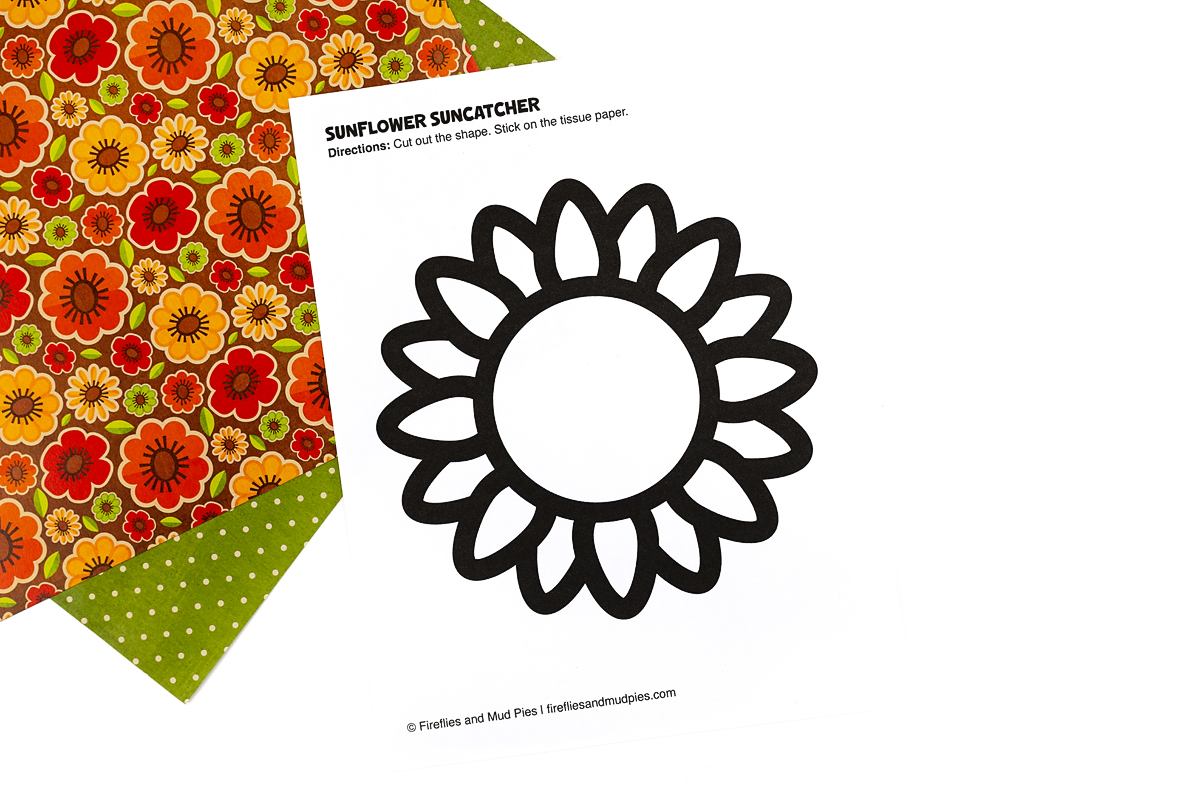
STEP 2: Cut out the sunflower shapes. Then, use scissors to carefully cut along the bold outlines. Most kids can handle this step on their own; however, younger children might need a bit of help with the curves or smaller details.
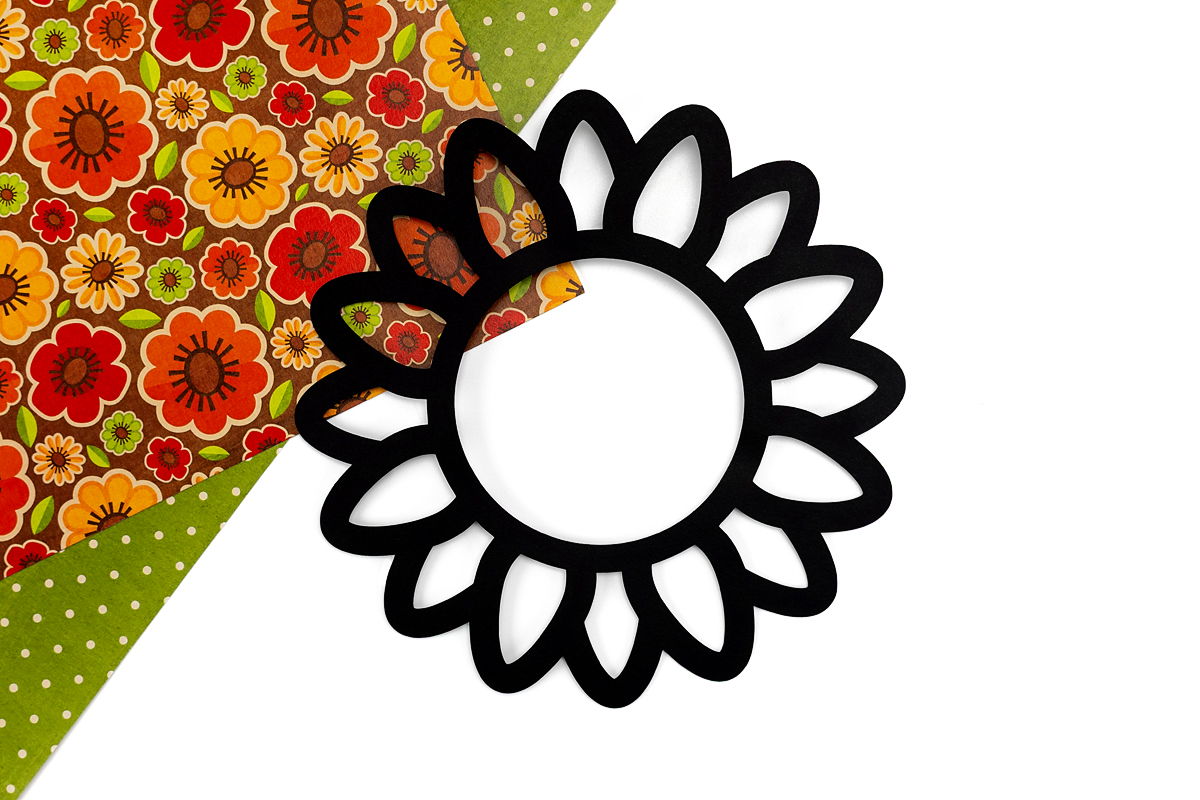
To create a black outline for your suncatcher, you have two options:
- Place a sheet of black cardstock behind the printed template, staple them together, and cut through both layers at once.
- Or, cut out the printed template first, trace it onto black cardstock, and then cut along the traced lines.
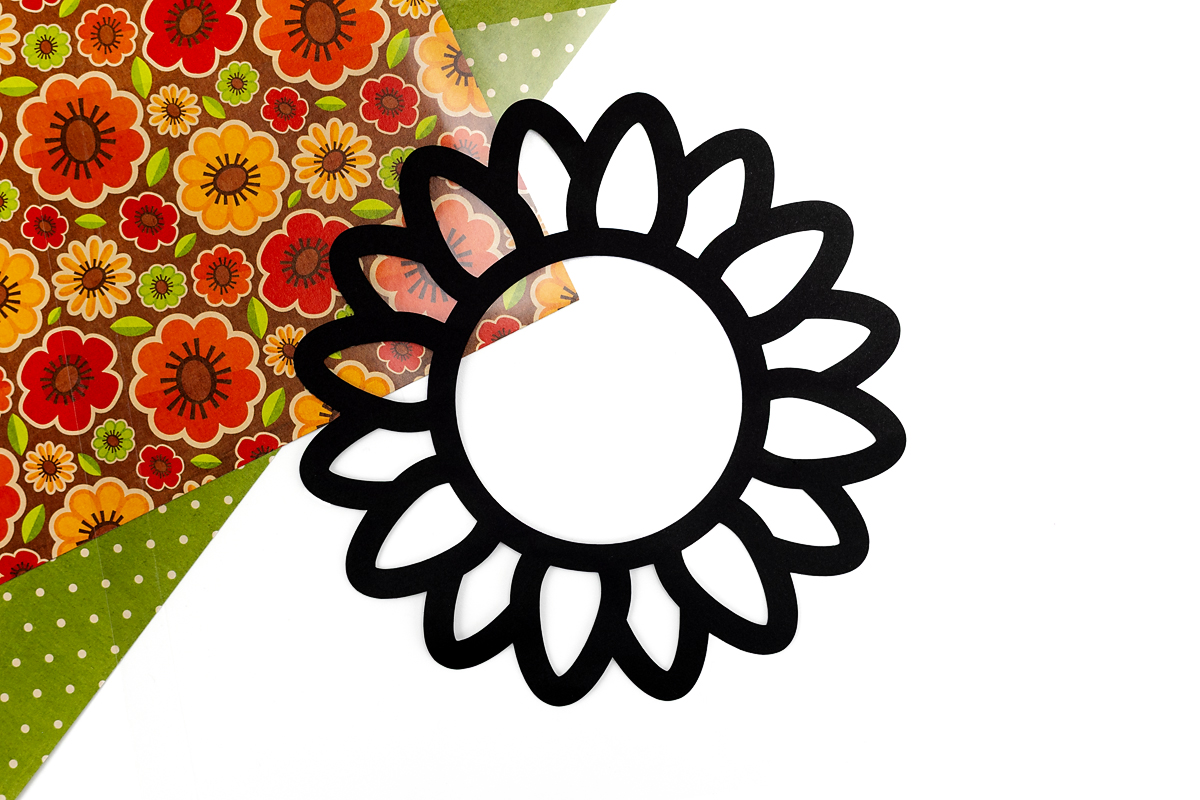
STEP 3: Position the outline. After cutting, lay the sunflower frame onto the sticky side of clear contact paper or a self-adhesive laminating sheet. If you’re using printed cardstock, make sure the printed side faces down so it shows correctly when finished.
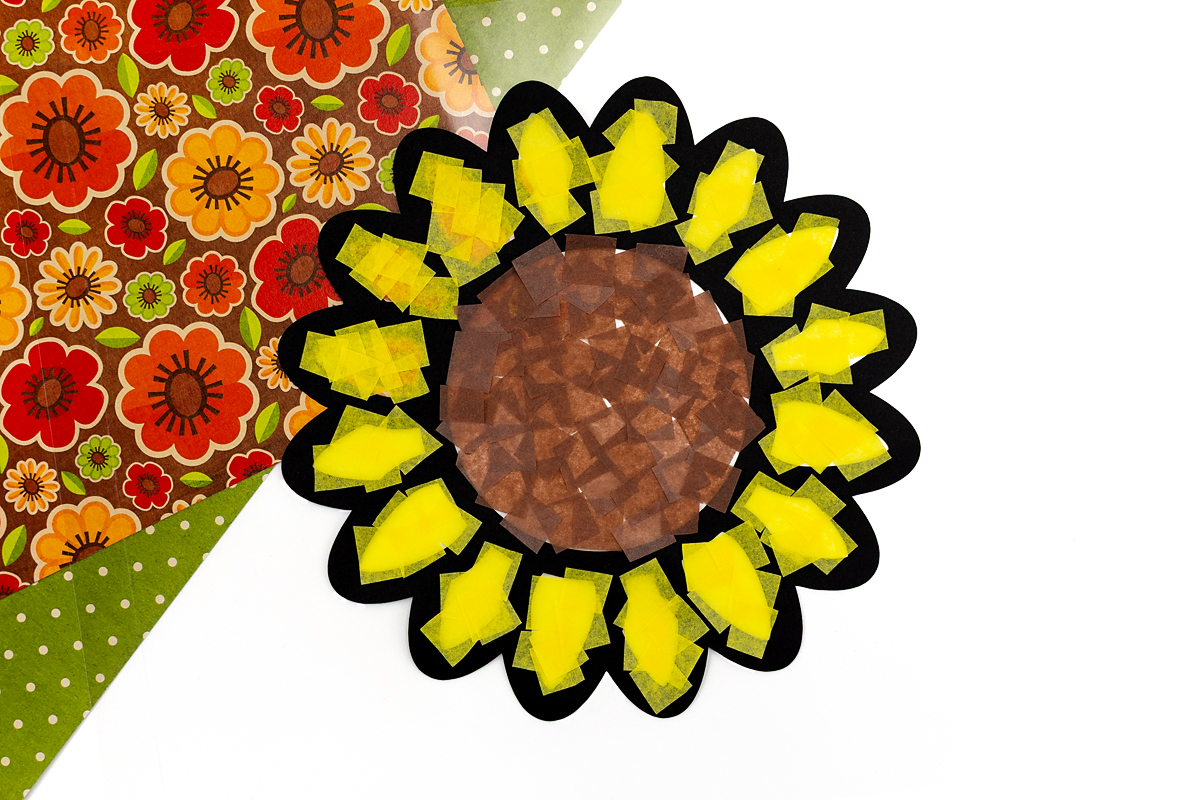
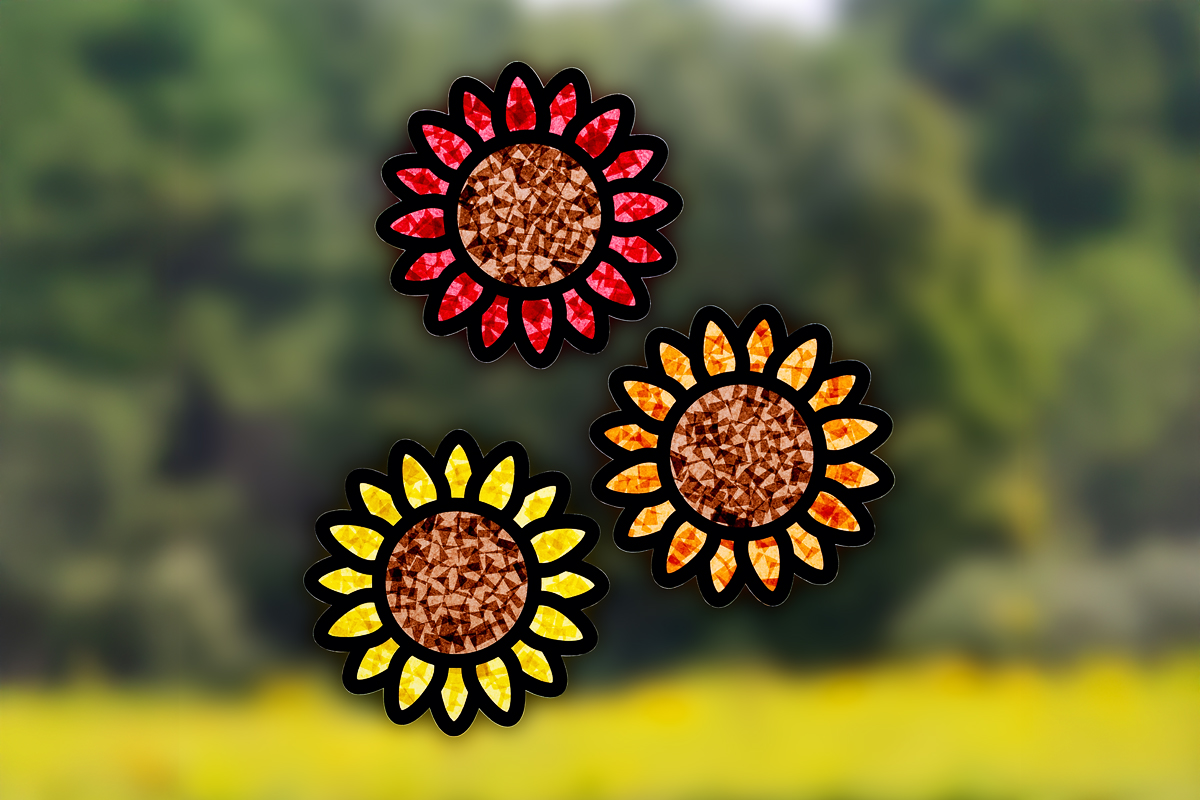
STEP 4: Fill the sunflower. Next, cover the inside of the sunflower shape with small squares of tissue paper. Use yellows, oranges, or reds for the petals, and fill the center with brown. Trim pieces as needed and overlap them slightly to create a full, layered look.
STEP 5: Seal your sunflower. Once all the tissue paper pieces are in place, carefully add a second sheet of clear contact paper or laminating film over the top. Then, press firmly to remove any air bubbles. Finally, trim around the sunflower, leaving a narrow border to keep it sealed.
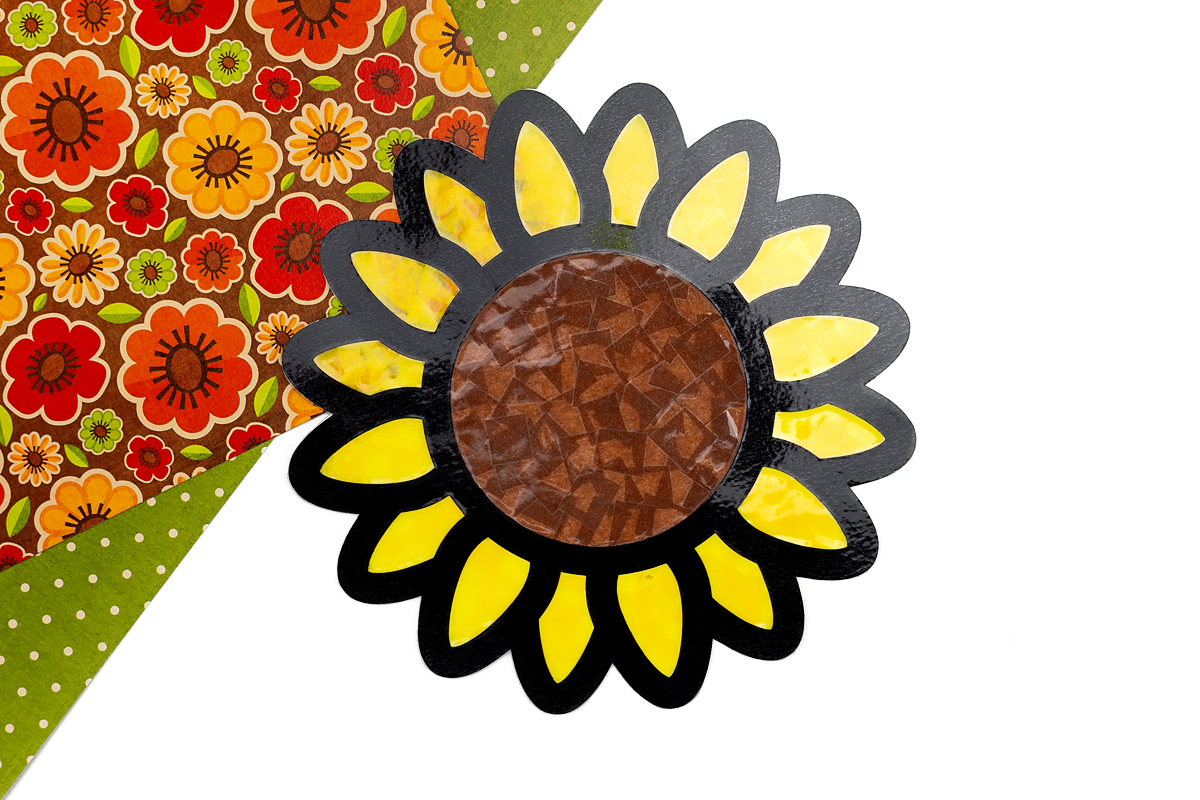
STEP 6: Hang your suncatcher. Pick a sunny window and attach your sunflower with double-sided tape or clear adhesive. As the sunlight shines through, the colors will glow beautifully, adding a joyful touch to any room.
Take It Further
Here are a few simple ways to build on this activity:
- Make a window garden. Create several sunflower suncatchers and display them together in a window.
- Give as gifts. These suncatchers make cheerful presents for teachers, neighbors, or family members.
- Write about sunflowers. Have kids write a sentence or short story about sunflowers or what they like about summer.
- Read a book together. Pair the craft with gardening or nature-themed books like Sunflower House by Eve Bunting.
- Explore light and color. Encourage kids to layer tissue paper pieces and observe how the colors change in sunlight.
- Try different flowers. Use the same suncatcher method to create daisies and tulips!
- Connect to science. Talk about how sunflowers follow the sun and why bees love them.
- Make it seasonal. Create autumn-themed suncatchers using warm tones and leaf shapes.
- Photograph the suncatchers. Let kids take photos of their work in different lighting and create a gallery.
Looking Ahead
As summer winds down and fall begins, these crafts fit perfectly with the changing seasons:
- DIY First Day of School Sign – A fun keepsake for photos on the big day.
- Popsicle Stick Pencil Craft – A simple back-to-school project that makes a cute classroom display.
- Apple Template Art – Use our free printable apple template for coloring, painting, or collage.
- Caramel Apple Stamping Craft – A sweet twist on apple printing that’s perfect for early fall.
- Paper Plate Apple Craft – Use paper plates and paint to make a sweet caramel apple complete with sprinkles!
For even more ideas, check out our September Activities post—it’s packed with seasonal crafts, simple activities, and fun ways to keep kids busy as the weather starts to cool.
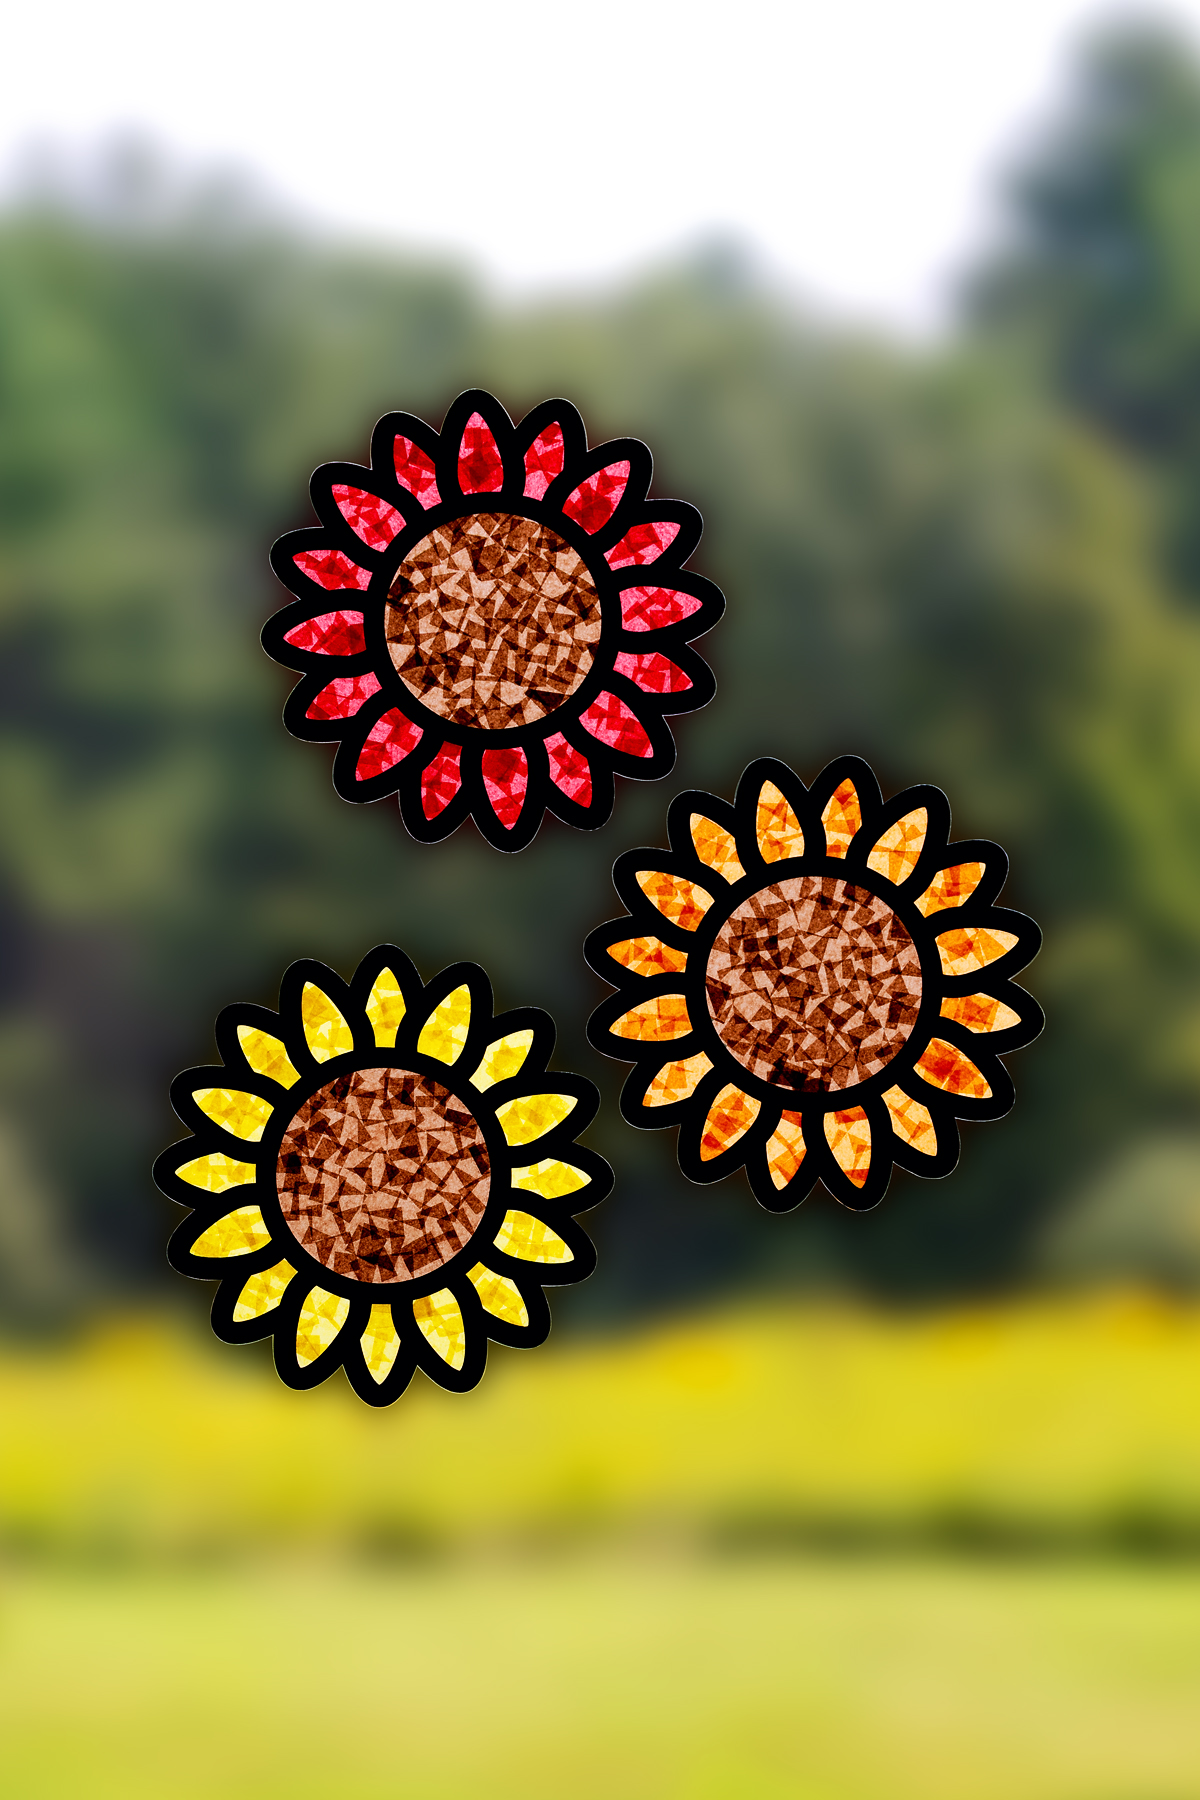
Save This Craft
Save this craft on Pinterest using the image below!


Want even more?
Make sure to follow on Facebook, Pinterest, and Instagram for more easy crafts, activities, recipes, and parenting tips. And don’t forget to subscribe to our emails.